A breakfast nook is a small eating spot tucked into a kitchen corner, bay window or wall end — a compact table with bench seating or a couple of chairs that turns leftover floor space into everyday coffee, toast and homework space. Most people design one badly for the same reason: they shop first and measure second.
To design a breakfast nook that works, tape the footprint on the floor before you buy anything, then choose the table from what is left over. Plan about 36 inches between the table edge and the nearest wall, cabinet, or bench back so people can sit and stand without shuffling, and for two people look at a table roughly 24 to 32 inches across. Decide bench versus chairs by the depth of your corner, and style the space last.
The whole planning stage takes an afternoon. The hard part is not the furniture, it is honest measuring: the wall that is shorter than you think, the fridge door that swings into the corner, the seat that traps whoever sits in it. Get those three right and the rest is furniture shopping.
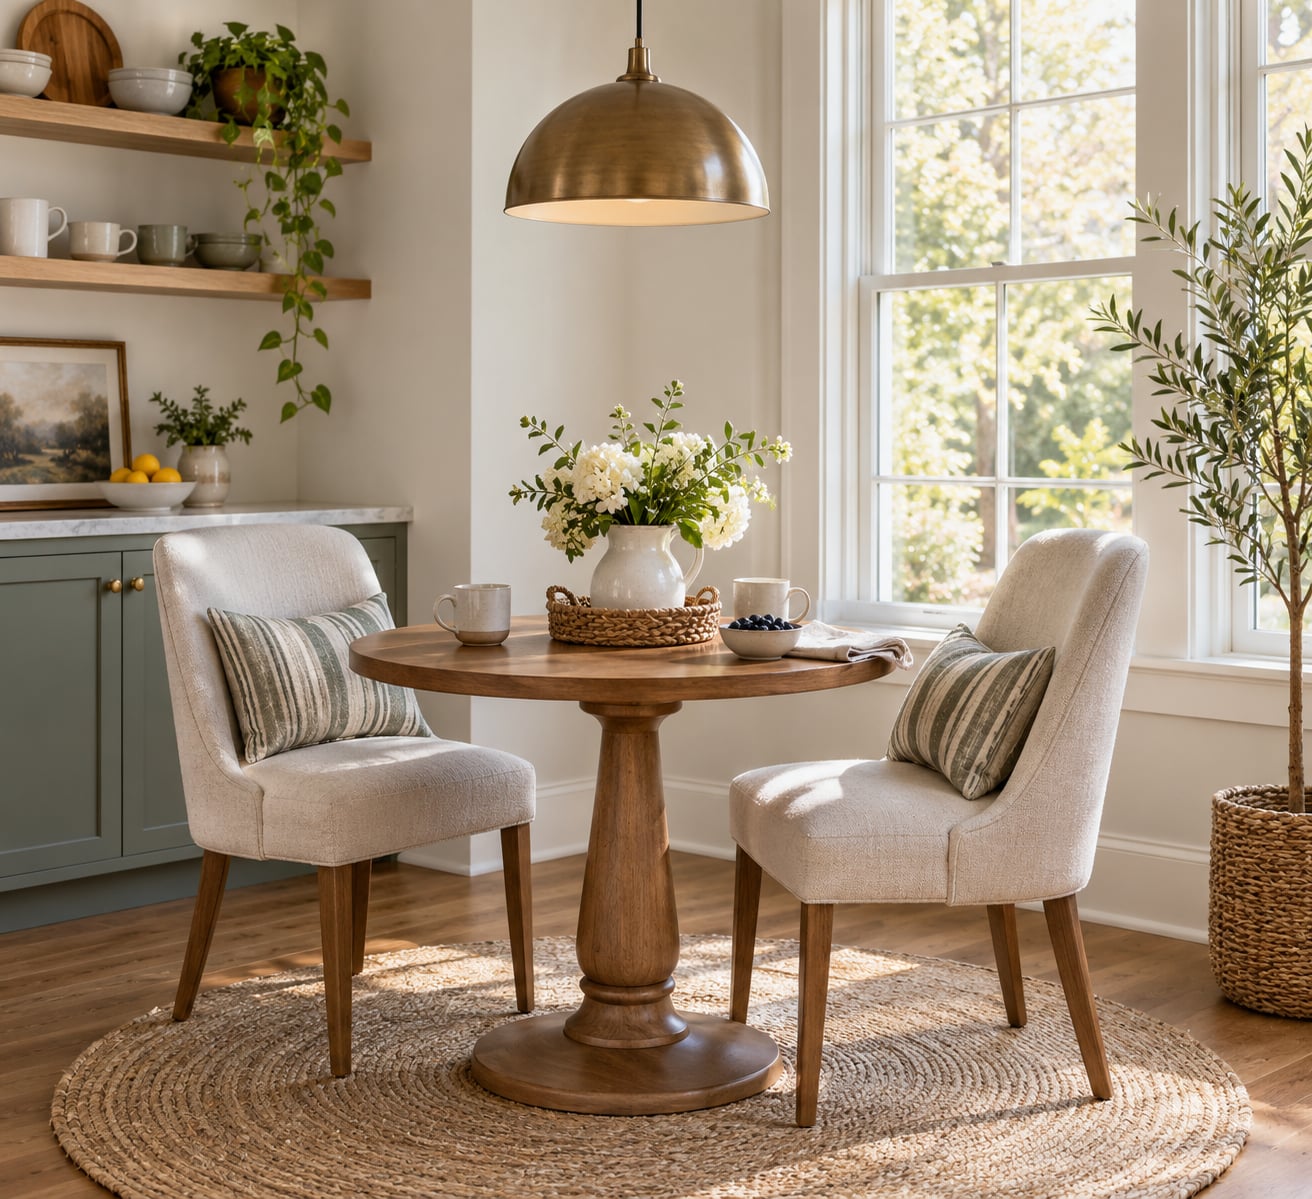
A round table under 36 inches is the single most forgiving thing you can put in a tight corner. It has no sharp corner to bump into, no corner seat that traps a person, and four legs out of the way instead of two.
Table of Contents
- What You Need
- Planning tools
- Furniture
- Lighting
- Storage and surfaces
- Decor
- Step-by-Step: How to Design a Breakfast Nook
- Step 1: Measure the Space and Identify Its Needs
- What Size Table Fits Your Nook?
- Step 2: Choose the Best Breakfast Nook Layout
- Step 3: Select Furniture That Fits
- Step 4: Add Lighting and a Practical Surface
- Step 5: Include Storage and Everyday Organization
- Step 6: Style the Space Without Overcrowding It
- Common Mistakes
- Frequently Asked Questions
- What is the ideal size for a breakfast nook?
- What size should a breakfast nook table be?
- Is 28 inches wide enough for a dining table?
- What is the recommended clearance between a dining table and the wall?
- How much would it cost to build a breakfast nook?
- Does a breakfast nook add value to a home?
What You Need
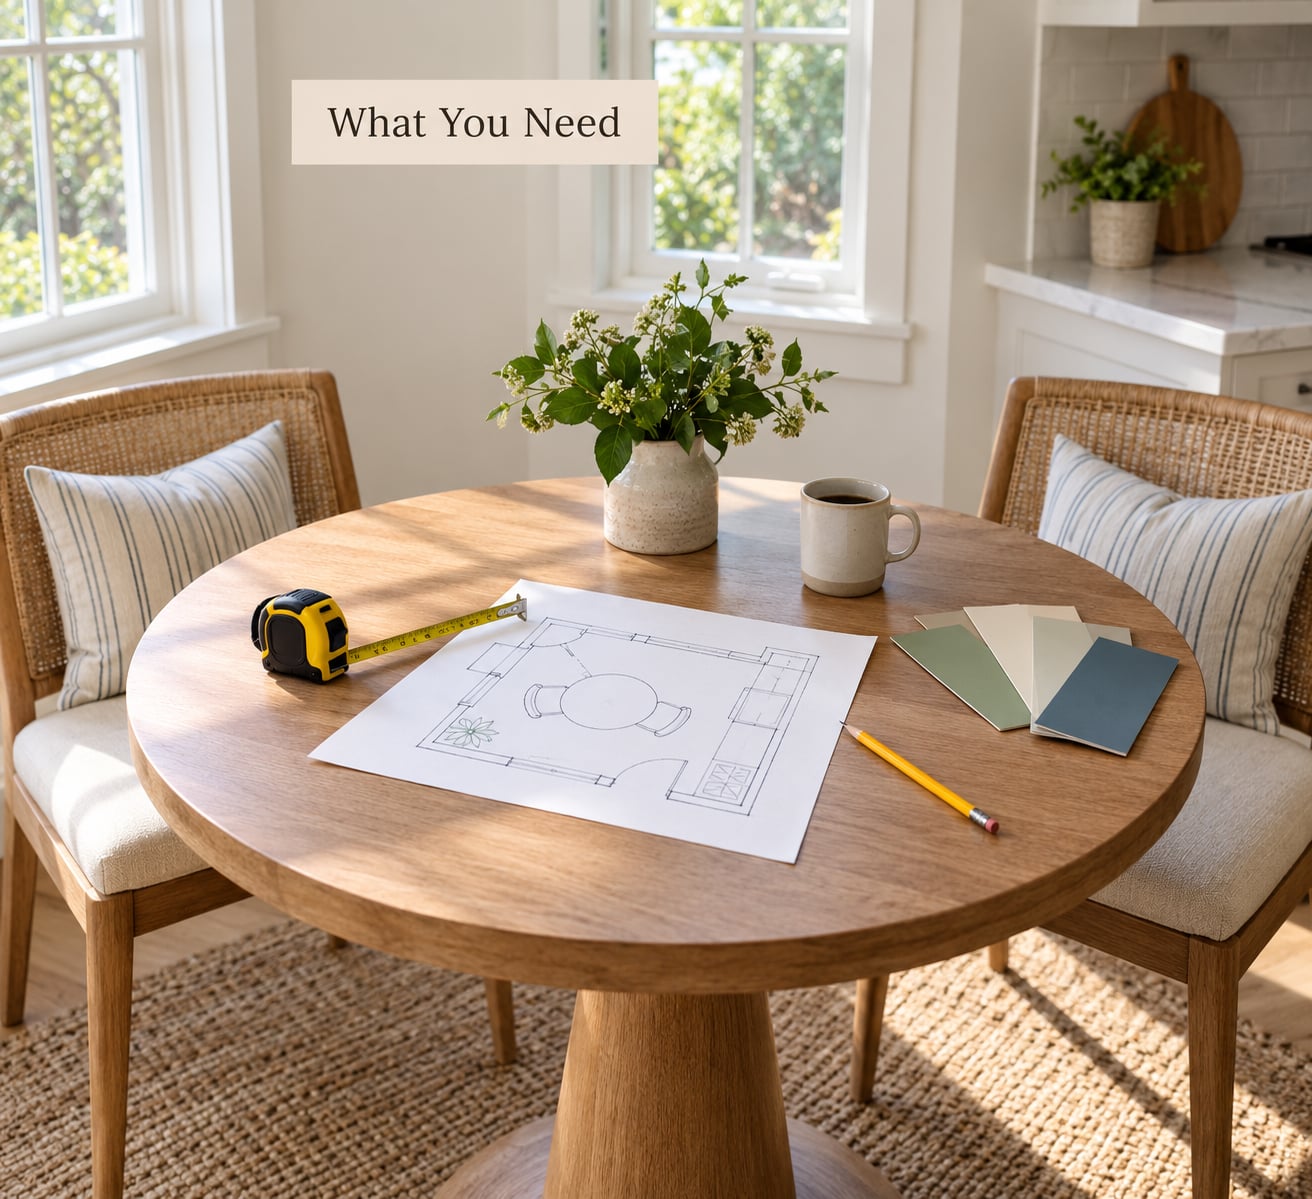
Planning tools
- A tape measure — the long 25-foot kind if the nook wraps, a short one if it is a straight wall. The 6-inch folding ruler is fine for seat depth checks.
- Painter’s tape — for the footprint test. This is the single most useful tool in the whole project.
- Pencil and scrap paper, ideally graph paper or a printed floor plan.
- A phone camera — photograph the empty corner from every angle, including standing height. Low ceilings and odd angles lie in memory.
- Masking tape for the floor plan footprint if you already have one; otherwise tape the actual floor, which works better.
Furniture
- A table — round, square, drop-leaf, or wall-mounted fold-down. Budget stand-in: a thrifted pedestal table, or a second-hand dining table trimmed to size.
- Seating for two to four — a bench, two chairs, or a bench on one side with chairs on the other.
- Cushions for the bench, with removable washable covers if anyone eats there daily.
- Non-slip rug pad under any rug. A rug that walks is the reason some nooks feel unfinished.
Budget-conscious substitutions that actually work: buy the table first and let the seating follow, because the table decides how many people fit. Chairs are almost always the cheaper, more flexible choice in a small corner since they can be moved, stacked, and pulled out individually.
Lighting
- A pendant or small ceiling light centred over the table, hung about 30 to 36 inches above the tabletop.
- Two wall sconces as an alternative when the ceiling is low or the table sits tight to a wall.
- A small table lamp for renters who cannot touch the wiring.
Do not skip this. A nook lit only by the kitchen’s ceiling fixture reads as a leftover corner, and one hung light above the table is the fastest way to make a plain corner look deliberate.
Storage and surfaces
- A slim cabinet, drawer bank, or bench with a lift-lid for dishes and linens.
- Baskets or bins for the things that would otherwise pile up on the tabletop.
- A wall shelf or narrow ledge for mugs and cookbooks.
- A tray — it turns the table into a serving surface in under a minute.
- A table runner or placemats to protect a top that shows marks.
Decor
- One paint colour for the nook walls — a single accent colour, or paint that matches the cabinetry for a seamless look.
- A rug sized to the zone, not to the room.
- A window treatment — cafe curtains on a rod, or shades that clear the sill.
- One focal piece — a piece of art, a plant, a gallery grouping. One, not five.
Step-by-Step: How to Design a Breakfast Nook
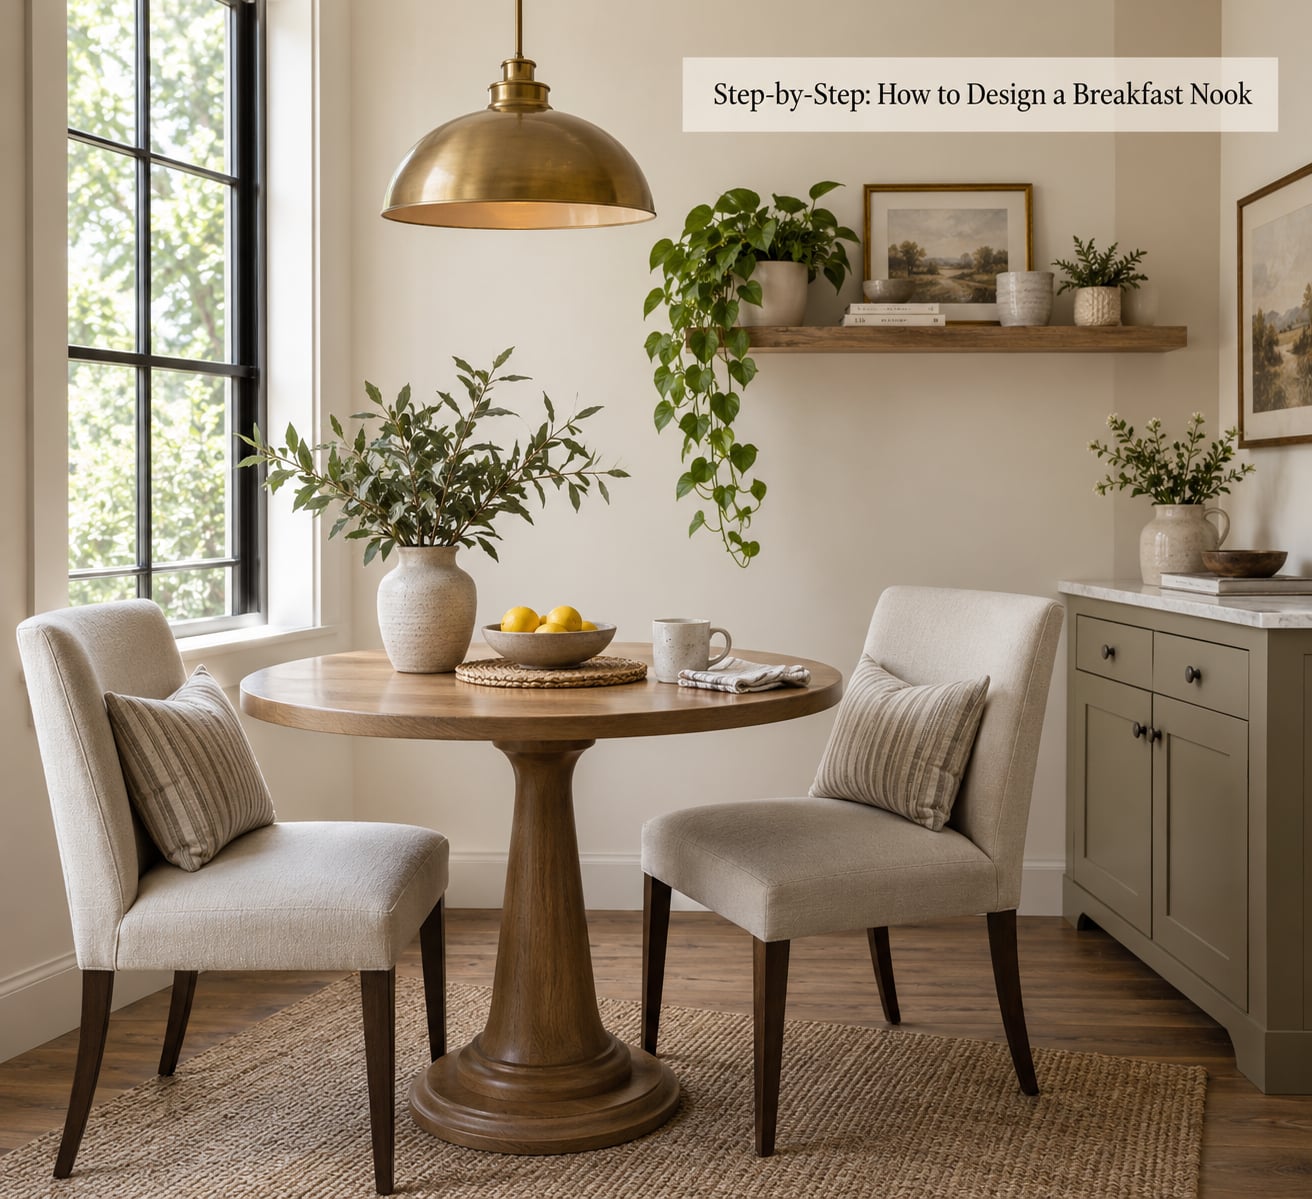
Step 1: Measure the Space and Identify Its Needs
Measure the floor, not the walls. Wall-to-wall dimensions are usually the wrong numbers because baseboards, a slightly out-of-plumb wall, and a counter overhang all eat into the space you actually have.
Work in this order:
- Measure both walls of the corner at floor level and again at table height. The shorter one is your constraint.
- Measure the corner-to-doorway distance if people walk through the corner.
- Open the fridge and oven doors fully and note whether they reach into the nook zone.
- Note every outlet and whether it is behind where a bench back would go.
- Check the window sill height and whether a radiator or floor vent sits underneath.
- Note the ceiling height where a pendant would hang.
Then tape the footprint on the floor. Mark the table outline, put a chair or two inside it, and sit down in a real chair if you can borrow one. Physical verification beats any rule quoted from a spec sheet, and it takes ten minutes.
What Size Table Fits Your Nook?
The table is the first decision because it sets how many people fit. Measure your shorter wall, then read across to the table that leaves about 36 inches of clearance on each side.
- Under 84 inches on the short wall: a drop-leaf or wall-mounted fold-down table, seats 2. The wall opens for passage with nothing permanent in the way.
- 96 inches: a 24 inch round table, seats 2 to 3, with 36 inches left on each side. Comfortable, but tight once a chair is pulled out.
- 102 inches: a 30 inch round table, seats 4, with 36 inches on each side. The sweet spot for everyday breakfasts.
- 108 inches: a 36 inch round table, seats 4, with 36 inches on each side. Comfortable enough for homework and laptops.
- 114 inches or more: a 42 inch round table or a small rectangle, seats 4 to 5, with 36 inches or more of clearance and room for a serving cart.
Two corners of different sizes produce different correct answers, which is why measuring first is not optional. In a corner 114 inches on the short wall, a 36 inch round table leaves 39 inches on each side and the nook feels generous. In a corner 96 inches wide, that same 36 inch table leaves only 30 inches, so a chair pulled back blocks the walkway. The right answer there is a 24 inch round table with a bench on one wall only.
For the numbers themselves: table height lands around 29 to 31 inches, seat height 17 to 19 inches, and seat depth 18 to 20 inches. Allow about 24 inches of table edge per person, and plan on 18 to 24 inches behind a seated diner for the chair pull-out. If people walk behind seated diners, push the clearance to 44 to 48 inches.
One honest caveat: the 36 inch figure comes from public-building accessibility guidance for accessible routes, not from home building code. Treat it as good planning guidance that happens to be conservative, not as a rule an inspector will enforce at your kitchen table.
Step 2: Choose the Best Breakfast Nook Layout
Match the layout to the shape of the leftover space, not to a picture of someone else’s kitchen.
Corner banquette. An L-shaped or straight built-in bench on the two walls with a table between. The most capacity for the smallest footprint, and the best choice when both walls are blank. Cushions make it work for anything longer than a cup of coffee.
Small round table with two chairs. The easiest option to install and the easiest to change your mind about later. Nothing is fixed to the wall, so it moves when you move or when a dining table arrives.
Bench against one wall. Best when only one wall is usable and the other side opens to the kitchen or a walkway. Add a second chair or a small stool opposite and it seats three.
Bay window seat. The window becomes the back of the bench. Check sill height and radiator clearance first, because that dictates seat height and whether a radiator cover is needed.
End of a galley run. The awkward one nobody plans for. Keep the walkway clear and use a wall-mounted fold-down table or a bistro set that can be folded and stored, because a permanent table in the end of a galley kitchen narrows the working lane.
Under the stairs. Works well with a built-in bench and a table set at the stair slope. Check the lowest clearance over the table before committing, and keep the deepest part of the under-stair space for storage rather than seating.
And know when to skip it. Skip the nook if the corner is the main path between the fridge and the oven, if both walls already carry tall cabinets, if the ceiling is low enough that people will duck, or if your household will use the space exactly twice a year. A corner that fights the kitchen work triangle is worse than no corner at all.
Step 3: Select Furniture That Fits
Buy the table before the seating. Once the table is fixed, the number of seats is decided, and hunting for a bench of an odd length is where projects die.
Bench versus chairs is a real trade-off. A bench along one wall gives you more seats per foot, stores things underneath, and can be built into a shallow corner. Two chairs give you easier entry, easier cleaning underneath, and a table you can slide out to make a bigger surface when six people show up.
Mixed seating solves more problems than people expect. A bench on the kitchen side and chairs on the window side means the corner seat is a chair, not the far end of the banquette, and you can pull one chair out without moving anybody.
Watch the trap: on a square or rectangular table in a true corner, whoever takes the seat at the intersection has to climb over two people or ask everyone to move. Three fixes work. Use a round table and no one is boxed in. Use a pedestal or trestle base rather than four corner legs so knees can get past. Or place the chairs on the corner side and push the bench to the open wall.
Seat depth is where most DIY benches go wrong. Too shallow and you are literally sitting on the front edge; too deep and you cannot lean back against the wall. Land between 18 and 20 inches, and add 2 to 3 inches of cushion if the base is thinner than that. Cushions with removable washable covers are worth the extra effort in a spot where people eat every morning.
Thrifty options that hold up: a solid wood table from a flea market needs a scrub and a matte topcoat, not a replacement. Bistro tables fold flat and store against a wall. Wall-mounted fold-down tables give you a surface that disappears when the nook needs to be a walkway. Second-hand chairs are plentiful and cheap to recover with new seat pads.
Step 4: Add Lighting and a Practical Surface
One light over the table does more for a nook than any other single decision. Hang a pendant about 30 to 36 inches above the tabletop, centred over the middle of the table rather than over the wall — that is the mistake that makes a nook look dim even with a good fixture.
If the ceiling is low, or the table sits tight against a wall where a pendant cannot hang, use two wall sconces at roughly eye level, or a small lamp on a shelf. In a sunny window corner, check the direction of morning light before you buy: a gloss or lacquer top turns a window into a mirror at exactly the hour you are eating breakfast, and shows every fingerprint. A matte or textured finish forgives crumbs.
For the working surface, resist adding more table. A wall shelf or a narrow ledge above the bench holds mugs and cookbooks and takes weight off the top. A tray makes a small table serve a meal without anything sliding. A drop-leaf half gives you prep space for a baking project and folds away when the nook needs to be a passage.
Two safety and comfort notes. Keep the pendant clear of walking head height on the entry side of the table. And if a radiator or a window vent sits under the sill, leave air moving beneath the tabletop so heat does not dry out engineered wood over a winter.
Step 5: Include Storage and Everyday Organization
Storage belongs under the bench or in a slim cabinet beside it, not on the table. Pick drawers or a lift-lid by one question: with the table in place, is there floor space to pull a drawer out or lift the lid?
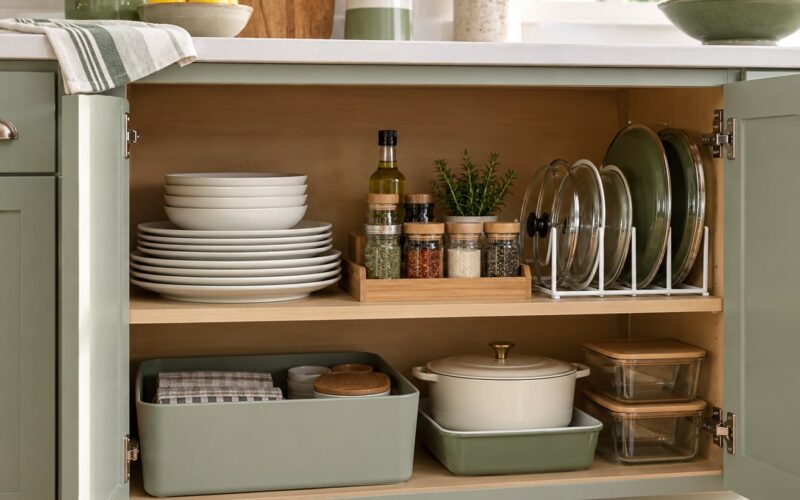
If yes, drawers win — you see everything without crouching. If no, a lift-lid with a lift strut works, and deep baskets below store the bulky things. What you actually store in a breakfast nook is predictable: placemats and napkins, mugs, a coffee canister, tea, cutting boards, and the small appliances you would otherwise hide in a cupboard.
Three things to check before filling any space under a bench. Leave floor vents clear. Leave access panels for plumbing or mechanical equipment reachable, or you will tear out the base later to fix a leak. And leave enough depth under the bench that stored items do not push the seat forward into a shallow clearance.
A wall rail or a row of hooks on the side wall handles the loose end — a tea towel, a bag, an apron — and keeps it off the tabletop.
Step 6: Style the Space Without Overcrowding It
This is the step that separates a finished nook from a hand-me-down corner, and it is where most design guides stop.
Paint. The nook walls either match the cabinetry so the space reads as continuous, or take one accent colour so it reads as a destination. Against white shaker cabinets, warm wood tones and muted greens sit quietly; a soft warm grey or a dusty blue reads calmer than a bright accent. Paint only that alcove if the whole kitchen is not in scope — a single colour change is cheap and reversible.
Rug. Size it to the zone: the front legs of the chairs or the front edge of the bench should land on the rug. A rug wider than the nook or longer than the tabletop makes a small corner look shabbier, which is the opposite of what you wanted. When in doubt, smaller than you think.
Window treatment. Cafe curtains on a simple rod soften a window without blocking light, and a pleated panel that ties back keeps the sill usable for a sill cushion. Whatever you choose, it should clear the top of the bench back.
Cushions and textiles. Two or three bench cushions in a washable fabric, one lumbar pillow, and a throw folded over the bench end. Keep the palette to two or three colours pulled from the tabletop and the wall colour. If the table is wood, textiles are where you add pattern.
One focal accent. Art leaning on the shelf, a plant in the corner, or a small gallery grouping above the bench. Pick one and let it carry the eye, because a nook is a small visual field and crowding it flattens every piece in it.
Style presets, if you want a shortcut. Cozy farmhouse: beadboard or wainscoting on the nook wall, a painted wood bench, checked cushions, a wood-toned light fixture. Modern: one flat paint colour, a slim upholstered bench, a matte round table, a linear pendant, no clutter on the top. Cottage: a painted table in a soft colour, a mix of chairs, curtains that puddble slightly, and flowers on the table year-round.
Common Mistakes
Shopping before measuring. The most repeated mistake in every homeowner forum on this topic. Fix: tape the footprint on the floor and sit in it before you order anything.
Blocking the kitchen walkway. If the nook is where people walk from the fridge to the stove, a table with chairs pulled out will pinch it daily. Fix: keep that corner clear or use a fold-down surface.
Letting the fridge or oven door hit the table. Open those doors fully during measuring, not after. Fix: move the table a few inches or shift the whole layout.
A trapped corner seat. Whoever sits there has to climb over people or ask everyone to move. Fix: a round top, a pedestal base, or chairs on the corner side.
A bench that is too deep or has no back. Too deep means no leaning back; no back means the seat works for ten minutes, not breakfast. Fix: 18 to 20 inches of depth, cushions, and a low back or wall behind.
A bench back tall enough to block the window. The most common complaint about built-in nooks. Fix: keep the finished back height below the sill, or skip the back and lean on the wall.
Storage that cannot be opened. A lift-lid with no room to lift, drawers that need the table moved. Fix: decide drawers or lift-lid before you build, with the table in position.
A rug that does not match the footprint. Too big or too small, both of which shrink the zone. Fix: the front legs rule, and measure the nook before ordering the rug.
A gloss tabletop in a sunny window. Fingerprints, crumbs, and window glare at the exact hour you use it. Fix: matte or textured finish, or a runner that covers the eating zone.
A table that slides when someone pushes a chair back. Felt pads or a rug pad fix it in a minute and nobody notices.
No dedicated light. If the nook is lit only by the kitchen fixture, it will always look like an afterthought. Fix: one pendant, two sconces, or a lamp.
Too many decorative objects. A nook is a small field; five competing pieces flatten all of them. Fix: clear surfaces, one focal accent, and store the rest.
Frequently Asked Questions
What is the ideal size for a breakfast nook?
A comfortable breakfast nook for two to four people needs about 36 inches of clearance between the table edge and the nearest wall, cabinet, or bench back. In practice that means a zone roughly 5 by 5 feet up to 6 by 8 feet. A 30 inch round table in a 102 inch corner is the easiest version to build. Measure the floor, not the walls, and confirm before you buy anything.
What size should a breakfast nook table be?
For two people, look at a round table 24 to 32 inches across. For four, go 36 to 42 inches and check that a chair pulled back still leaves the walkway usable. Allow about 24 inches of table edge per person, and plan for table height around 29 to 31 inches. In a corner, a round top under 36 inches is almost always the safer buy.
Is 28 inches wide enough for a dining table?
Twenty-eight inches is enough for a two-seat nook when a bench runs along the opposite wall, because the bench cushions absorb the depth the legs would otherwise need. It is too tight for chairs on both sides of a corner, and tight for laptops because there is no room for a mouse. It works best as a two-person breakfast table rather than a four-person one.
What is the recommended clearance between a dining table and the wall?
About 36 inches from the tabletop edge to the wall lets a person sit down and get up without scraping the chairs. If people walk behind seated diners, plan 44 to 48 inches instead. On the bench side the bench sets the limit, so measure from the table edge to the back of the bench. Note that the 36 inch figure is accessibility planning guidance, not home building code.
How much would it cost to build a breakfast nook?
It breaks into three tiers. A ready-made setup uses a thrifted or mass-market table with two chairs or a small bench. A mid tier adds a custom bench build with storage and a better light fixture. A high tier is a built-in banquette with cabinetry-grade storage and a solid wood top, which is a job worth handing to a carpenter. Labour is usually the biggest line in the top two tiers.
Does a breakfast nook add value to a home?
Usually a modest amount, and the return depends on finish quality and layout. Buyers tend to count a working eat-in nook as usable space in a home with no dining room, which matters more in a market with smaller floor plans. A nook that blocks the fridge or leaves a trapped seat works against you. Good lighting and a coordinated finish make the difference between a feature and an odd corner.
Tape the footprint on the floor before you do anything else. Put a chair in it, sit down, and try to stand up without moving anybody. That ten-minute test answers nearly every question this guide covers, and it costs nothing but a roll of tape.