How to remove scratches from wood furniture comes down to one thing: matching the repair to the damage. A mark that lives only in the finish needs wax or polish and about ten minutes of work. A gouge that reaches bare wood needs filler, stain and a redrawn grain line. Start by working out which one you have.
The order matters more than the products. If you sand a piece that only has a surface scuff, you take a good finish down to bare wood for no reason. If you wax a gouge, you just seal the hole in a nicer-looking dent. Two minutes of diagnosis saves twenty minutes of undoing.
Everything below works on solid wood and needs only common household materials for the early steps. The deeper repairs want a hardware-store filler and a small brush, and they take longer, but a careful filler job is something most people manage on a first attempt.
Table of Contents
- What You Need
- Step-by-Step: How to Remove Scratches from Wood Furniture
- Step 1: Identify the Finish and Test the Scratch
- Step 2: Clean the Scratch Before Repairing It
- Step 3: Fix Surface-Level Scratches with Wax or Polish
- Step 4: Hide Small Marks with a Touch-Up Product
- Step 5: Sand Deeper Scratches Carefully
- Step 6: Reapply Color and Finish
- Common Mistakes
- Frequently Asked Questions
- Can I remove scratches from wood furniture without sanding?
- What is the best product for removing scratches from wood furniture?
- How do I know if a scratch goes all the way through the finish?
- Will painting over a scratch fix it?
- Conclusion
What You Need
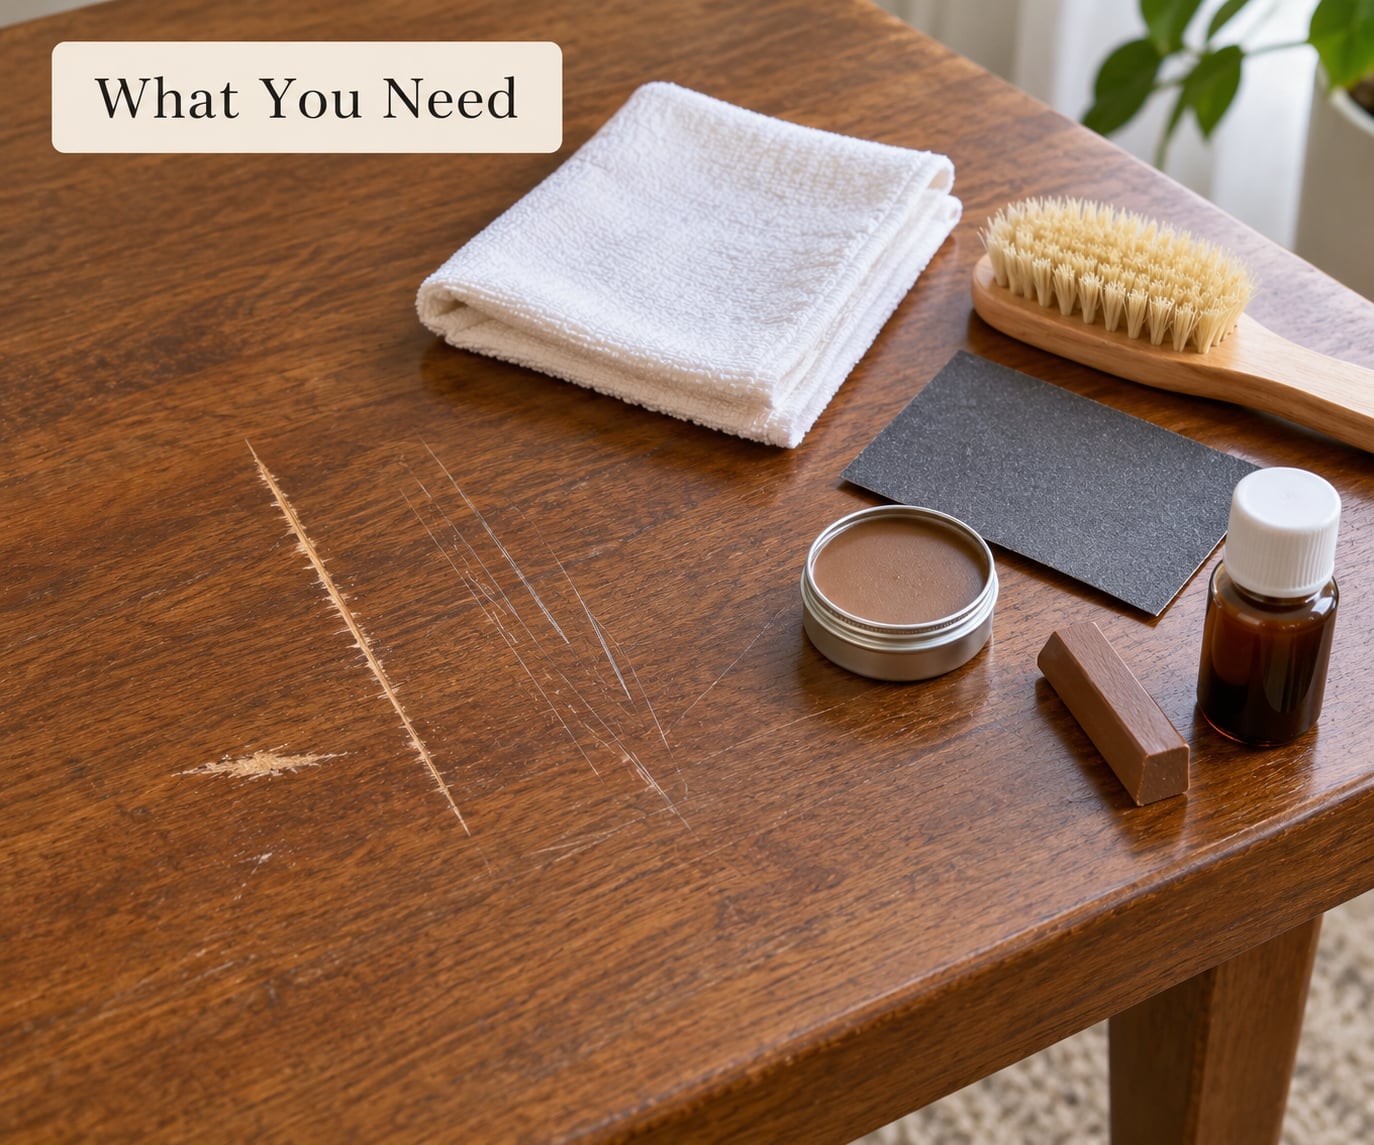
The supplies depend entirely on the scratch. A scuff in the finish needs almost nothing; a gouge that cuts into the wood needs most of the list. Gather the basics first, then decide.
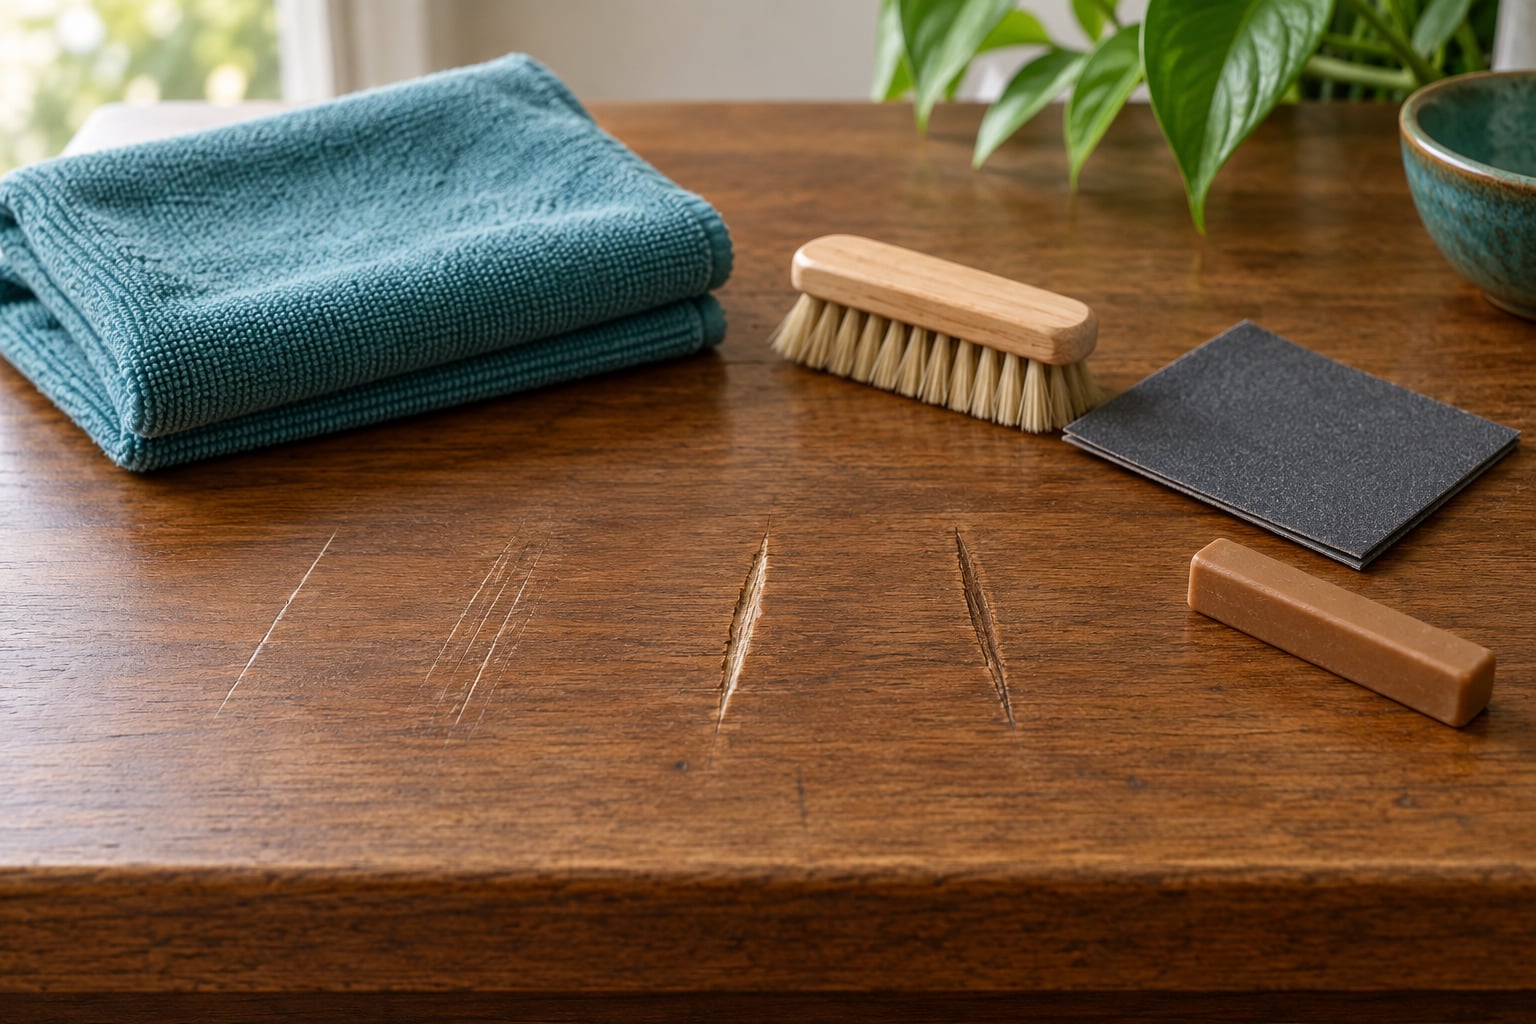
- Soft cloths or cotton rags — one for applying, one clean for buffing. Keep them separate or you will spread wax back onto the area you just cleaned.
- A mild wood cleaner — diluted dish soap in warm water is fine, or a dedicated wood cleaner. Nothing harsh, no ammonia, no degreaser.
- A soft brush — an old toothbrush works well for getting into grain lines and carved details.
- Extra-fine steel wool — grade 0000 for scuffed areas and worn finishes. Anything coarser scratches in seconds.
- Matching furniture wax or polish — a paste wax, or a scratch-cover polish in a color close to the wood. This is your main tool for finish-only marks.
- A wax fill stick or touch-up marker — sold by furniture makers for small marks in stained or painted wood. Pick a shade lighter than the piece if you can.
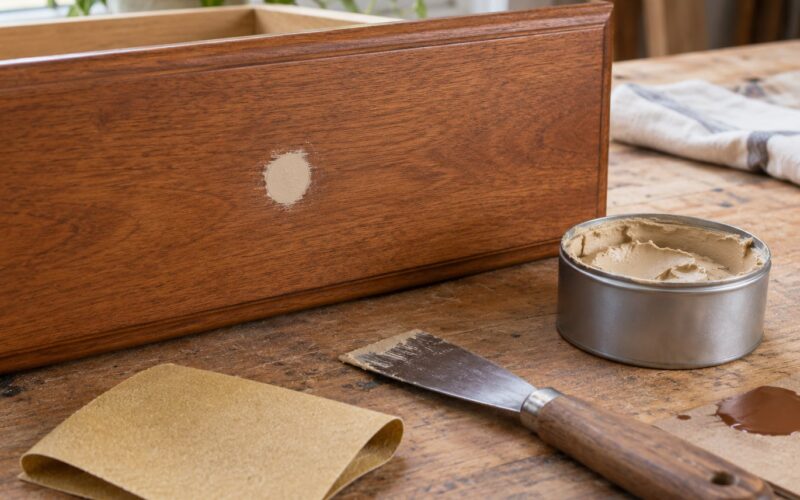
- Stainable wood filler — water-based filler that takes stain, not spackle. Spackle is the wrong product and it will not absorb color.
- Fine sandpaper and a sanding block — 220 grit for the flush sand after filler, 320 grit to smooth the final surface.
- Putty knife, wood stain and a clean brush — for color matching and, later, for redrawing grain.
- Clear finish — the same topcoat already on the piece: water-based polyurethane, satin or gloss, or a wax coat. Matching the sheen matters as much as matching the color.
Step-by-Step: How to Remove Scratches from Wood Furniture
Step 1: Identify the Finish and Test the Scratch
Run your fingernail across the scratch. If your nail skates over it without catching, the damage is in the finish only and you can skip straight to polish. If the nail catches, the scratch cuts through the finish into the wood.
A second test tells you the color. If the scratch shows a lighter line than the surrounding surface, you are seeing raw wood underneath, and any repair needs color added. If the line is darker or fuzzy, it is almost certainly dirt sitting in an existing groove.
For the finish itself, look at an edge or the back of the piece. Washed or paste wax surfaces have a soft sheen and can take a fresh wax coat. Lacquer and shellac are thin and hard, and sanding them goes straight through to wood. Polyurethane forms a thicker plastic-like skin that will not budge under a cloth. Veneer and laminate are a thin wood or plastic layer over particleboard, and they need a completely different approach — you cannot sand through them.
Whatever product you plan to use, test it somewhere hidden first: under the back edge, inside a drawer, or on the underside of a leg. Let it dry fully before you judge it, because most finishes look wrong while wet and right once they have cured.
Step 2: Clean the Scratch Before Repairing It
A surprising share of “deep” scratches are just grime in a shallow groove. Wipe the area with a cloth barely damp with diluted dish soap, working in light circular motions, then dry with a clean section of the same cloth.
Follow with a barely damp cloth to remove soap residue and let the wood dry fully. Use the toothbrush along the grain for anything trapped in an open pore. Do not soak the wood, and keep water off any piece that is already swollen or delaminating.
Now re-run the fingernail test. If the mark has gone or softened, you may need nothing more than a polish and a buff. If it is still crisp and catches, you know exactly how deep you are dealing with.
Step 3: Fix Surface-Level Scratches with Wax or Polish
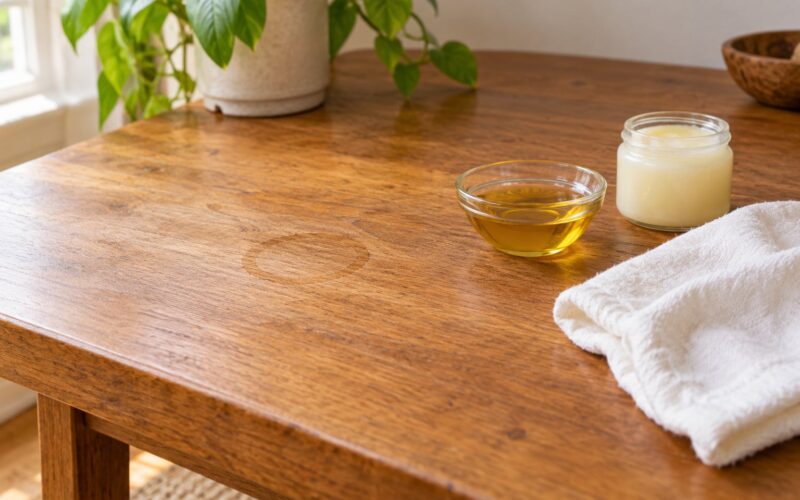
Yes, you can buff out surface scratches, and for a mark that stops at the finish it is usually all you need. Rub a small amount of matching furniture wax or scratch-cover polish onto the scratch with a soft cloth, then buff firmly along the grain until the haze disappears.
Work in small circles first to work the wax into the groove, then finish with straight strokes along the grain to keep the direction consistent. Under good light, the repair either disappears, fades to something you notice only when you look for it, or stays obvious. Those three outcomes each tell you what to do next.
If the scratch vanished, stop. If it softened, repeat in the same spot. If it is unchanged, the scratch goes deeper than the finish and wax is only going to disguise a dent.
Step 4: Hide Small Marks with a Touch-Up Product
Wax fill sticks and touch-up markers are the right tool for small scratches in stained or painted furniture, especially where the scratch shows a lighter line of exposed wood.
Choose the color carefully. Start one shade lighter than the piece rather than matching it exactly — most people overshoot on the first stroke and cannot go back. If the item has a hidden back leg, you can shave a paper-thin sliver from an unseen spot and test colors on that until one matches.
Apply the marker or fill stick in light, feathering strokes across the grain of the repair rather than filling it like a solid block. Let it dry completely, which usually takes a few minutes, then look at it in daylight rather than under a lamp. If the color is too light, add a second pass rather than one heavy one.
A thin topcoat over a touch-up on a bare-wood scratch keeps it from absorbing water later. Keep it thin — a brush loaded with polyurethane leaves an obvious glossy dot.
Step 5: Sand Deeper Scratches Carefully
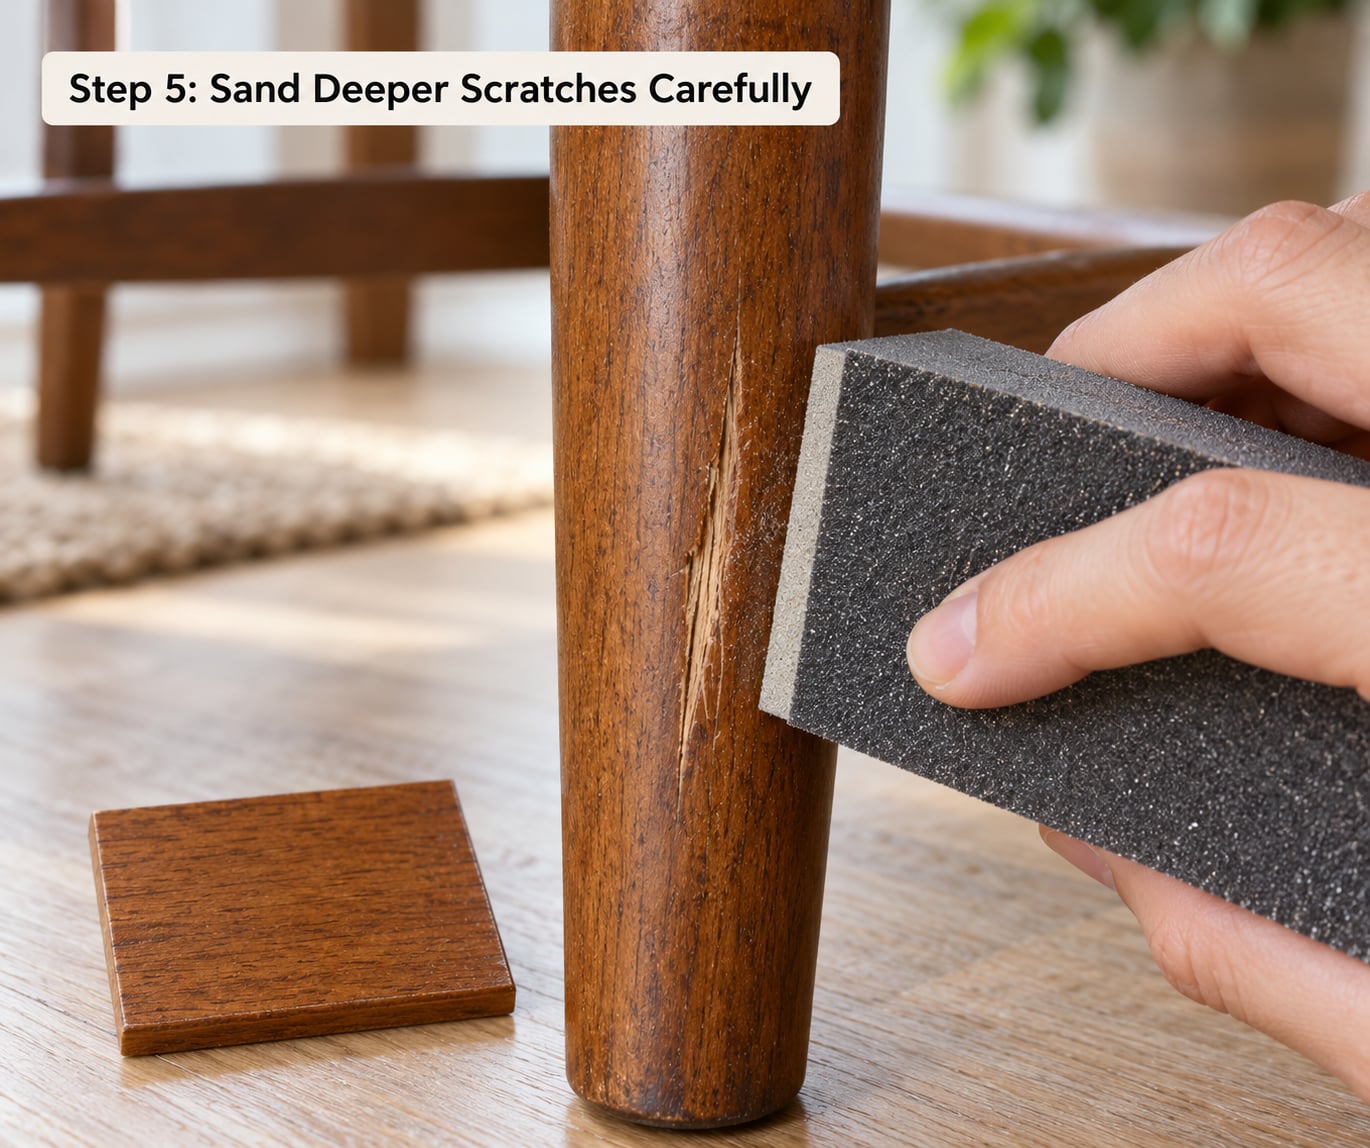
Sanding is where repairs go wrong, because it removes the whole surface, not just the damage. It makes sense for a scratch that exposes bare wood, and it makes no sense for a scratch still covered by intact finish.
Work on a scrap of the same finish first, then start with 220 grit on a sanding block, using light pressure and following the grain with every stroke. Cross-grain sanding leaves swirl marks that are harder to fix than the scratch you started with. Stop as soon as the scratch is level with the surrounding surface — do not keep going until the area feels glassy.
Watch the joint between finished and unfinished wood as you work. A shiny spot means the finish is gone and you are onto bare wood. A dull, fuzzy area means you still have finish left, so back off. On moldings, spindles and legs, wrap sandpaper around a dowel to follow the curve without cutting flat spots.
Never sand veneer or laminate with intent. Those surfaces are a thin decorative layer over composite board, and one pass through them exposes material you cannot repair. For those, mark the damage with a matching marker or wax stick and leave the surface intact.
Use a scrap sliver from the hidden back of the piece as your test sample if you are unsure how the finish behaves. There is no substitute for trying the exact product on the exact wood first.
Step 6: Reapply Color and Finish
If sanding took you down to bare wood, the scratch will look worse until the color goes back in. Apply stain with a lint-free cloth or brush, working along the grain, and let it sit for the time listed on the label before wiping off the excess.
Feather the edges of the repair rather than stopping at a hard line. Tap the brush lightly at the border to blend, and check from an angle where the light rakes across the surface. Dark stains take several thin coats; going darker than the original is the single most common color-matching failure, so start light.
Once the stain is dry to the touch, seal it with the same clear finish already on the piece. Water-based polyurethane needs several thin coats, each sanded lightly with 320 grit between coats, and it needs hours before it is hard enough to use. A waxed piece just needs a fresh wax coat buffed in.
If the scratch was wide enough to be obvious, redraw the grain over the repair with a fine artist brush dipped in a darker stain, drawing long thin lines that follow the surrounding grain direction. Let it dry, then seal. It takes patience and the difference is often worth it on a tabletop.
Common Mistakes
- Sanding before identifying the finish. You cannot tell how much finish a piece has until you look at it, and on lacquer or veneer the answer may be “almost none”. Fix: run the fingernail and color tests first, every time.
- Using a harsh chemical cleaner. Ammonia, bleach and degreaser strip wax and dull the finish around the scratch, making a small mark look much worse. Fix: diluted dish soap and water, and a barely damp cloth.
- Soaking the surface. Water sitting in an open pore swells the wood and lifts the finish. Fix: wring the cloth out until it barely drips and keep sessions short.
- Rubbing too hard with polish. Aggressive buffing can burnish a wax finish into a shiny patch. Fix: moderate pressure, straight with the grain, stop when the haze clears.
- Choosing a mismatched repair color. A patch that reads darker than the wood makes the scratch easier to see, not harder. Fix: start lighter than you think and feather the edges.
- Repairing a deep gouge with wax alone. Wax fills the top of a hole and leaves a dished spot that catches light. Fix: use stainable filler, sand it flush, then stain and seal.
- Sanding across the grain. You will see it in every raking light afterwards. Fix: pick a direction and stay in it, using a sanding block rather than your fingertips.
- Overfilling with wood filler. Excess filler levels slightly proud and sands down to a flat, dull patch visible under gloss finish. Fill level with the surface instead and scrape the excess level while wet.
Work in a ventilated room, and lay down a cloth so filler, stain and finishing oil never reach the floor or your clothes. Keep pets and children away while anything is wet. Wear a dust mask when sanding an old piece — furniture finish from decades past is not something to breathe in.
For an antique or an inherited piece, stop before you touch it with anything abrasive. Original finishes from an earlier century are often thinner than anything modern, and a repair that removes character can reduce value. A furniture refinisher can assess it in a few minutes.
Frequently Asked Questions
Can I remove scratches from wood furniture without sanding?
Yes, if the scratch is only in the clear finish or is very small, cleaning it and applying matching furniture wax, polish, or a touch-up crayon may be enough. Run your fingernail across the mark first: if it does not catch and you see no lighter raw wood, the surface repair will do the job. Sanding is the right move only when the scratch exposes bare wood.
What is the best product for removing scratches from wood furniture?
The best product depends on the finish and the depth of the damage. Matching furniture wax or polish works for shallow scratches, while a color-matched touch-up marker or repair crayon helps conceal small marks in stained wood. For a gouge that exposes bare wood, use stainable wood filler, sand it flush with 220 grit, then stain and seal it to match the existing sheen.
How do I know if a scratch goes all the way through the finish?
A scratch that exposes lighter or raw wood, feels rough, catches a fingernail, or remains visible after gentle cleaning has likely gone through the finish. A scratch that stays within the surface coat will feel smooth under a fingernail and can usually be removed with polish alone. Clean the area first, since dirt in a shallow groove can make a shallow scratch look deep.
Will painting over a scratch fix it?
Painting can hide a scratch if the surrounding surface is also being repainted, but painting directly over one damaged spot may create a patch that does not match the original color or texture. Paint sits on top of the finish rather than filling the groove, so a slightly raised mark often still shows. For a single scratch, a color-matched filler or touch-up product blends far better.
Conclusion
Start with the two tests: clean the area, then run a fingernail across it. If the mark is in the finish only, wax or matching polish and a firm buff will fix it in minutes. If it exposes lighter bare wood, use stainable filler, sand it level with 220 grit, and put the color back with stain before sealing to match the existing sheen.
Test every product on a hidden spot and let it dry before judging the result. For valuable pieces, antiques, or damage that covers more than a small area, a professional refinisher is the better call — a bad repair on an heirloom costs more than the scratch did.