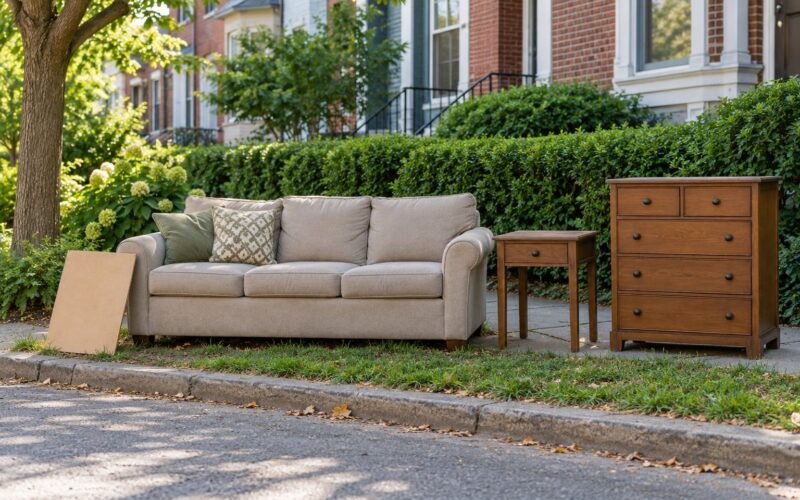
Here is the short version: to disinfect thrifted furniture before bringing it inside, work in four stages in this order. Inspect the piece outdoors, dry-clean every surface, wash and disinfect it with a product matched to the material, then let it dry completely somewhere isolated before it crosses your threshold. Miss the isolation stage and you risk carrying bed bugs straight into a bedroom.
A small dresser takes maybe an hour of work. A wingback chair with a musty smell, taped-down cushions and a suspicious seam is a half-day job, and honestly a couple of hours of that is the piece sitting in the sun while you work on other things. The physical effort is low. The fiddly part is patience.
I have watched people carry a couch straight from a garage sale into a clean living room, wipe it down with a scented spray, and call it done. Three weeks later the infestation was in the bedroom and the whole house had to be treated. That is not a scare story, it is just what happens when disinfection replaces inspection. The cleaning product does nothing about what is living inside the seam.
So this guide walks the whole job in order: what to gather, the seven steps, the mistakes that cost people their upholstery, and how to know a piece is genuinely safe to bring inside. I will also cover the two solutions most people reach for first, vinegar and bleach, and why one of them can permanently damage a piece you were excited about.
Table of Contents
- What You Need
- Step-by-Step: How to Disinfect Thrifted Furniture Before Bringing It Inside
- 1. Inspect the Piece Outside
- 2. Vacuum and Dry-Clean Every Surface
- 3. Wash with a Surface-Safe Cleaner
- 4. Choose and Apply the Right Disinfectant
- 5. Rinse Only When the Product Requires It
- 6. Let the Furniture Dry Completely
- 7. Quarantine and Check for Hidden Pests
- Common Mistakes
- Frequently Asked Questions
- How do I disinfect thrifted furniture before bringing it inside?
- Can I use vinegar or bleach on secondhand furniture?
- How do I kill bed bugs on a thrifted upholstered chair or couch?
- What is the safest way to clean furniture with an unknown finish?
- How long should furniture air dry after disinfecting?
- Conclusion
What You Need
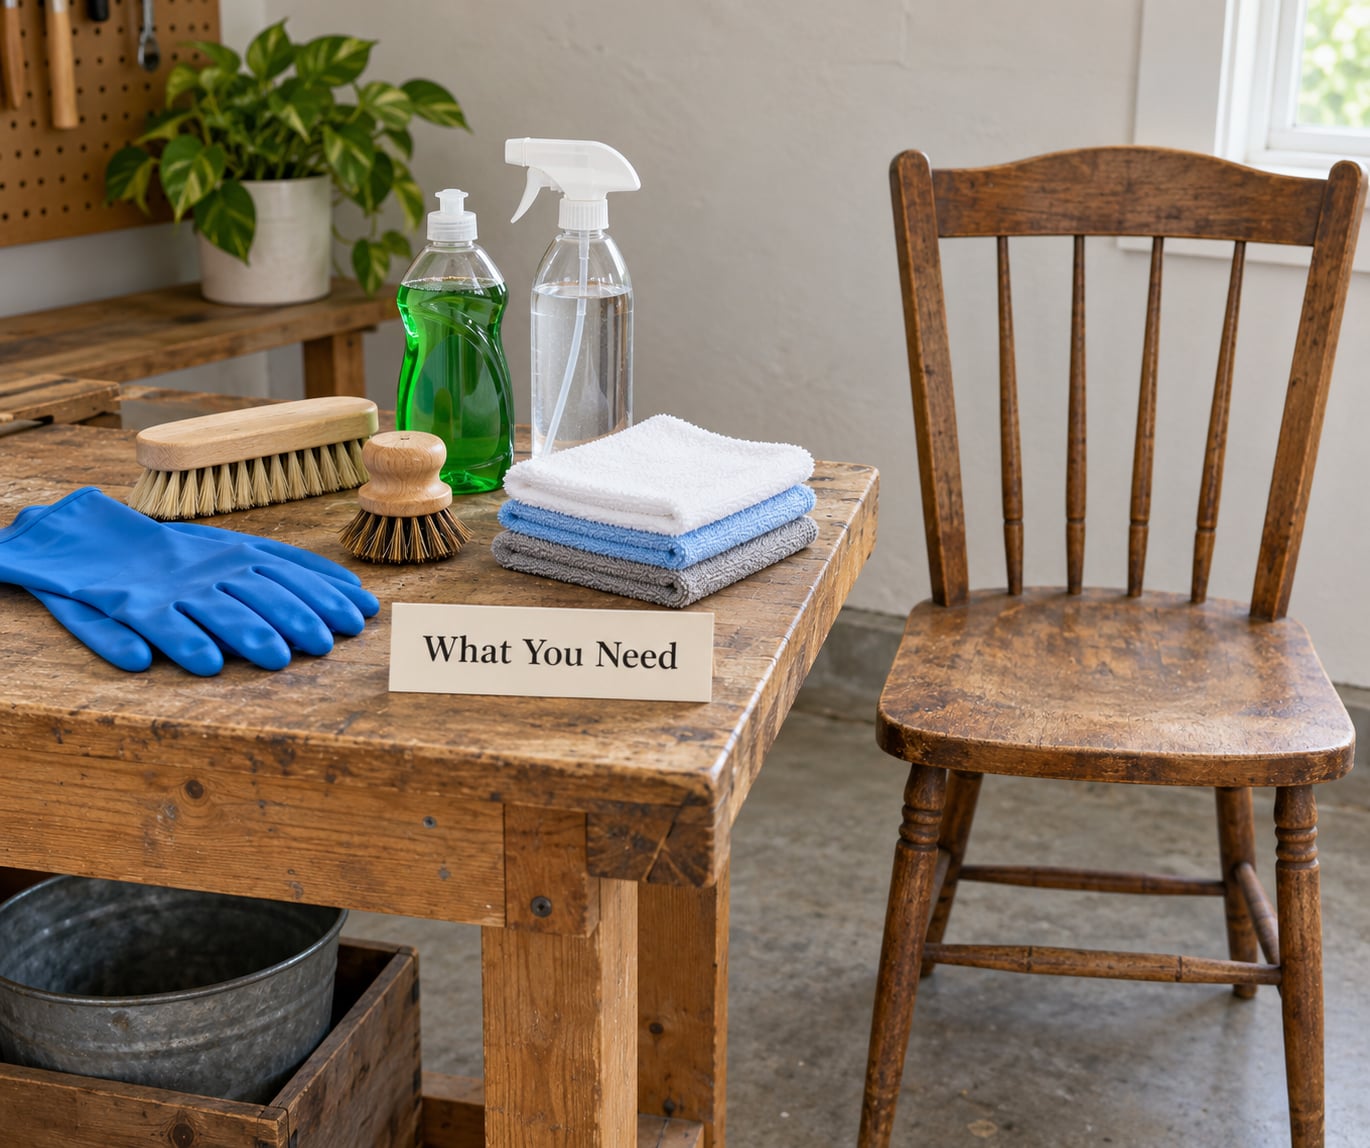
Gather everything before the piece comes home. Scrambling for a tool halfway through a wet clean is how water ends up pooling in a cushion and how a finish gets damaged before you knew it was delicate.
For inspecting:
- A bright work light or the flashlight on your phone, plus a small mirror for undersides and back panels
- A magnifying glass for seams, piping and tufting buttons
- Clear dish soap, white vinegar, baking soda and a spray bottle you can label
For cleaning:
- A vacuum with an upholstery attachment and a crevice tool
- A soft-bristle brush, a toothbrush for carved detail, and microfiber cloths you can wash
- A bucket, a soft sponge, and a drop cloth or old sheet
For disinfecting and drying:
- One disinfectant whose label names your specific surface, with a stated contact time on the front
- Clean towels or absorbent pads
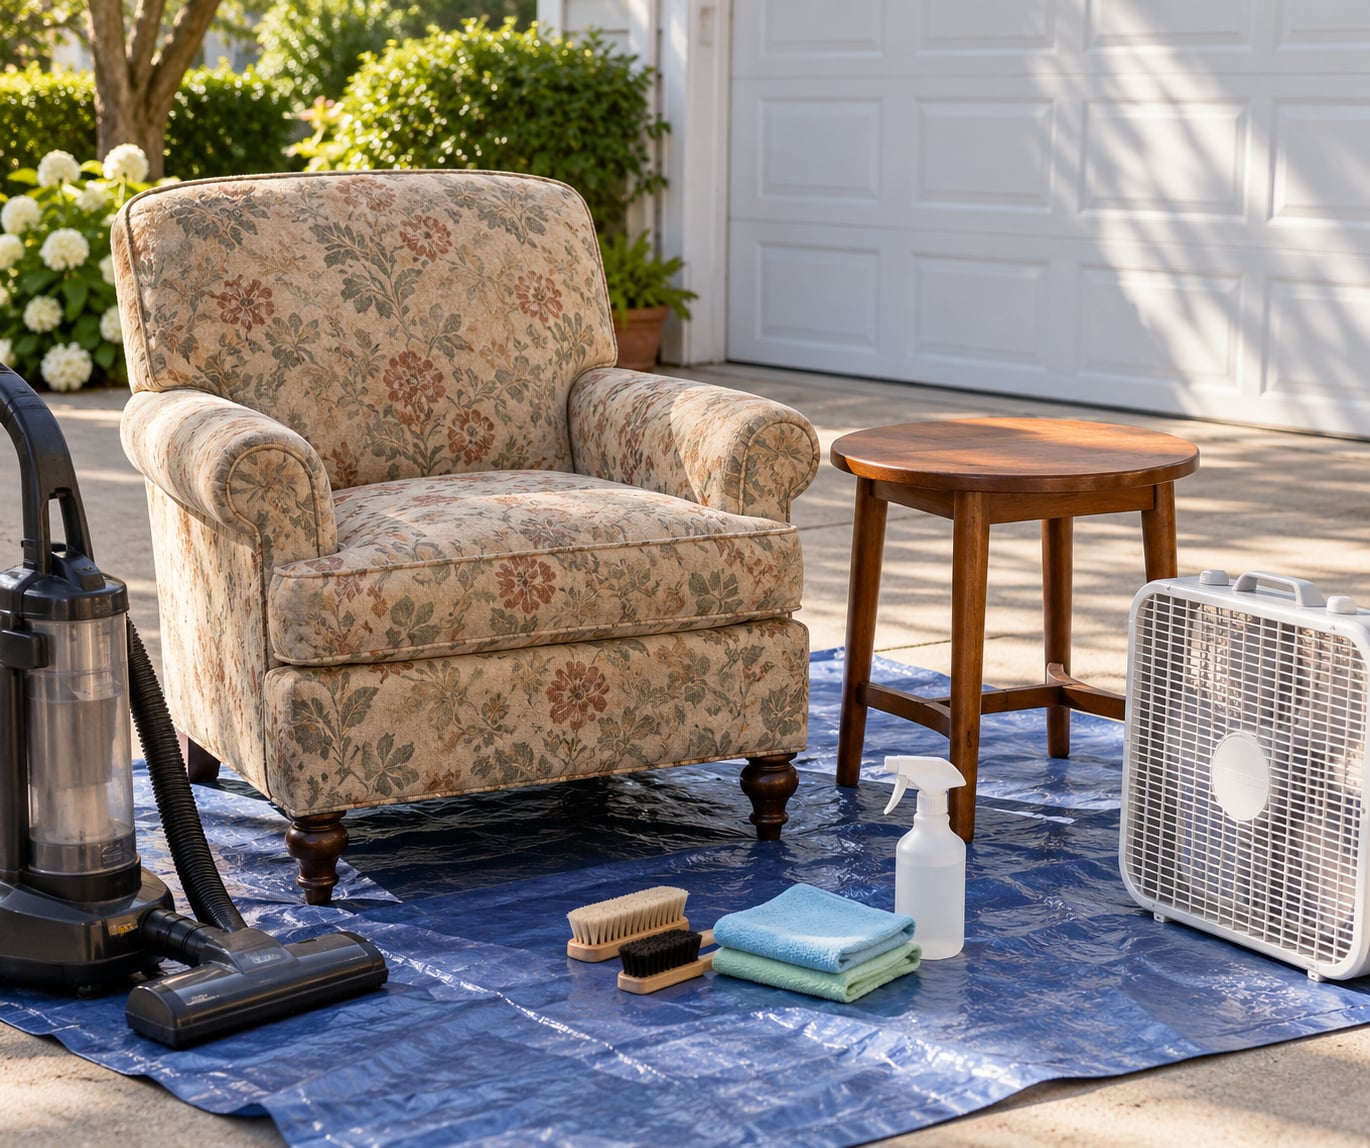
- A box fan, and either a tarp or plastic sheeting for outdoor work
- An enzyme cleaner if there is any chance of pet urine in the fabric
Gloves are not optional if you are handling an upholstered piece of unknown origin. Nitrile or sturdy dish gloves, plus a cloth mask if the piece is dusty, and long sleeves.
Step-by-Step: How to Disinfect Thrifted Furniture Before Bringing It Inside
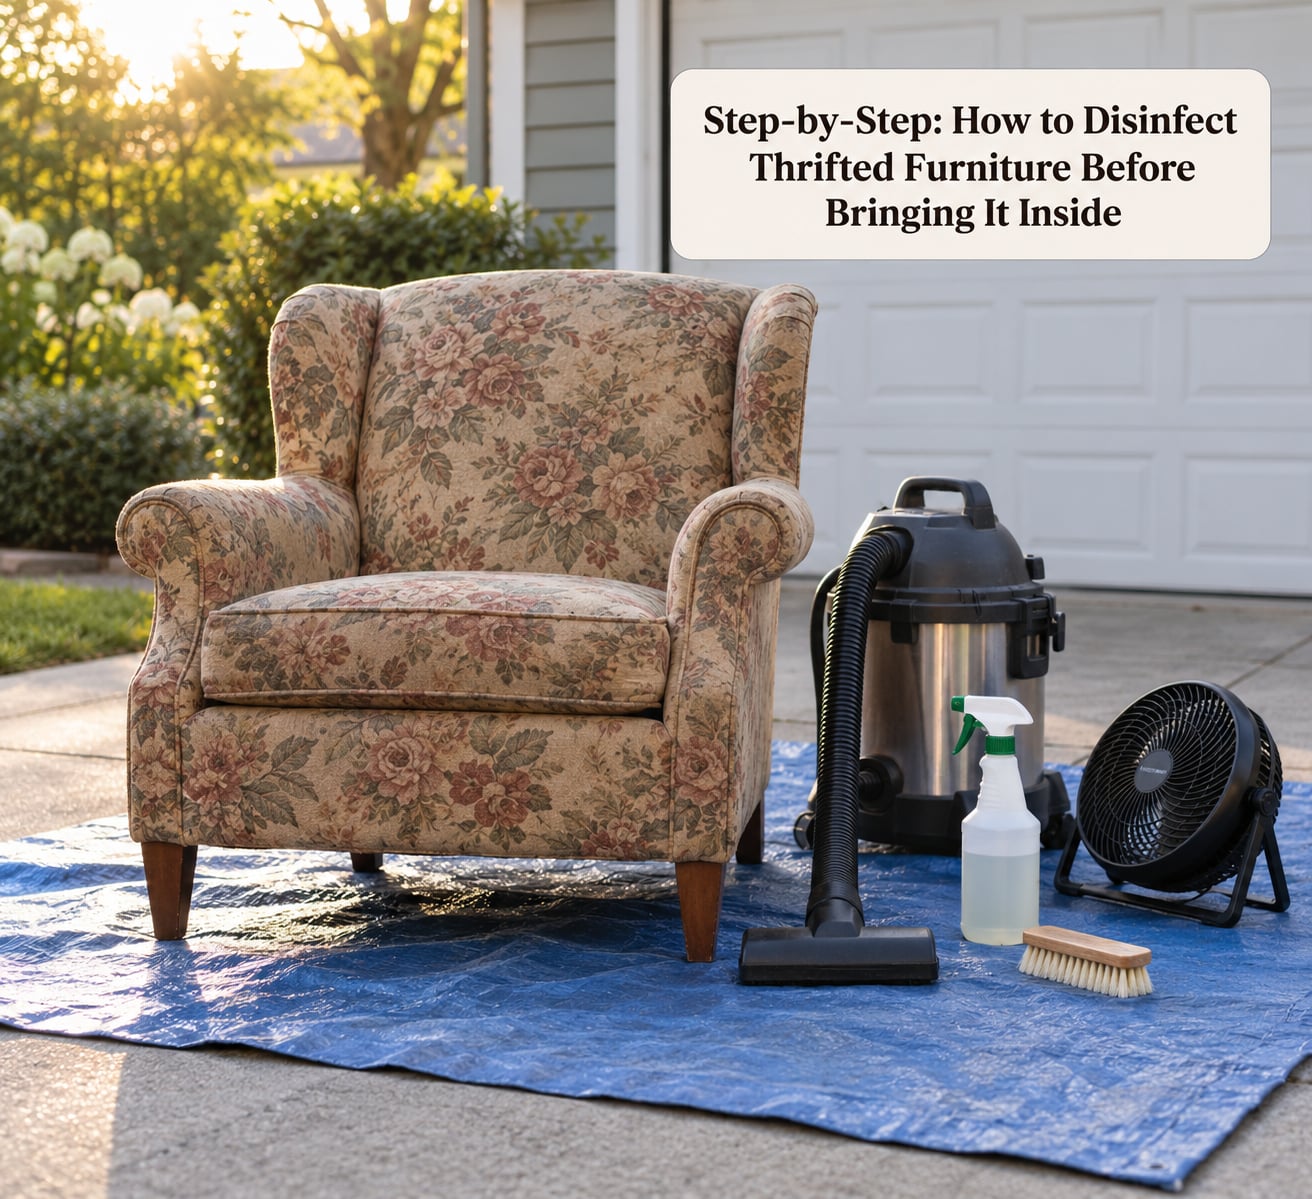
The order below matters more than the products. Cleaning before inspecting just spreads whatever is living in the cushion. Inspecting before cleaning is the only way to catch a problem early enough to walk away from it.
1. Inspect the Piece Outside
Leave the furniture where you found it, or in your driveway or on a balcony, and look at it before you love it. Upholstered pieces get checked in three places: the seams and piping where fabric is stitched to frame, the underside of every cushion and skirt, and the back or bottom panel that most sellers never wipe down.
What you are hunting for on upholstery: tiny rust or dark spots that are actually dried bed bug excrement, small live insects in the seam, shed skins, and eggs stuck in fabric folds. If you see any of those, you are done with the piece. There is no amount of steam, dryer heat or cleaner that makes upholstered furniture infested with bed bugs worth keeping, and treatment almost always costs more than the piece cost you.
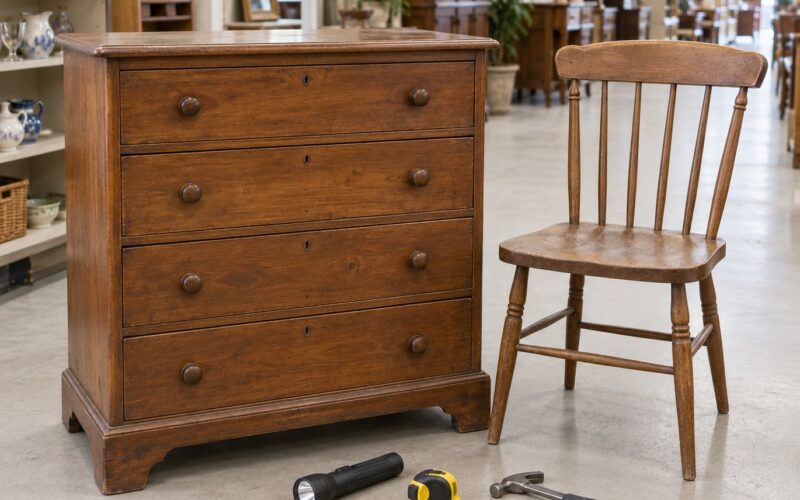
On hard surfaces, run your fingers along drawer rails, the underside of shelves, the back panel and the feet. Bed bugs do live in wood, but they prefer the sheltered joints, so look for the same rust-colored spotting or insect casings in those areas. Bed bugs can hitchhike in a wooden dresser, so a solid piece is not automatically pest-free.
Also check for mold. Mildew is usually flat, dusty and grey-green, and wipes away. Mold has a raised, fuzzy or powdery texture, often black, green or blue, and it smells musty even when the rest of the piece does not. Black mold on a cushion means porous material that has been damp, and porous material that smells of mold is a discard unless the piece came to you very cheaply and you are prepared to replace the foam.
Then identify the finish, because it decides everything in step 3. Shellac and old French polish dissolve in alcohol and in vinegar. Lacquer can be softened by strong solvents. Waxed, oiled and unfinished wood can take water but will darken or raise the grain. Painted and lacquered sealed surfaces are the most forgiving. When you cannot tell, treat the piece as the most fragile finish it might be.
Smell it too. A sharp ammonia or cat-urine note that turns sour when damp usually means urine has soaked into foam. Enzyme cleaner handles surface contamination, but foam that has been soaked through is a replacement job, not a cleaning job.
Before you go further, set a walk-away line. You walk away if you find live bed bugs, if mold is widespread across a cushion, if the frame is structurally compromised, if a finish is already flaking badly, or if the piece smells of smoke deep enough that you can still smell it from across the room after cleaning. Knowing that in advance saves an afternoon.
2. Vacuum and Dry-Clean Every Surface
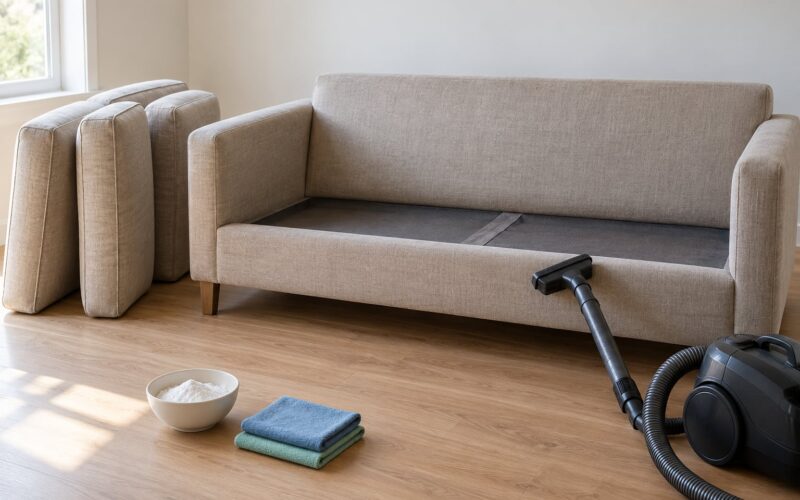
Run the vacuum over everything with the upholstery tool, then again with the crevice tool, working into seams, the gap between cushion and frame, under the skirt, along drawer rails, and down the back. Vacuum the underside and the feet too, since those sit on the floor of wherever the piece came from.
You are removing dust, hair, grit, and insect debris. This matters for a reason beyond tidiness: a disinfectant sprayed onto a dusty surface gets wiped through the dust instead of the surface, and grit dragged across a lacquered top under a wet cloth will scratch it.
Follow the vacuum with a soft-bristle brush and a barely damp microfiber cloth on hard surfaces, working top to bottom so you are not pushing grime back onto a clean area. For carved or turned detail, a soft toothbrush gets into the grooves that a cloth skips. Let the piece dry before anything wet goes on it.
3. Wash with a Surface-Safe Cleaner
Cleaning and disinfecting are different jobs. Cleaning removes the grease, grime and odor source; a disinfectant kills what is left once the surface is already clear. A disinfectant sprayed on a dirty surface is mostly wasted.
Use warm water with a few drops of clear dish soap as your default for most surfaces. Test it first in a hidden spot, usually the back of a leg or the underside of a seat cushion, and wait a few minutes. Wipe sealed or painted wood, lacquered surfaces, plastic, and metal hardware with a wrung-out cloth, then dry immediately. Wood drinks water at the joints and the seams, so keep the cloth damp, never dripping.
Unfinished or bare wood is the exception. Wipe with the dish soap solution using the least water possible, then follow with a barely damp clean cloth to lift residue. Expect the raw wood to darken, and treat that as normal rather than as damage. Old shellac, French polish, waxed finishes and any piece whose finish you could not identify: skip the water and go straight to a dry method, such as a slightly damp cloth with a tiny amount of mineral spirits tested in the same hidden spot, or simply a dry microfiber wipe after vacuuming.
For fabric upholstery, check the care tag first, and pull it before you assume anything. Remove loose covers and wash them according to the tag, or in warm water with detergent if the tag allows. For fixed upholstery, work a small amount of detergent solution into the fabric with a soft brush, blot rather than rub, and keep the padding from getting saturated. Foam that has taken on water takes days to dry and can grow mildew inside the cushion where you cannot see it.
Leather gets a damp cloth only, plus a leather-appropriate cleaner if it needs more. Do not soak leather, and dry it away from direct heat, which cracks it.
Wicker and rattan are cleaned with a barely damp cloth and a soft brush, never a soaking. Water swells the fibers and warps the frame. Keep sprays off entirely and work section by section so the whole piece never holds moisture.
Stone, marble and sealed counters: mild dish soap only. Acidic vinegar dulls and etches marble and travertine permanently, so keep it away from those surfaces.
4. Choose and Apply the Right Disinfectant
Read the label before you buy, not after. You are looking for three things: a registered disinfection claim rather than simply antibacterial marketing, the list of surfaces it is approved for, and the contact time, which is the wet period the surface must stay visibly damp for the product to work.
Confirm the surface list includes your material. Most household disinfectants are tested for food contact surfaces and hard non-porous finishes, and a great many are not tested for fabric, leather, wicker or unfinished wood. If your material is not on the label, that product is the wrong tool, no matter how well it works on the kitchen counter.
Apply it to a visibly damp cloth rather than fogging the whole piece. Wipe and keep the surface visibly wet for the full contact time stated on the label, re-wetting as needed. Most people wipe once, see the wet shine fade, and assume it worked, which is the single most common reason a disinfected surface still has germs on it.
Stay away from bleach on wood, and from ammonia or alcohol on shellac, lacquer, French polish and many painted finishes. Bleach will strip color from raw wood, and it and ammonia together make a gas that is genuinely dangerous. Never mix two cleaning products, full stop. If you used one, rinse the surface well and plenty of time before the other goes anywhere near it.
5. Rinse Only When the Product Requires It
Some disinfectants leave a residue that needs lifting, and some do not. The label tells you which. If it says wipe off, use a second cloth with plain clean water, damp not wet, and change it as soon as it turns grimy. On glass, metal and glossy lacquer, buff dry with a clean cloth to kill streaks.
On porous upholstery, use the minimum that works, and blot with clean dry towels. Oversaturating the fabric pushes cleaner and moisture deep into the foam, where you cannot dry it.
On wood, never rinse. Wipe the damp cloth off, let the surface dry, and if you see a water ring, dry the area again with a hairdryer on cool, held at a distance. Most rings lighten with that treatment.
6. Let the Furniture Dry Completely
Drying is the stage people cut short, and it is the stage that turns a cleaning job into a mildew problem. Aim for a full 24 hours for hard surfaces and 48 to 72 hours for anything upholstered, and treat those as minimums rather than goals.
Set up airflow. A box fan across the piece does far more than a closed room does. Outdoors, work in bright shade or sun depending on the material: direct sun helps with odor and small insects, but it can fade upholstery, warp unfinished wood and dry out leather, so it suits sealed hard surfaces and sturdy outdoor furniture rather than a fabric sofa.
Stand cushions on end with space between them, remove any filler or packing newspaper, and lift cushions so air moves through the middle. For deep moisture, a dehumidifier in a closed garage or spare room pulls water out of foam faster than a fan alone.
Press the back of your hand firmly against a seam or cushion for a few seconds. If it feels cool or damp, it is not dry. Odor is the other signal, and the honest truth is that you can clean and deodorize secondhand furniture without ever getting it back to a showroom smell. If the mustiness is still there after a full dry cycle, the source is inside the foam and the cushions need replacing.
7. Quarantine and Check for Hidden Pests
This is the step that answers the part of the question most guides skip. Keep the piece out of your living space until you have both dried it and given it time to reveal any pests that were hiding. Forty-eight to 72 hours in a garage, on a covered porch or in a spare room with the door closed is a reasonable quarantine window. Thrifters on forums describe that window as the point where they feel comfortable moving a piece in, and it is a reasonable default.
During the quarantine, check twice, including underneath. Bed bugs move toward warmth, so if your home is warmer than the garage, the risk of them walking inside is real. Do not set a freshly quarantined piece directly against a wall or a bed.
If you find evidence rather than a live insect, treat it with heat and take the item out of circulation. Steam from a garment steamer or steam cleaner, applied slowly enough to move through the fabric and into the seam, kills bed bugs and eggs on contact. For covers and any machine-washable parts, 20 minutes on a high dryer cycle followed by a high-temper dry cycle is the most reliable DIY treatment. A hard dryer cycle does real work here because heat kills them, not detergent.
Freezing works too, in the other direction. Bag the piece, seal it, and leave it in a freezer at 0 F or below for several days, then bring it back up and vacuum immediately. Bed bugs cannot survive sustained freezing.
Two treatments together beat one: steam the seams, then encase the piece for at least 12 to 18 months in a mattress and box encasement rated for bed bugs. Any fabric you removed goes into a dryer, not back on the frame.
Move the piece in dry, clean and free of live pests. If you found live bed bugs, or you see a heavy infestation in more than one area of a large upholstered item, walk away or bring in a licensed pest professional. A steam machine is not a treatment for an established infestation, and a couch that has housed bed bugs for weeks is rarely salvageable.
Common Mistakes
Almost every bad outcome traces back to one of these. The fix is usually simpler than the mistake.
Disinfecting a dusty piece. The spray sits on the dust and gets wiped away with it. Vacuum and dry-wipe first, then disinfect.
Using one cleaner for every finish. Vinegar and alcohol strip shellac and can haze lacquer. Identify the finish, and when you cannot, use the gentlest option available.
Skipping the hidden areas. Seams, piping, undersides, drawer rails, the back panel and the feet are where pests and grime actually live. Those are the surfaces the whole job is about.
Ignoring contact time. A quick wipe that dries in thirty seconds has not disinfected anything. Keep the surface visibly wet for the full time on the label and re-wet as it dries.
Rinsing when the product does not ask for it. You can drive a residue-free product into wood grain or dampen a cushion that should have stayed drier. Follow the label, and buff dry rather than rinse.
Saturating upholstery. Heavy water migrates into foam and takes days to come out. Apply solution with a damp cloth, blot, and towel the surface dry.
Skipping the quarantine. A piece that looks clean can still be shedding insects. Give it 48 to 72 hours isolated and check it twice before it goes near a bed or a wall.
Carrying a damp piece indoors. Closed-up moisture in a cushion or a drawer is how you grow new mold. Dry fully outside, with airflow, and check before it crosses the door.
Treating vinegar or baking soda as a disinfectant. Both are useful cleaners and deodorizers, and neither is registered to kill germs. Use them to clean, then use a real disinfectant on a clean surface.
Mixing cleaners. Bleach with ammonia or with vinegar releases a toxic gas. Never combine products, and if you switch, wipe the surface down thoroughly first.
A few final safety notes. Work outdoors or in a ventilated space, and keep children and pets out of the area while a disinfectant is wet. Never mix bleach with ammonia, vinegar, or any other cleaner. Follow the label on whichever product you use, because contact time and ventilation instructions differ between them. If you are dealing with an active pest infestation rather than a precaution, that is a job for a licensed professional, not a spray bottle.
Frequently Asked Questions
How do I disinfect thrifted furniture before bringing it inside?
Inspect the piece outdoors for bed bugs, mold and odors, vacuum every surface, wash it with a material-safe cleaner, then apply a disinfectant that lists your surface on the label and keep it visibly wet for the full contact time. Let the piece dry completely in isolation, then hold it 48 to 72 hours in a garage or closed room before checking it again and bringing it in.
Can I use vinegar or bleach on secondhand furniture?
Vinegar works well on sealed and unfinished wood and on most hard surfaces, but it dissolves shellac and French polish and etches marble and travertine. Bleach strips color from raw wood and damages many old finishes. Neither is registered as a disinfectant, so use them for cleaning only, and never mix bleach with vinegar or ammonia.
How do I kill bed bugs on a thrifted upholstered chair or couch?
Steam every seam, piping line and crevice slowly enough that the steam moves into the fabric, then wash or dry any removable covers on a high heat cycle. Vacuum thoroughly afterward and encase the piece for 12 to 18 months. If you found live bugs, an upholstered piece that has been infested for weeks is usually not worth saving, and a licensed pest professional is the safer call.
What is the safest way to clean furniture with an unknown finish?
Start with the gentlest method that works: vacuum, then a barely damp microfiber cloth with a drop of clear dish soap, tested in a hidden spot first. Skip water entirely on shellac, French polish, waxed or lacquered pieces, and avoid alcohol and vinegar until you know what the finish is. If the piece is genuinely valuable and unmarked, cleaning it by hand is safer than a steam cleaner.
How long should furniture air dry after disinfecting?
Plan on at least 24 hours for hard surfaces and 48 to 72 hours for upholstered pieces, with a fan for airflow and cushions standing on end. Press the back of your hand against a seam to test; if it feels cool or damp, it is not ready. Moving a damp piece indoors traps moisture in the foam and is the most common way a clean couch grows new mold.
Conclusion
Start before you buy, not after you own it. If you are still standing in the parking lot, that is the moment to inspect the seams, the underside and the frame, and to walk away from live bed bugs without a second thought.
If the piece is already at home, put it back in the driveway. Vacuum, wash by material, disinfect for the label’s full contact time, dry it with airflow until it is completely dry to the touch, then give it 48 to 72 hours isolated before it goes anywhere near your bed. 2026 is a good year to get this right once, instead of treating a whole house in the fall.