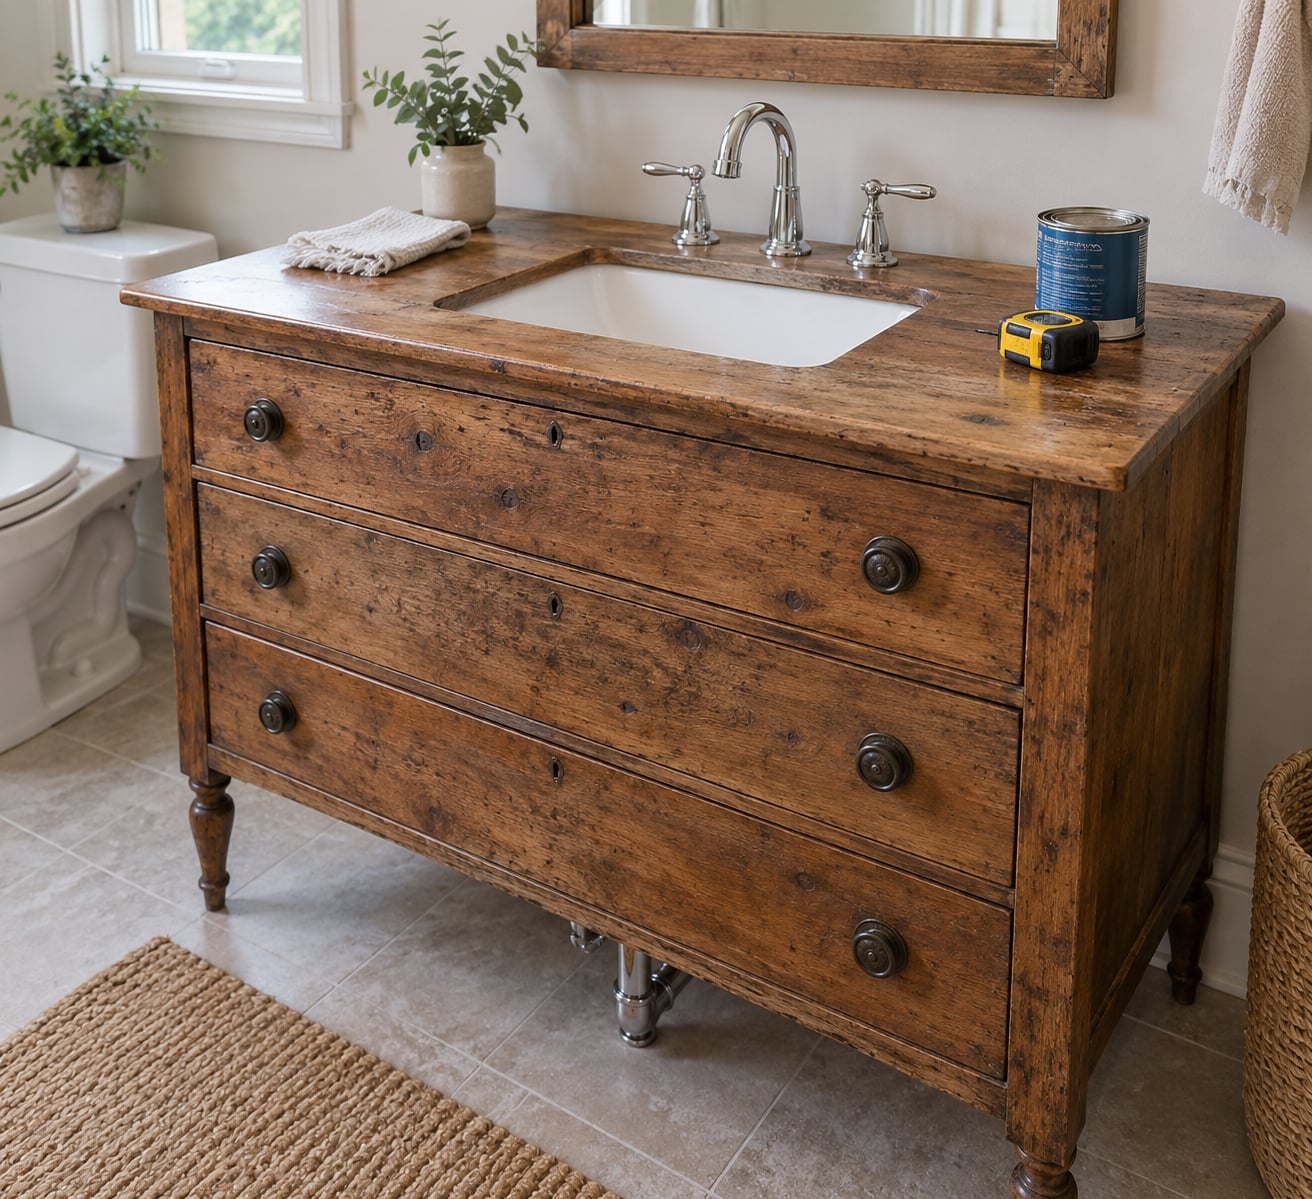
A dresser-to-vanity conversion comes down to four things: pick a piece that is the right size and sturdy enough, cut openings for the sink and the plumbing, waterproof the wood, and retrofit the top drawers so they clear the drain pipes. Most of the work is measuring and sealing. Plan on a full weekend for the carpentry and another day before the finish cures.
I have watched people turn a plain 1970s chest into something that looks like it came out of a design magazine, and the ones that went well all shared the same habit: they sorted the plumbing first and bought the sink second. Reverse that order and you are cutting a hole that will not fit.
A word on expectations before we start. This is beginner-to-intermediate work. If you can measure accurately, use a jigsaw, and follow a sealant label, you can absolutely do it. Moving existing water lines or a drain to a new location is a different job entirely, and that part belongs to a licensed plumber.
Table of Contents
- What You Need
- How to Turn a Dresser Into a Bathroom Vanity
- Step-by-Step: Measure, Plan, and Prepare the Dresser
- Step-by-Step: Create the Sink Opening
- Step-by-Step: Protect the Dresser From Water
- Step-by-Step: Install the Sink, Faucet, and Plumbing
- Step-by-Step: Finish and Style the Vanity
- Common Mistakes
- Frequently Asked Questions
- Can any dresser be used as a bathroom vanity?
- What type of sink is best for a dresser vanity?
- Do I need to waterproof a dresser before installing a sink?
- Can I install a bathroom sink in a dresser myself?
- How do I keep the dresser stable when it becomes a vanity?
- What paint or finish works best for a bathroom vanity?
- Conclusion
What You Need
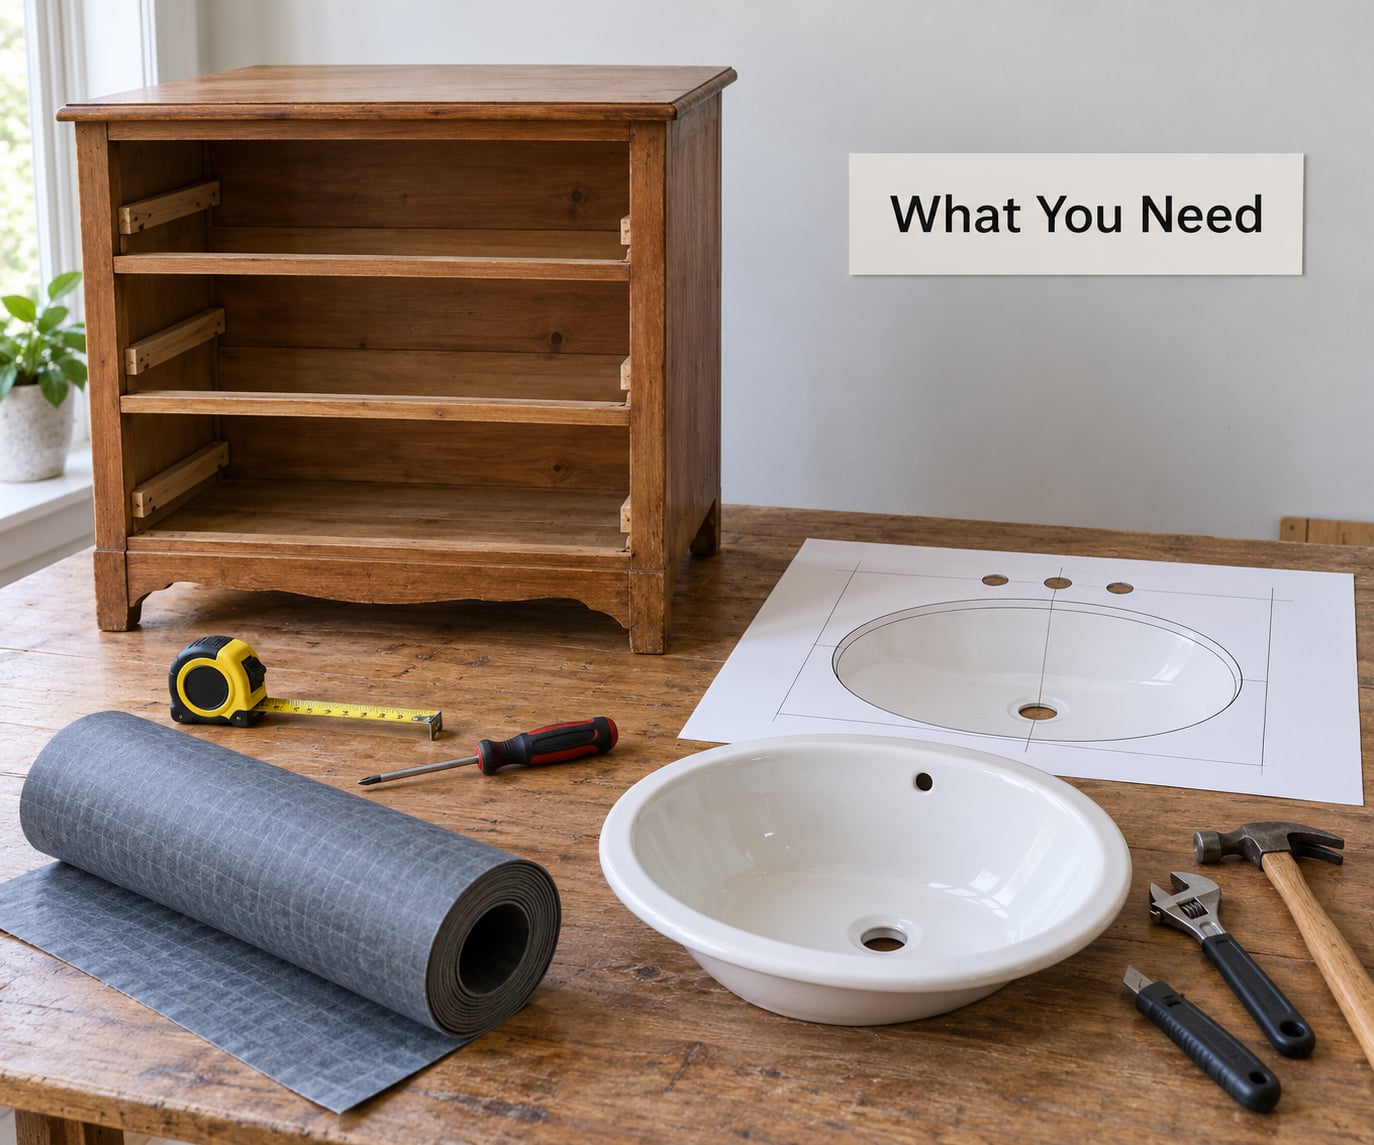
Before anything else, decide whether your dresser is a candidate. Solid wood or well-made veneer over a solid frame works. Particleboard and MDF are the two I would pass on, because they swell irreversibly the first time they take on water, and a vanity gets wet every single day. Push on the corners and wiggle the top: if the carcass is loose or creaks, it will not hold a sink or a stone top.
Height matters more than most people expect. Comfortable vanity height runs about 32 to 36 inches, and plenty of dressers land under 32. Measure yours before you commit. If it comes up short, taller legs or a simple frame base fixes it, and a vessel sink adds back the height you need.
For tools, gather a tape measure and a pencil, a jigsaw or oscillating multi-tool with a flush-cutting blade, a drill with a bit slightly smaller than your sink’s mounting screw, a sliding T-bevel or straightedge, clamps, and a stud finder.
You will also need plumbing supplies: the sink, a compatible drain assembly, flexible supply lines with the right diameter for your shut-off valves, a P-trap, and plumber’s tape or thread compound. Add a jigsaw coping blade if your sink has a rounded cutout.
For sealing and finishing, buy a marine-grade or exterior polyurethane sealer, 100 percent silicone caulk rated for bathroom use, and paint or stain suited to a humid room. If you are working overhead or near old paint, put on a respirator, eye protection and gloves.
How to Turn a Dresser Into a Bathroom Vanity
There are three ways to run the conversion, and the choice changes almost every step after this one. A freestanding vanity means the dresser stands alone against the wall with the sink cut into its own top. A built-in sink cabinet means you remove drawers and fit doors, which suits pieces with awkward drawer layouts. A vanity base means you build a frame, set a stone or composite top on it, and let the dresser provide the storage below. Pick one now and stay with it.
Whichever route you take, verify two clearances before you cut anything: the space behind the carcass for the P-trap and supply lines, and the space above for the faucet and backsplash. Forum builders consistently report that making the vanity fit the plumbing, not the other way around, is what keeps a project from stalling on day two.
Step-by-Step: Measure, Plan, and Prepare the Dresser
Run a shallow drawer straight out and look at what you have underneath. You are looking for the frame crosspiece, because that member has to carry the weight of the sink and everything you store on top. A wide board rather than a narrow rail gives you a clean place to run a drain hole.
Pull every drawer and remove the knobs, pulls and any back plates. Vacuum the interior and wipe down the wood. Strip or sand the old finish if it is already failing, because sealer only bonds to sound surface.
Now measure the room. Note the wall-to-wall width, where the existing shut-off valves sit, and whether the drain lands where the carcass can cover it. Then choose the sink and confirm its dimensions against your measurements. A vessel sink needs only a small drain hole, which is the least invasive option you will find. A drop-in sink needs a cutout matching the template the manufacturer supplies.
Mark the faucet position too. Deck-mount faucets need holes within the sink’s own footprint, and a wall-mount faucet frees the top entirely but requires a new line routed inside the wall.
Step-by-Step: Create the Sink Opening
Trace the sink cutout onto the dresser top using the template or the paper rough-in drawing that came with it. Then move your line about an inch inward, all the way around. That narrower cut leaves a ledge for the sink to rest on and gives you a continuous wood border instead of an exposed raw edge.
Clamp a straightedge to the top and drill a starter hole inside the cut line, clear of the edge. Run the jigsaw blade into the hole and follow the line at a steady pace, letting the saw do the work. A coping blade handles tight corners without turning them into a mess.
Test fit the sink before you seal anything. It should sit flat on the ledge with roughly an eighth of an inch of space around the rim for caulk. If it rocks, the cut is not flat, and no amount of sealant will fix that.
Step-by-Step: Protect the Dresser From Water
This is the step that decides how long the piece lasts, and it is the one most guides gloss over. A bathroom top gets splashed, wiped and occasionally flooded. Unfinished wood in that environment swells, then cracks as it dries.
Seal every bare face before the sink goes in. Brush the marine-grade sealer into the top, the sink cut edge, the interior faces and the drawer boxes, following the coat count and cure time printed on the can. Sand lightly between coats with fine grit to keep the surface flat.
Give the final coat the full cure time the label calls for. Rushing this is the single most common reason a finished vanity starts to swell within a year.
Pay special attention to the inside of the sink cavity and every place a pipe passes through wood. Seal around those penetrations with silicone as you assemble, not afterwards, so water never reaches a raw edge.
Step-by-Step: Install the Sink, Faucet, and Plumbing
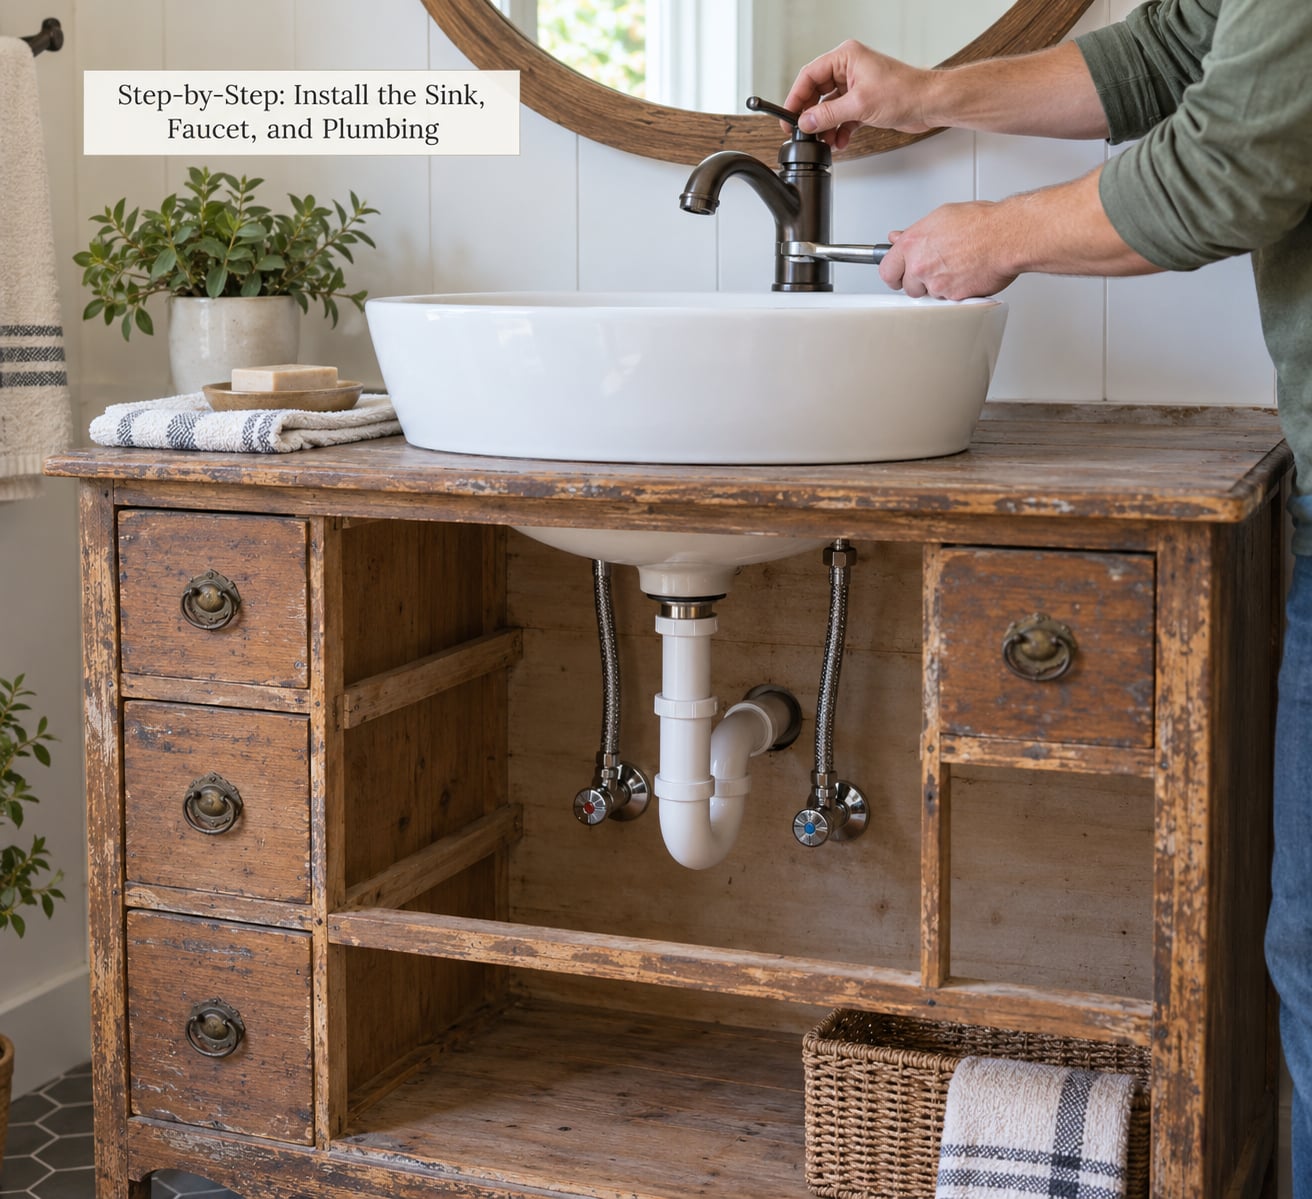
Start by dry fitting everything. Run the drain down from the sink and assemble the P-trap without tightening, checking that the trap arm reaches the existing drain and that the whole assembly can be removed later for cleaning. A vanity you cannot service is a problem waiting to happen.
Cut the drain hole in the bottom panel or crosspiece now that you know the pipe location. Most plumbers will widen it with a hole saw, and a scrap of cardboard under the bit keeps swarf out of the cabinet.
Seat the sink on its ledge, run a thin bead of 100 percent silicone underneath, and clamp it overnight for an even squeeze. Install the faucet with the supplied hardware, using a thin layer of pipe dope or plumber’s tape on the threads only.
Connect the hot and cold supply lines to your shut-off valves, then hand-tighten and snug with a strap wrench. Turn the water on slowly and watch every joint for a full minute. A single drip becomes a swollen cabinet floor if you skip this step.
If you need to relocate the drain, run new supply lines, or cut into a wall for a faucet, stop and call a licensed plumber. Altering existing plumbing is licensed work in most places, and the hookup usually takes a plumber an hour.
Step-by-Step: Finish and Style the Vanity
With the plumbing proven leak-free, sand the sealed surfaces where you will not see them and paint or stain the visible ones. Bathrooms are hard on flat finishes, so use a paint formulated for kitchens and bathrooms, or an exterior enamel, and keep coats thin.
For the drawers that survived, either leave the drawer boxes full length and notch them around the plumbing, or remove the back plate, shorten the box and screw the plate back on to close the new end. Keep the drawer faces untouched so the piece still reads as a dresser.
If a top drawer had to be sacrificed to the drain, retain its face as a false front. Screw it back where it was, and it hides the opening while preserving the original look. This is the trick that separates a conversion that looks intentional from one that looks broken.
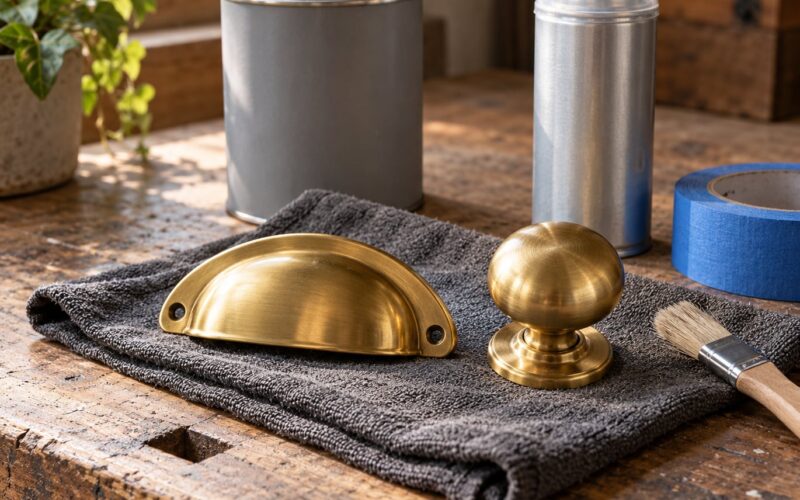
Swap the old hardware for new knobs or pulls, add a backsplash of tile or a simple painted panel, and anchor the piece to wall studs with a small blocking cleat so a full sink cannot tip it off the wall. If you want the stone-top look, a stone offcut cut slightly larger than the carcass hides the old finish entirely.
Common Mistakes
The first mistake is measuring the sink before measuring the plumbing. Fix it by locating the drain and valves first, then choosing a sink that fits the space you have rather than the space you wished for.
The second is cutting the cutout to the traced line. Cutting about an inch inside gives you a ledge; cutting on the line leaves nothing to sit on.
Third, sealing after the sink is installed. Seal the top, the cut edge and the drawer boxes before assembly, while you can still reach every surface with a brush.
Fourth, trusting particleboard or MDF. These engineered boards swell and crumble at the first wet incident. Use the piece only if it is solid wood or a quality veneer over a solid frame, and seal it generously.
Fifth, cutting drawers to fit and leaving them unusable. Remove the back plate, shorten the box and reattach the plate. Drawers that still open and close are worth ten times a clean cut-out nobody can use.
Sixth, skipping wall anchoring. A loaded stone top on a tall piece is a real tip hazard. Screw a blocking cleat into the studs and fasten the vanity’s back rail to it.
Seventh, letting the carcass carry a heavy stone top without checking the crosspiece. A narrow rail or a soft frame will sag over time, and the fix is a frame base rather than a thicker top.
Eighth, and most common of all, letting the finish cure on its own schedule. Follow the sealer label, then check the whole carcass for leaks a day later with a paper towel.
Frequently Asked Questions
Can any dresser be used as a bathroom vanity?
No. Solid wood or a well-made veneer over a solid frame works well. Skip particleboard and MDF, because they swell permanently the first time they get wet. You also need a carcass firm enough to carry the sink, enough clearance behind it for the P-trap and supply lines, and a height near the 32 to 36 inch standard. Pieces with center drawers take more cutting but work fine.
What type of sink is best for a dresser vanity?
A vessel sink asks the least of the furniture. It sits on top of the dresser and needs only one small drain hole, so you avoid a large cutout through the carcass and preserve more drawer space. A drop-in sink looks more built-in and gives a lower, more conventional profile, but it demands an accurate cutout and a strong frame underneath. Choose the vessel if the dresser is solid but fiddly, the drop-in if it is sturdy and you want the integrated look.
Do I need to waterproof a dresser before installing a sink?
Yes, and sealing before assembly is the right order. Brush a marine-grade or exterior polyurethane sealer onto the top, the cut edge, the interior faces and the drawer boxes, following the coat count and cure time on the label. Then run 100 percent silicone caulk around the sink rim and every pipe penetration. Unsealed wood in a wet room swells, then cracks as it dries, and no amount of later spot repair brings it back.
Can I install a bathroom sink in a dresser myself?
The cutting, sealing and assembly are within reach of a careful beginner. Measuring accurately and following the sealant label matter far more than fancy carpentry skills. What you should not do yourself is move or alter existing water lines, cut into a wall, or run a new drain to a different location. Those are licensed work in most places, and a plumber will usually have the connections done within an hour.
How do I keep the dresser stable when it becomes a vanity?
Anchor it to the wall. Locate the studs, screw a short blocking cleat into them at the height of the dresser’s top rail, and fasten the back of the carcass to that cleat. If the piece is tall or carries a stone top, add a plinth or frame base to lower the center of gravity instead. Lock any casters you find underneath before you set the sink, and level the legs before the plumbing goes in.
What paint or finish works best for a bathroom vanity?
Use a paint or enamel formulated for kitchens and bathrooms, or an exterior-grade polyurethane. These hold up to humidity and repeated wiping better than standard interior paint on flat surfaces. Apply thin coats, sand lightly between them, and let each cure before the next. Skip lacquer, which softens in heat and humidity. Whatever you choose, brush sealer onto any bare wood edges first, since the cut edges around the sink absorb moisture fastest.
Conclusion
A dresser makes a genuinely good vanity once you treat it as a cabinet rather than a finished object: sturdy enough to carry the sink, sealed against moisture, tall enough to work at, and detailed so the drawers still open.
Start with three checks before you touch a saw. Measure the dresser and compare it to the 32 to 36 inch standard. Trace the drain and supply locations so you know where the P-trap has to live. And run a finger along the crosspiece to be sure the frame can hold the weight.
Only after those three pass should you mark a cutout. That single habit, planning the plumbing before the sink, is what turns a stressful build into a weekend project you can finish.