How to turn an old door into a headboard comes down to three jobs: clean and prep the slab, add trim so it stops reading as a door, and mount it securely to your wall or bed frame. A standard interior door is already the right height, sturdier than most flat-pack furniture and covered in panel detail you would pay for in a store headboard.
The whole project is a weekend of work with a drill, a saw and patience. No joinery experience needed. The part people get wrong is not the painting. It is the mounting.
A 32-inch interior door costs almost nothing at a Habitat for Humanity ReStore, a demolition salvage yard or a curb alert, and a solid wood slab is a genuinely different material from the particle board in a boxed headboard. You get real stile-and-rail construction, panel detail and a piece nobody else in the room has.
Here is the process I would follow, in order, including the sizing math that decides whether your door even works before you start sanding.
Table of Contents
- What You Need
- The door itself
- Measuring and marking
- Tools
- Repair and finishing supplies
- Mounting hardware
- Optional decorative pieces
- Step-by-Step: How to Turn an Old Door Into a Headboard
- How to Turn an Old Door Into a Headboard That Fits Your Bed
- Remove Hardware and Clean the Door
- Sand and Repair the Surface
- Add Decorative Details
- Seal the Finish
- Mount the Headboard Securely
- Check the Fit and Finish the Look
- Common Mistakes
- Frequently Asked Questions
- What is the best way to secure a headboard to the wall?
- How high should I hang a wall mounted headboard above the mattress?
- What type of door works best for a headboard?
- How do I hide the doorknob and hinge holes?
- Can one old door make a headboard for a king bed?
- Is it safe to strip and sand old paint off a salvaged door?
- Conclusion
What You Need
The door itself
One interior door, roughly 32 to 36 inches tall and 1.5 inches thick. Solid core is worth hunting for because it holds screws and screws matter at the mounting stage. Hollow core works, but it needs reinforcement.
Run the symmetry test before you commit. Turn the door sideways. If the panel layout is unbalanced once it is horizontal, it will look wrong as a headboard. Plank doors, flat doors and full-width single-panel doors pass. Traditional six-panel doors fail, and that is the single most common complaint I see in DIY forums.
Measuring and marking
A tape measure, a pencil and a square. A speed square makes trimming a 2×4 to the same length twice far less annoying than eyeballing it. Add a straightedge if the door edge is wavy.
Tools
A drill and driver bits, a circular saw or miter saw, an orbital or hand sander, a scraper, a stud finder, a paint brush and a small roller. A pocket hole jig or simple L-brackets handle trim attachment. Optional but useful: a vacuum or tack cloth, painter’s tape, a lead paint test kit and a face mask with a rating for paint stripping.
Repair and finishing supplies
Wood filler or spackle for the knob and hinge holes, wood glue, short screws, 120 to 220 grit sandpaper, a stain-blocking primer, your paint or stain, and a water-based polyurethane top coat if the headboard will be touched daily.
Mounting hardware
For a wall mount, a French cleat rated well above your door’s weight plus 2.5 to 3 inch screws and washers. For a frame mount, two vertical 2×4 supports, a drill with a metal bit and short lag bolts. A rental-friendly build needs neither.
Optional decorative pieces
A trim cap board across the top, 2×2 or 4×4 leg posts, crown or shoe molding, or the original door hardware reattached as hooks. Readers on upcycling forums swear by reusing the backplate and knob as a place to hang a robe.
Before you drag anything home, use this table to check whether a standard door clears the width rule that makes how to turn an old door into a headboard projects look generous: go about 3 inches wider than the mattress on each total side, and never go narrower.
| Bed size | Mattress width | Recommended headboard width | Door note |
|---|---|---|---|
| Twin | 38 in | 44 in | Cut a 32 in door or a hollow bifold panel |
| Full | 54 in | 57 in | Two narrow doors side by side works |
| Queen | 60 in | 63 in | A standard 36 in door plus a 27 in piece, or trim a wide plank door |
| King | 76 in | 79 in | Two 36 in doors, or one pocket or barn door |
| California king | 72 in | 75 in | Same as king but narrower; one extra-wide door can work |
Knowing how to turn an old door into a headboard starts with finding the right slab. Sources worth checking in order of luck: curb alerts and neighborhood groups first, then Habitat for Humanity ReStore, then architectural salvage yards and demolition contractors, and finally the solid core doors in the back of a local home improvement store. Check that the door is flat and free of rot or insect damage. An old door with a soft corner will not hang straight.
Step-by-Step: How to Turn an Old Door Into a Headboard
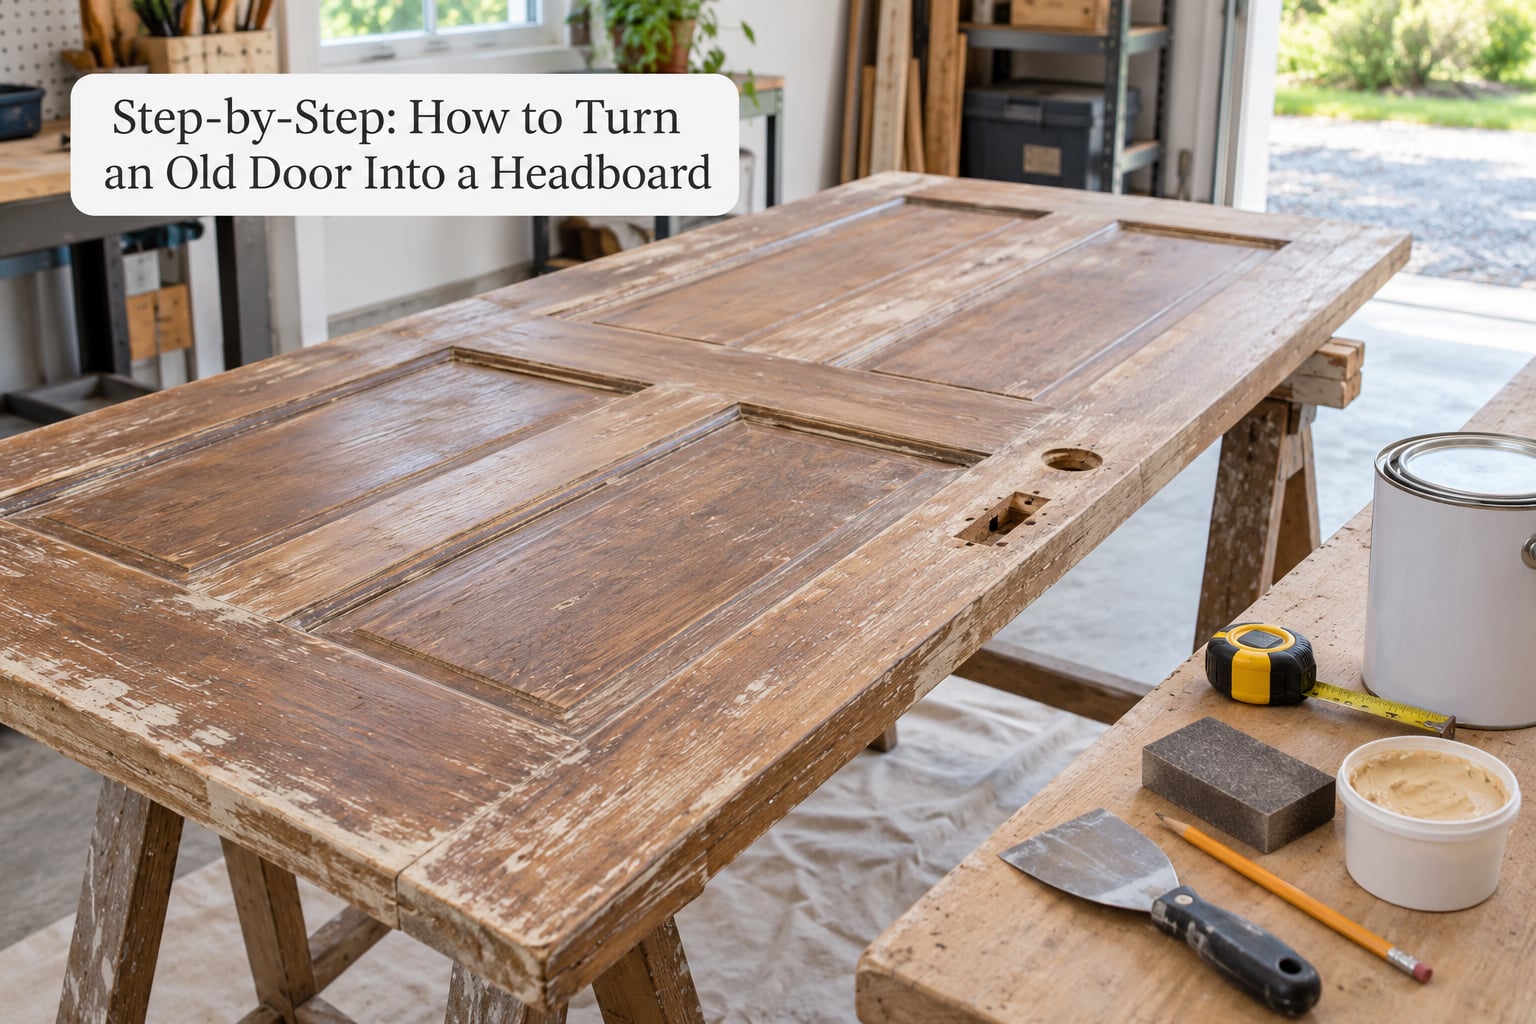
How to Turn an Old Door Into a Headboard That Fits Your Bed
Measure the mattress across the widest point, then measure the wall space above the bed. A queen mattress is 60 inches wide, so you are aiming for roughly 63 inches of headboard, which overhangs the mattress by about 1.5 inches on each side. That overhang is what makes a headboard look generous rather than squeezed.
Now measure the wall above the mattress and decide your finished height. A headboard that tops out around 6 to 12 inches above the mattress sits well. Add the thickness of any top molding to the door height when you work out how tall to cut the backing pieces.
Check the door against all of it before you remove a single screw. If it is too narrow, you have three options: join two doors with a butt joint and a backing strip, use a wider reclaimed plank or barn door, or build the headboard as a padded panel on a plywood and 2×2 frame instead. Splitting a door in half lengthwise and butting the two halves back together also works, though you are dealing with two cut edges instead of one.
Remove Hardware and Clean the Door
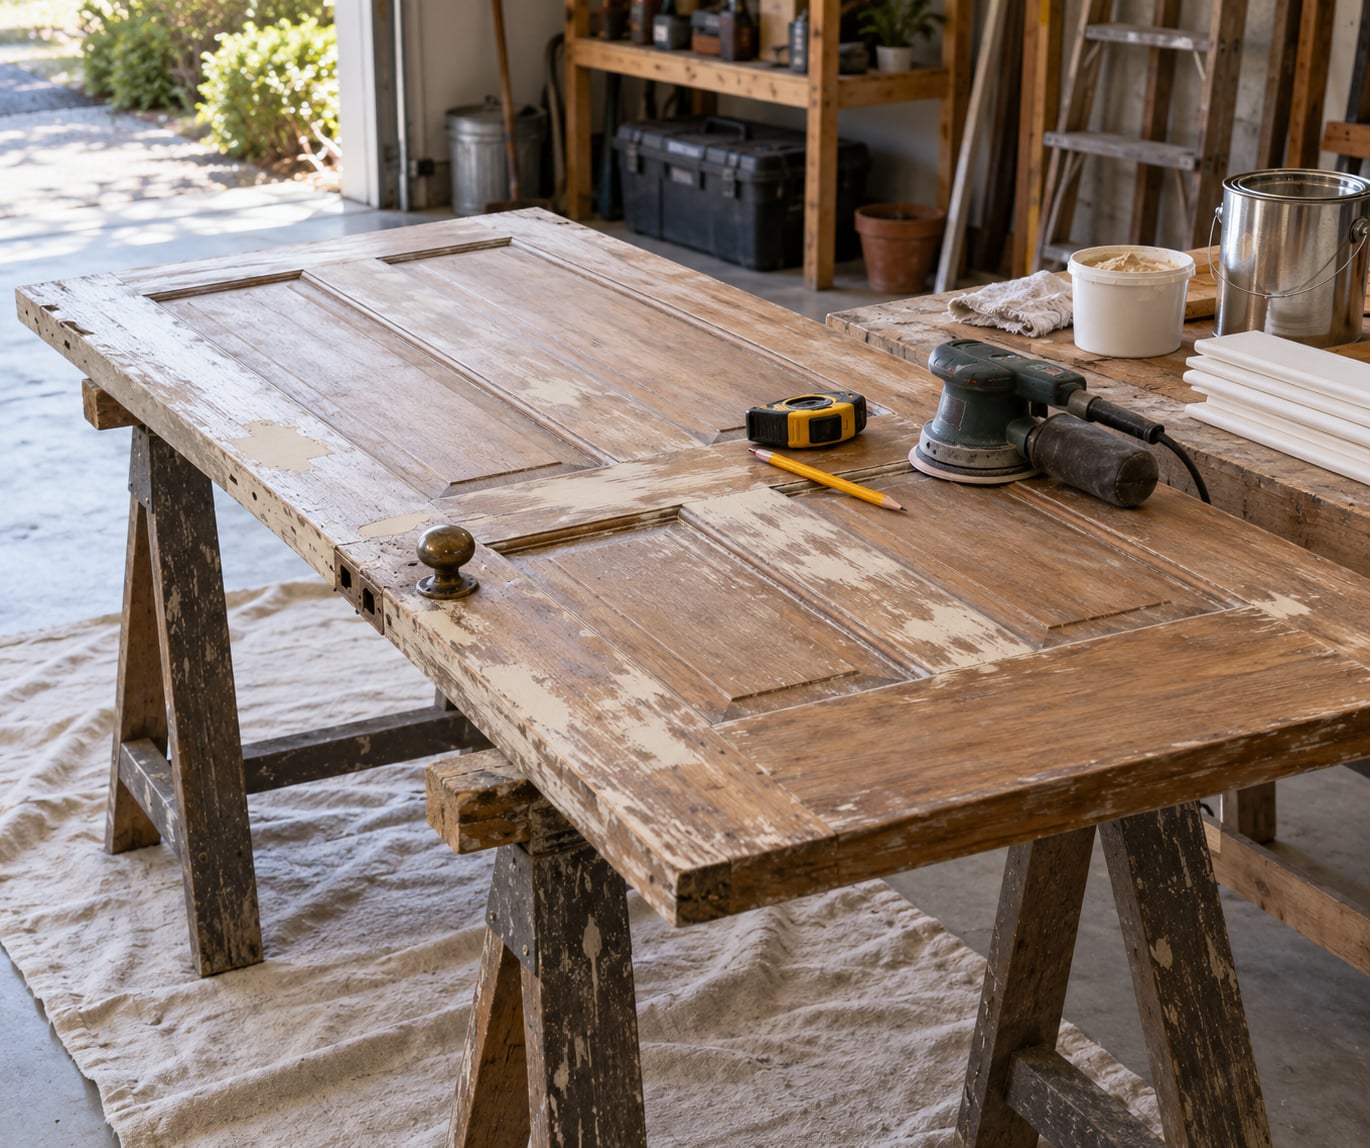
Take off hinges, the knob or lever, the latch plate and strike plate, and any peephole or deadbolt. Save the backplate and knob if you plan to reuse them as hooks. Pry off any trim or weatherstripping stuck to the edge.
Wash the door with warm water and dish soap, then dry it fully. Test for lead paint before you scrape or sand anything, if the door could predate 1978. A test kit is cheap and takes two minutes, and lead paint dust is not something to sand and inhale on a whim.
Scrape off loose flakes with a metal scraper or plastic putty knife. A light pass is enough. People report the same reliable sequence in forum threads: clean, scrape the loose flakes, sand lightly at 220 grit, then apply four or more thin coats. Trying to strip every last layer of a door with ten coats of oil paint on it is where projects get abandoned.
Sand and Repair the Surface
Work through 120 grit to knock down edges and loose paint, then finish at 220 grit for a surface that takes paint evenly. Sand with the grain. Stop if you see old paint edges flaking in sheets, because that is the moment to stop and retest for lead.
Fill the doorknob hole and the three hinge mortises with wood filler, pressing it in with a putty knife and letting it dry hard before the second pass. Do not try to hide the knob hole with trim. The trick that actually works is placing the door so the hole ends up low, where the pillows cover it.
Feel for hollow core doors by knocking and weighing. If yours is hollow, drive a few short screws into a hidden rail or glue in a length of 1×2 behind the mounting zones before you hang anything. Otherwise the French cleat screws can wander inside the void and pull nothing at all.
Add Decorative Details
The trim is what stops it looking like a door you hung on the wall. Cap the top edge with a 1×4 or wider board that overhangs both ends slightly, and add 2×2 or 4×4 posts at the bottom corners if you want it to read as furniture. A simple shoe molding or crown cap across the top gives it a finished silhouette.
For the finish itself, you have three good routes. Leave the wood bare and seal it, which shows off grain and takes the least time. Paint over the old finish with a stain-blocking primer and two coats of latex or chalk paint. Or strip to raw wood and apply a water-based stain for a rustic look.
The paint wash is the one people copy most often. Mix paint roughly one to one with water, brush it on, then wipe most of it back with a rag so the grain still shows through. It softens a door that otherwise reads flat and hardware-store new.
Two details get skipped and should not be. Band or trim every raw cut edge before the headboard goes up, because a rough cut end is visible from the side of the bed and is the mistake readers complain about most. And pick a paint that contrasts with the wall. A white headboard on a white wall disappears.
Seal the Finish
Apply a stain-blocking primer first if you painted over an old finish, then two thin coats of your topcoat. Thin and even beats thick and fast, because thick coats stay tacky and pick up every pillowprint.
Give each coat the full drying time on the label, not the dry-to-touch time. Seal a stained or bare surface with a water-based polyurethane in satin or gloss if hands and pets will be on it daily. Paint on a door that is not fully dry will blister or peel within a season.
Mount the Headboard Securely
This is where the safety lives. A solid core door can weigh 70 to 90 pounds, and it will be mounted above someone’s head while they sleep, so anchor it into studs and add a second anti-tip restraint if children are in the room.
For a wall mount, screw a French cleat into the top rail of the door with 2.5 to 3 inch screws, countersunk so the heads sit flush and do not print through. On the wall, find two studs with a stud finder, mark the cleat position so the headboard lands 6 to 12 inches above the mattress, and drive the same long screws into the studs. Hang, then check level with a real level, not by eye. A French cleat rated to 200 pounds has plenty of margin for a door.
For a frame mount, screw two vertical 2×4 supports to the back of the door, then bolt those supports to your bed frame with short lag bolts through the frame’s steel rail. Clear the mattress out of the way first so you can reach the bolts, and check that the frame does not flex when you push it. A headboard attached to a frame that moves will feel loose forever.
| Consideration | Wall mount with French cleat | Bed-frame mount with 2×4 supports |
|---|---|---|
| Tools | Stud finder, drill, level | Drill with metal bit, wrench, wrench-free lag bolts |
| Mattress clearance | Fully clear, nothing touches the board | Mattress must be moved or lifted during install |
| Moves with the bed | Board stays still, which looks better with an adjustable base | Board travels with the frame and can rattle |
| Rental friendly | No, requires drilling into the wall | Partly, if the frame has bolt-on hardware |
| Best for | Platform beds, adjustable bases, narrow rooms | Metal frames, rentals, no-stud walls |
| Child safety | Add a second anchor or anti-tip strap | Board is already tied to the frame |
If you have no studs in the right place, add blocking between studs before you hang anything, or switch to the frame mount. Do not trust drywall anchors alone for a weight this heavy over a sleeping person, and leave a hand’s width of clearance behind the headboard so the mattress and thick pillows do not grind against the wall.
Check the Fit and Finish the Look
Push the headboard firmly at each end. Any movement means you are back at the studs or need a longer screw. Confirm it is level, centred behind the mattress and clear of any frame hardware that moves when the bed adjusts.
Styling does the rest. Contrast the paint with the wall color, add two or three pillows against the board so the low knob hole stays hidden, and hang something above it if you left wall space. Reattaching the original knob and backplate near one end gives you a hook for a robe or a towel. One Facebook upcycling group made a king headboard from a single old pocket door, wall-mounted it to free up floor space, and reattached the door hardware as hooks on each side. That trick costs nothing and makes the piece read as deliberate.
Common Mistakes
Choosing a door that is too narrow. Once it is on the wall, a headboard narrower than the mattress looks apologetic. Check the width table before you buy.
Hanging a rough cut edge. Trim, band or cap every cut end before mounting. This is the single most-called-out flaw in finished door headboard photos.
Skipping the top trim. A bare rectangular slab still looks like a door. A cap board and posts take fifteen minutes and change the read completely.
Painting over damp or glossy wood. Sand glossy areas, let moisture dry fully and use a stain-blocking primer. Peeling within a few months otherwise.
Skipping the primer or rushing the coats. Four thin coats beat two thick ones every time.
Mounting without finding studs. Anchors in drywall alone will eventually let go. Find studs, add blocking, or bolt to the frame.
Ignoring the mattress. Mattresses move, and adjustable bases move a lot. Bed-frame mounts need a stable frame and room to reach the bolts.
White on white. The best finish job in the world disappears against the wall. Pick contrast.
Skipping the lead paint test. Doors are the classic carrier for pre-1978 coatings. Two minutes of testing is worth it.
Frequently Asked Questions
What is the best way to secure a headboard to the wall?
A French cleat screwed into the top rail of the headboard and into two wall studs is the strongest option. Use 2.5 to 3 inch screws, countersunk flush so they do not print through the face. With a door this heavy, drywall anchors alone are not enough. Add a second anti-tip restraint if children sleep in the room.
How high should I hang a wall mounted headboard above the mattress?
Aim for the top edge to sit about 6 to 12 inches above the top of the mattress. Measure from the mattress, not the box spring, and check the height with the mattress in its highest position if you use an adjustable base. Leave a few inches of clearance behind the board so pillows do not press against the wall.
What type of door works best for a headboard?
Plank doors, flat doors and doors with a single full-width panel work best because their layout stays balanced when you turn them sideways. Traditional six-panel doors look lopsided horizontally and read as a door no matter how you finish them. Solid core holds mounting screws far better than hollow core, though hollow core can be reinforced from behind.
How do I hide the doorknob and hinge holes?
Fill the knob bore and the three hinge mortises with wood filler, applied in two passes with full drying between them, then sand flush. Most builders do not try to disguise the knob hole at all. Instead they mount the door so the hole sits low, behind the pillows where nothing will ever see it.
Can one old door make a headboard for a king bed?
A single standard interior door is only 32 to 36 inches wide, so it will not cover a king mattress on its own. Use two 36 inch doors butted together over a backing strip, reach for a wide reclaimed barn or pocket door, or build a padded headboard on a plywood and 2×2 frame instead. Two narrow doors side by side is the most common fix.
Is it safe to strip and sand old paint off a salvaged door?
Test first. Doors made before 1978 are the most likely household item to carry lead-based paint, and sanding or scraping it dry puts dust in the air. Buy a lead test kit, check the door, and if it tests positive, wet the surface, wear a respirator rated for lead and work outdoors. Stripping with a gel product and rinsing is safer than sanding.
Conclusion
If you want to turn an old door into a headboard, do four things in order and the project takes a weekend. Measure your mattress and wall space first, then pick a door that passes the sideways symmetry test and is wide enough for your bed. Prep it properly: strip hardware, test for lead paint, fill the knob and hinge holes and sand to 220 grit. Finish it thin, priming first, and cap the raw cut edges with trim so it stops looking like a door. Mount it into studs with a French cleat or bolt 2×4 supports to the bed frame, then add contrast color and pillows to finish the room.