If you want to know how to make a slipcover for a chair, the short version is this: measure the chair, add 3 inches (7.5 cm) to every measurement for seams and shrinkage, cut rectangles for the back, seat box, arms and skirt, sew them together, then add a zipper or ties so it comes off for washing. A first cover takes most beginners an afternoon plus a second session for fitting, and it costs a fraction of having the chair reupholstered.
A slipcover is worth the effort for one reason: it hides dated or stained upholstery without touching it. You can wash it, swap the fabric at Christmas, and move it to another chair when the room changes. Nothing is stapled permanently, nothing is glued, and the chair stays put.
Table of Contents
- What You Need
- How much fabric do you need?
- Step-by-Step: How to Make a Chair Slipcover
- How to Measure Your Chair for the Slipcover
- Choose a Fabric and Decide on the Slipcover Style
- Cut the Fabric Pieces
- Sew the Main Cover
- Fit the Slipcover on the Chair
- Finish the Edges and Add the Final Touches
- Common Mistakes
- Frequently Asked Questions
- How much fabric do I need to cover a dining chair?
- How many yards of fabric do you need to cover a wingback chair?
- What is the best fabric for washable slipcovers?
- How do I stop chair covers from slipping off the chair?
- Can you make a slipcover without sewing?
- What are the different styles of chair covers?
- Conclusion
What You Need
Everything below is standard. If you have sewn a pillow or hem a curtain, you already own most of it. The only item that genuinely changes your options is a sewing machine, and there is a workable alternative for readers without one at the end of the sew step.
| Material | Amount and notes |
|---|---|
| Upholstery-weight fabric | Cotton canvas, drop cloth, denim or poly canvas. See the yardage table below. |
| Thread | All-purpose polyester. One spool usually covers a whole chair. |
| Zipper | 14 to 18 inch invisible zipper for a fitted cover, or 22 to 28 inch for a loose one. |
| Velcro or hook-and-loop tape | One-sided, 1 inch wide, if you prefer a no-zip closure. |
| Bias binding or welt cord | Optional. Covers the raw inside seams and gives a finished look. |
| Non-slip shelf liner | Optional. A cut of rug padding or shelf liner under the seat stops the cover shifting. |
| Tool | What it is for |
|---|---|
| Measuring tape | Width, depth, height and drop measurements. |
| Pencil and paper | Recording each number before you forget it halfway up the chair. |
| Fabric shears | Cutting long panels cleanly in one pass. |
| Pins or sewing clips | Holding panels while you check the fit on the chair. |
| Tailor’s chalk | Marking adjustments straight onto the fabric. |
| Sewing machine | Straight stitch at half an inch is plenty. Optional for the low-sew route. |
| Iron | Pressing panels flat and setting hems before and after sewing. |
How much fabric do you need?
Yardage depends more on the chair shape than the size, because every extra curve and wing adds panels that waste fabric. These figures already include the 3 inch allowance, so buy once.
| Chair type | Fabric needed |
|---|---|
| Armless dining chair, loose cover | 1.5 to 2 yards |
| Dining chair with arms | 2.5 to 3 yards |
| Occasional or side chair with a skirt | 3 to 3.5 yards |
| Wingback or armchair | 6 to 8 yards |
| Tub or club chair | 7 to 9 yards |
For a wingback, treat 6 yards as the bare minimum and 8 as comfortable, because the wings need their own panels and matching the pattern at the joins takes extra length. Buy the extra yard even if the tape measure says otherwise. Nobody regrets having a yard spare.
Step-by-Step: How to Make a Chair Slipcover
How to Measure Your Chair for the Slipcover
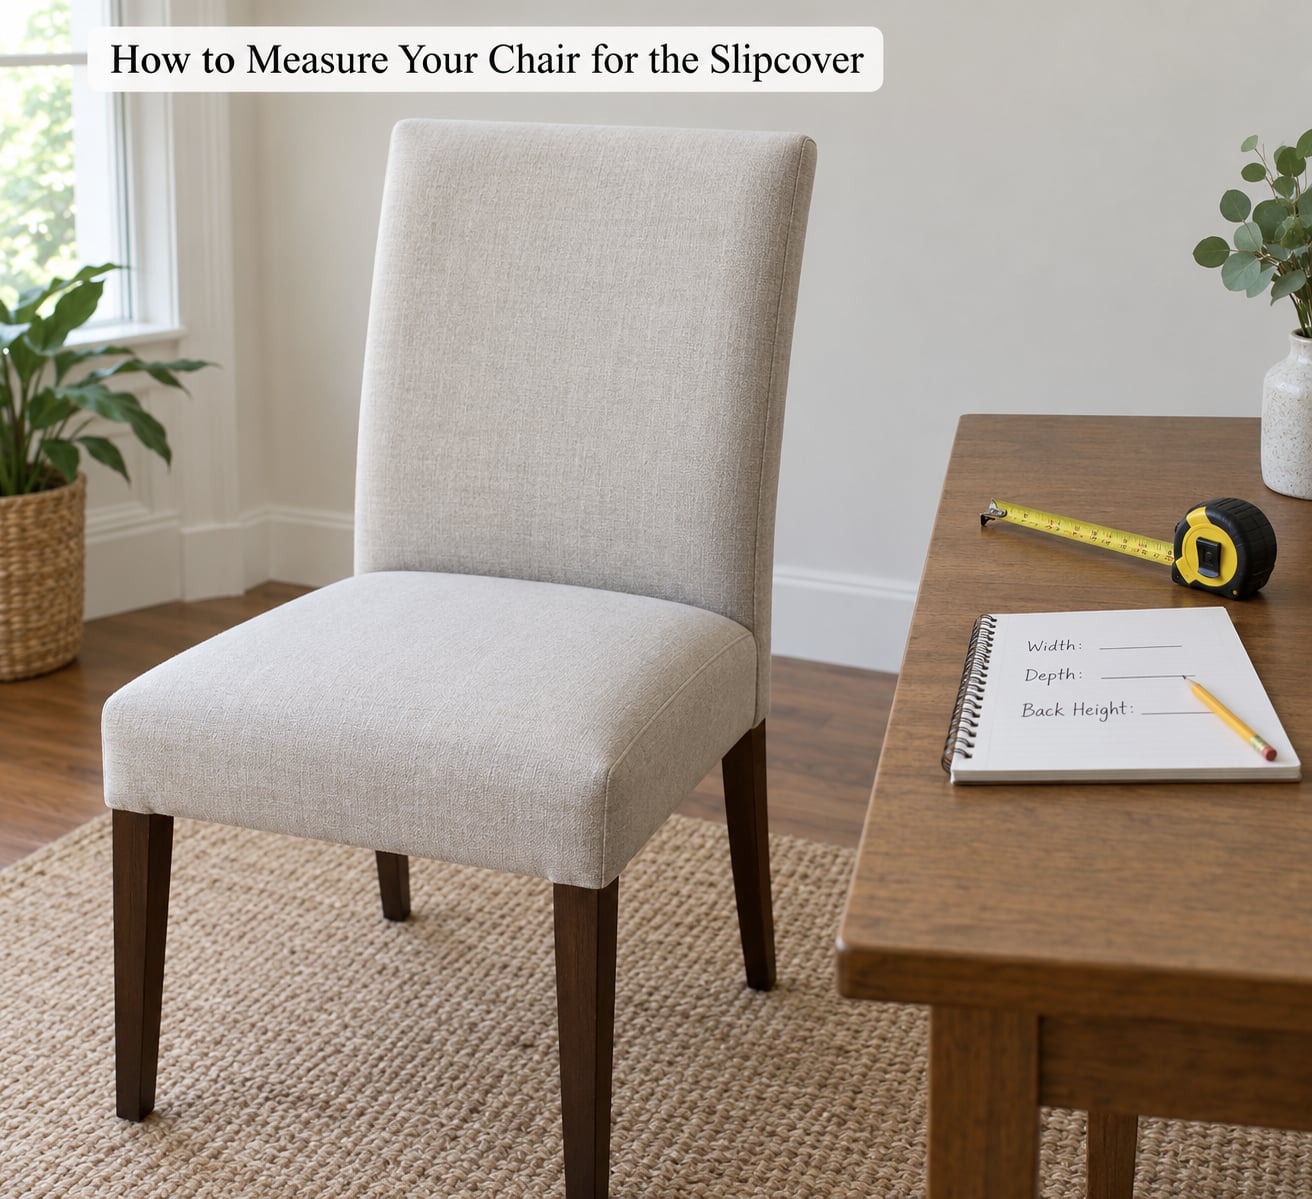
Measure in five places and write each number down before moving on. A slip cover is only as good as the numbers behind it.
- Seat width across the front edge, corner to corner.
- Seat depth from the front edge to where the back cushion begins.
- Back height from the top of the seat to the top of the chair back.
- Overall width across the widest point, which for an armless chair is the back frame and for an armchair includes the arms.
- Drop from the bottom of the seat frame to where you want the cover to end.
Add 3 inches (7.5 cm) to every measurement before you cut. About half an inch of that becomes seam allowance, and the rest absorbs shrinkage plus the small gathers that let a slipcover go over the chair instead of needing to be forced over it.
Write the numbers with labels. In a week you will not remember which of the two 22s was the seat width and which was the overall width.
Choose a Fabric and Decide on the Slipcover Style
Fabric choice comes down to one question: will this cover get washed? Cotton canvas, drop cloth and denim all go in a washing machine and come out fine. Anything marked dry-clean only rules itself out, because a cover you cannot wash is not worth making.
Match the weight to the chair. Drop cloth and cotton canvas are the most forgiving beginners can pick. Denim and ticking look good but are stiff, so they need a steam press or a careful nap to fold nicely at seams. A knit with a little stretch fits a curved tub chair better than any woven fabric.
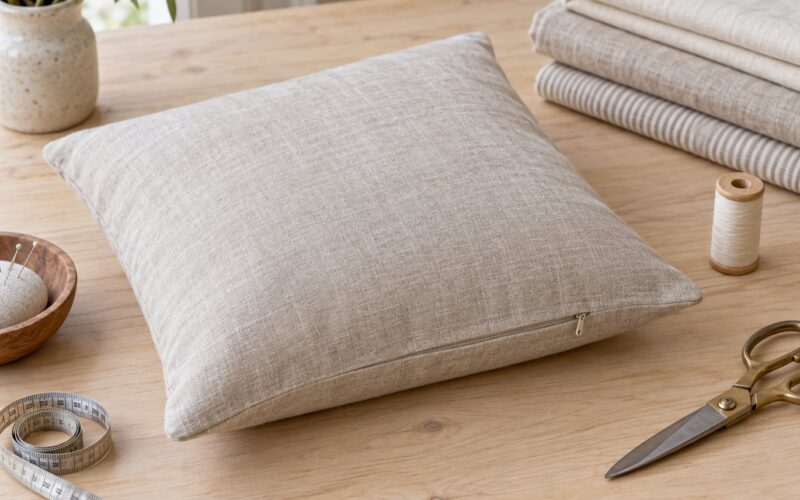
Then pick the style. A loose slipcover drapes over the whole chair and fastens underneath, so it fits a chair nobody wants to measure twice. A fitted cover is stitched to the shape of the frame, which looks tailored and takes longer. A skirted cover is a loose cover with a hemmed or pleated flounce at the bottom, and it hides the gap between chair and floor. A separate cushion cover solves the problem when the old fabric is worn out but the frame is fine.
Cut the Fabric Pieces
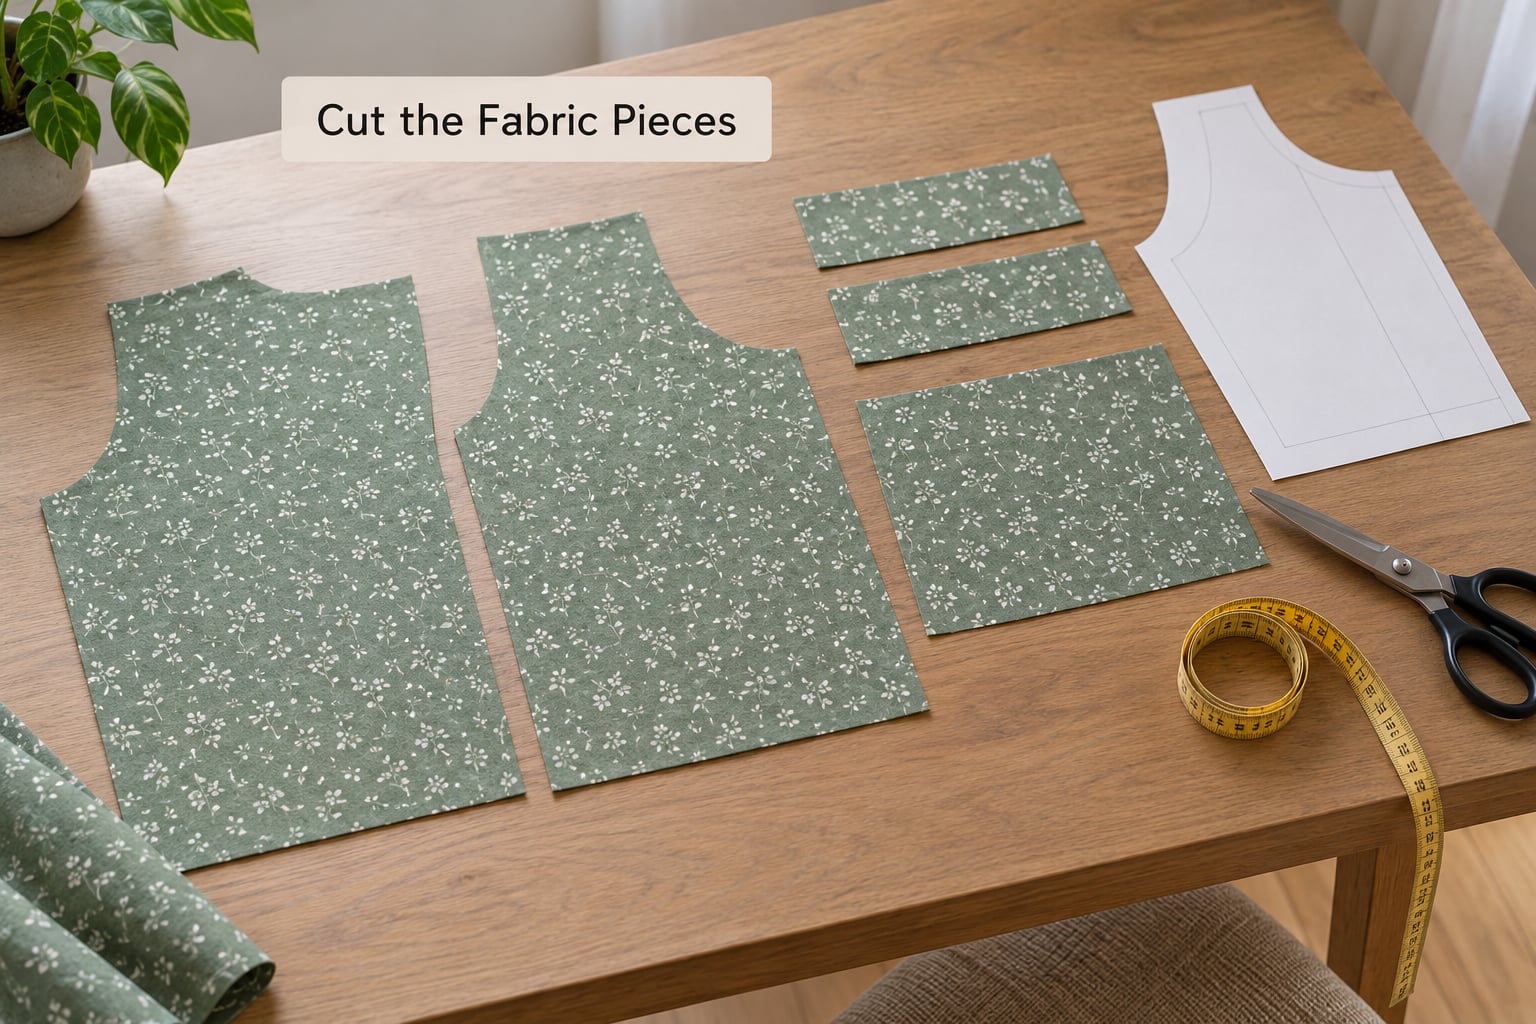
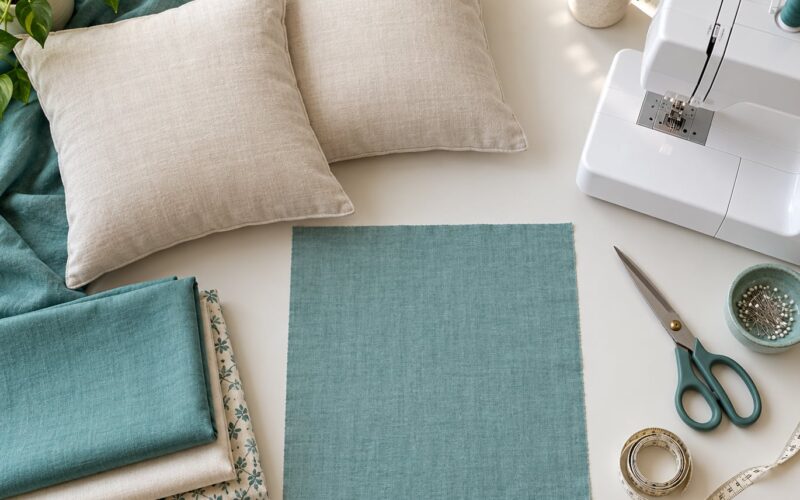
Wash and dry the fabric before it goes anywhere near the shears. Unwashed cotton shrinks in the first wash and takes the fit with it, and prewashing is the one step nobody regrets.
Lay out the panels on the floor before cutting anything: one back panel the width of the chair plus allowance, one seat piece the width plus depth plus allowance, a strip for each side, and a separate strip for the front drop and back skirt if you are adding one. Cut everything as simple rectangles. Curved seams are where beginners lose an afternoon and gain nothing.
Keep the grainline running straight down the back panel. For stripes, plaids or a directional print, cut each panel from the same length of fabric so the pattern lines up across the chair instead of wandering off at an angle.
Sew the Main Cover
Press every hem first. A flat edge now saves you a wrestling match later, when the layers are three deep.
Join the side strips to the back panel, then join the front drop to the seat piece so the two read as one continuous surface. Keep a half-inch seam allowance and backstitch at each end. If you want the inside seams to look finished, run a strip of bias binding over them, or topstitch the seam allowances flat to the back.
Leave one edge open. That is where the cover goes over the chair and where your closure goes in.
For the closure, a zipper looks the most professional and takes about fifteen minutes of pinning. Sew it to the bottom hem first, then close the back seam. Ties at the corners suit a loose cover and take seconds. A strip of hook-and-loop tape works if you expect to pull the cover on and off daily.
If you have no machine, the same cover works with iron-on hem tape and fabric glue along the seams, then hand-stitch the closure. It is slower and the seams are not as strong, which is why slip covers built this way usually get a staple gun at the base as backup.
Fit the Slipcover on the Chair
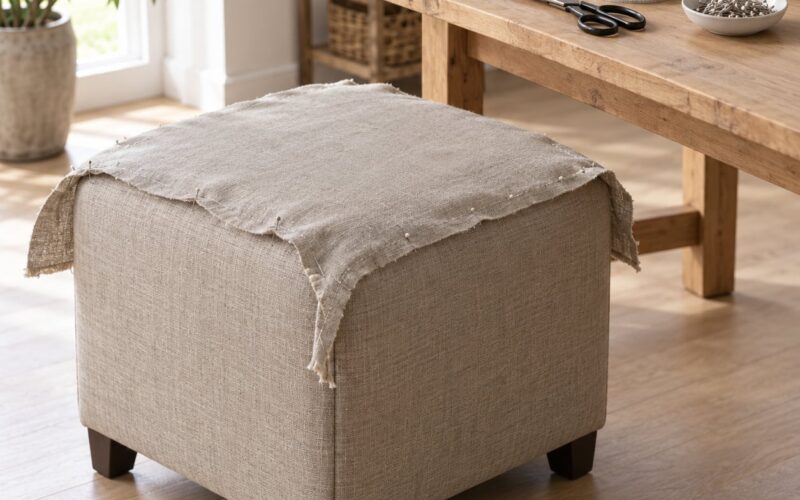
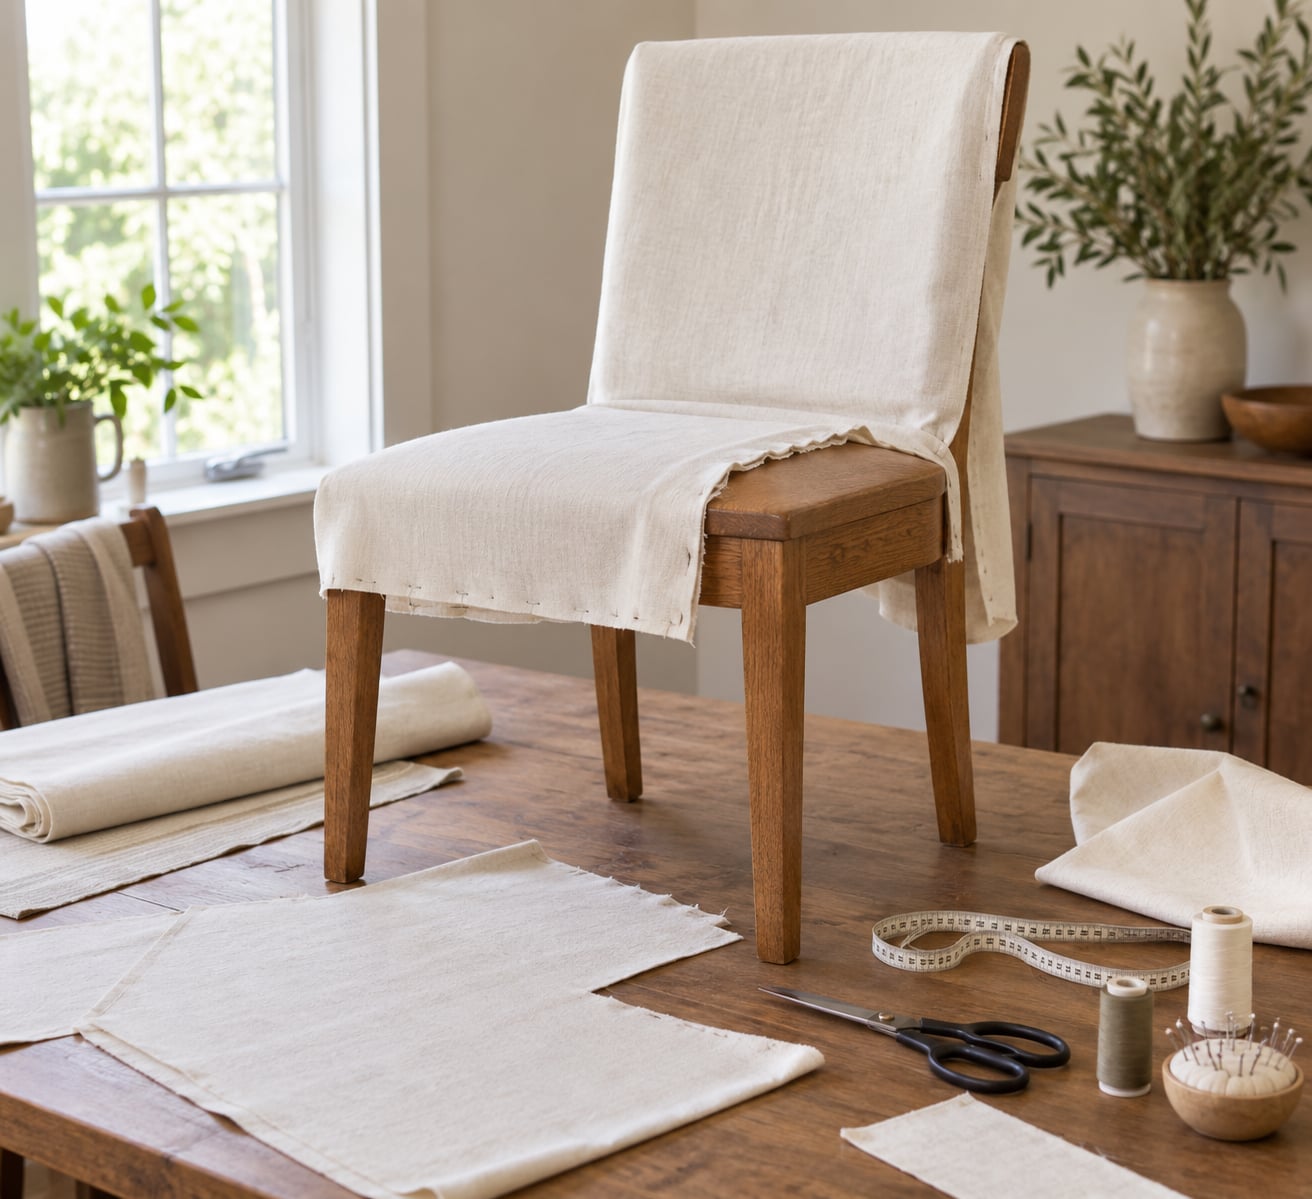
Turn the cover inside out, slide it onto the chair while it is still inside out, and run a long basting stitch in place. That trick is the reason a first attempt fits: the seams end up pinned to the actual shape of the chair rather than to a guess.
Start at the seat, work up the back, then smooth the arms or sides and pull the fabric smooth toward you. Pin anywhere the fabric sits loose or gaps. Backstitch over those areas, take the cover off, trim the excess, and press.
If you have the fabric for it, a muslin test fit is the insurance policy. Cheap cotton muslin drapes like the real thing and costs a fraction. Cut the same panels, pin and adjust until the fit is right, then use that muslin as the pattern for the fabric you actually want.
Finish the Edges and Add the Final Touches
Press the whole cover, then hang it for a day on the chair before the final hem. Fabric that has stretched under its own weight often wants another half inch taken out of it.
Do the last hem by hand or machine, leaving an opening where the cover meets the underside of the chair. If it slips, run a strip of elastic through the bottom hem, or cut a piece of non-slip shelf liner the size of the seat and tape it inside.
Details are what separate a cover that looks homemade from one that looks intentional. Contrast piping along the seam between the back panel and the seat reads as tailoring. Ties at the corners hide the gap at the base. Leaving carved wood on the arms or the back frame exposed, held by narrow straps, keeps the chair’s best feature in view.
For a washable cover, use a zipper or Velcro closure rather than safety pins or staples. Machine wash warm, tumble dry low, and the fabric comes out close to its original size if you prewashed it.
Common Mistakes
Skipping the prewash. The cover fits perfectly on the day you finish it and is two sizes too small after the first wash. Fix it now by washing the fabric first, before cutting.
Adding no extra fabric. A cover cut to the exact measurements cannot pass over the chair’s own bulk. Three inches on every measurement is not waste, it is what makes the cover removable.
Cutting curved panels. Curved seams take longer, bunch when you stretch them over a frame, and are not what makes a cover look good. Rectangles press flat and fit predictably.
Matching a print across the seat. If the print drifts out of line at a seam, the whole chair looks off. Cut panels from one length of fabric, or choose a print without a clear direction.
Sewing the cover closed. If you can not get it on, you will not get it off for washing. Always leave an opening with a closure you can reach.
Fitting by eye, then sewing straight away. Drape the cover on the chair and pin it before any final stitching. Most of the reshaping happens here, and it is much easier to move a pin than to unpick a seam.
Frequently Asked Questions
How much fabric do I need to cover a dining chair?
About 1.5 to 2 yards for an armless dining chair with a loose cover, and 2.5 to 3 yards if the chair has arms. These figures already include the 3 inch allowance for seams and shrinkage. Add another yard if you want a skirt, and buy from the same length of fabric so stripes or plaids line up across the panels.
How many yards of fabric do you need to cover a wingback chair?
Plan on 6 to 8 yards, and treat 8 as the realistic figure. A wingback needs separate panels for each wing plus the back and seat box, so pattern matching eats fabric quickly. Wash and dry the fabric first, then buy a little extra so you are not caught short at the joins.
What is the best fabric for washable slipcovers?
Cotton canvas, drop cloth, denim and ticking all survive machine washing and repeated removal. Skip anything labelled dry-clean only. The two rules that decide whether a washable cover stays washable are prewashing the fabric before you cut it, and keeping the closure something you can open, like a zipper or hook-and-loop tape.
How do I stop chair covers from slipping off the chair?
Four fixes work. Run a strip of elastic or a drawstring through the hem along the underside of the seat, cut a piece of non-slip shelf liner to the size of the seat cushion and tape it inside the cover, fit the cover more tightly by test-fitting it first, or tie the front corners to the chair frame. The liner takes about a minute and usually solves it on its own.
Can you make a slipcover without sewing?
Yes, with a loose cover rather than a fitted one. Drape the fabric over the chair, hem the edges with iron-on tape, fasten the underside with hook-and-loop tape or safety pins, and staple the base to the frame with a staple gun. It is not as neat as sewing and it is not as strong, but it refreshes a chair in an afternoon.
What are the different styles of chair covers?
There are four main styles. A loose or draped slipcover goes over the whole chair and fastens underneath, which suits almost anything. A fitted slipcover is stitched to the shape of the frame and looks tailored. A skirted cover adds a hemmed or pleated flounce at the bottom. Separate cushion covers fit just the seat pad, which is useful when the frame is fine and the fabric is worn.
Conclusion
Start by measuring your chair twice and washing the fabric, because those two decisions cause almost every problem that follows. Then drape the cut panels on the chair and pin them before you stitch anything, which is where the fit actually happens.
A chair slipcover does not reupholster anything. It hides the old fabric, comes off for the washing machine, and lets you change the look of a piece you already own for a fraction of the cost of replacing it. Fix the shape now and you can swap the fabric for a new colour whenever the room needs it.