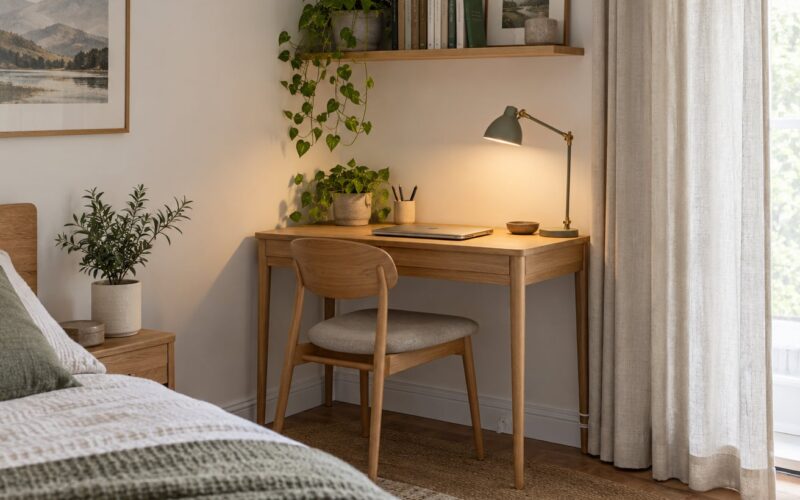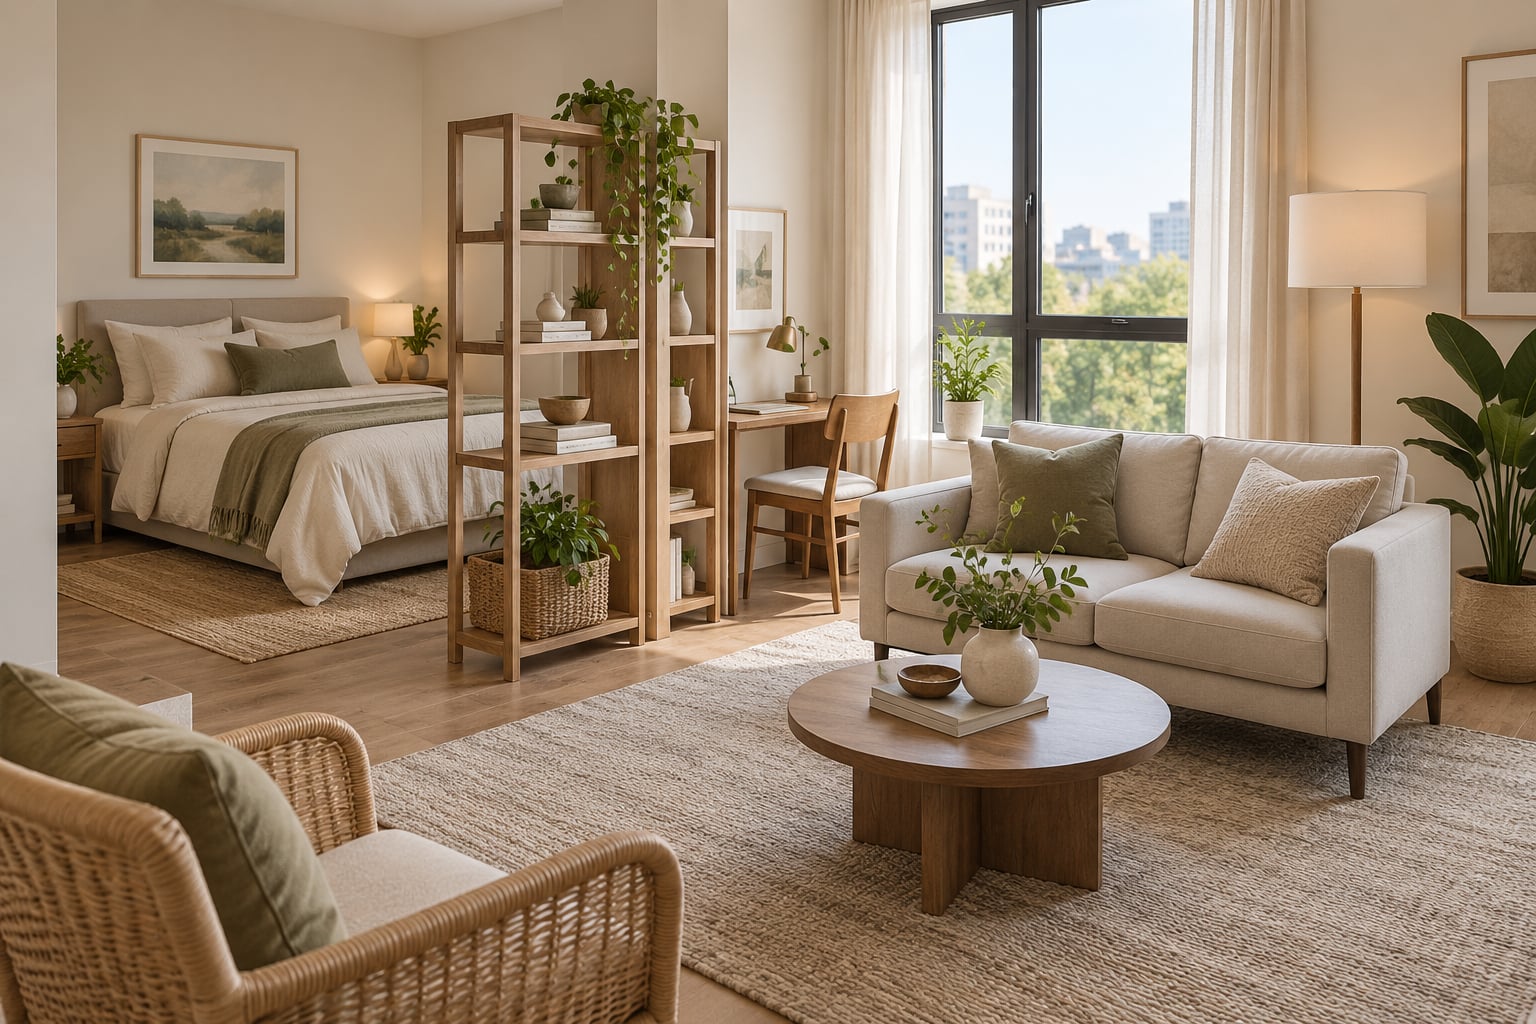
To divide a studio apartment into zones, stand one tall piece of furniture perpendicular to the longest wall, then reinforce that line with a change of floor covering, light level or colour. Furniture does the real work; curtains, rugs and lamps finish the job. Most people rearrange a whole studio in an afternoon with nothing but a tape measure and painter’s tape.
The reason this works is simple: your eye reads a vertical object, a change in texture underfoot or a shift in light as a wall, even when no wall exists. Give it two signals instead of one and the room genuinely splits. Leave it alone and everything you own floats in one undifferentiated box.
What follows is the process I use with friends and family: measure, decide which two functions matter most, place the heavy furniture, then add one removable boundary per zone. No construction, no painting a rental white on move-out day.
Table of Contents
- What You Need
- Step-by-Step: How to Divide a Studio Apartment Into Zones
- Measure the Studio and Map the Existing Layout
- Choose the Zones Your Studio Needs
- Place Large Furniture First
- Add Rugs, Lighting, and Removable Dividers
- Make Each Zone Work Harder
- Test the Layout and Adjust the Details
- Common Mistakes and Easy Fixes
- Blocking the only window
- Over-dividing
- Dividers that look heavier than they are
- Narrowing the walkway
- Bulky dividers with no storage
- Mismatched pieces that look accidental
- Buying furniture before measuring
- Frequently Asked Questions
- What separates zones in a studio apartment without adding walls?
- Can a renter put up a room divider in a studio apartment?
- Do room dividers make a studio apartment feel smaller?
- How tall should a divider be to separate the bed from the living area?
- How do I keep a walkway open between zones in a small studio?
- How many zones should a studio apartment have?
- Start With One Flexible Boundary
What You Need
Gather these before moving anything. Ten minutes of preparation saves an afternoon of shifting a sofa back and forth across the floor.
- A tape measure and a notepad for wall lengths, door and window widths, ceiling height and the position of every outlet.
- Painter’s tape to sketch the existing layout on the floor. It peels up clean and shows circulation problems instantly.
- One tall anchor piece per main zone: a bookshelf, dresser, console or open shelving unit you already own.
- Area rugs, ideally two rather than one. A rug under the seating group and a smaller one at the foot of the bed does more zoning work than any screen.
- A curtain rod and fabric for an adjustable boundary. A tension-mounted rod avoids drilling, which matters in a rental.
- Two or three lamps so each zone can be lit separately instead of relying on the ceiling fixture.
- Command-style adhesive strips for wall shelves you would rather not screw into.
Renters can do all of the above without touching a wall. If a piece only works when it is fixed in place, swap it for a freestanding version that carries the same visual weight. A tall bookcase and a slim rolling console read almost identically from across the room, and only one of them comes out of the apartment in a bin at move-out.
Step-by-Step: How to Divide a Studio Apartment Into Zones
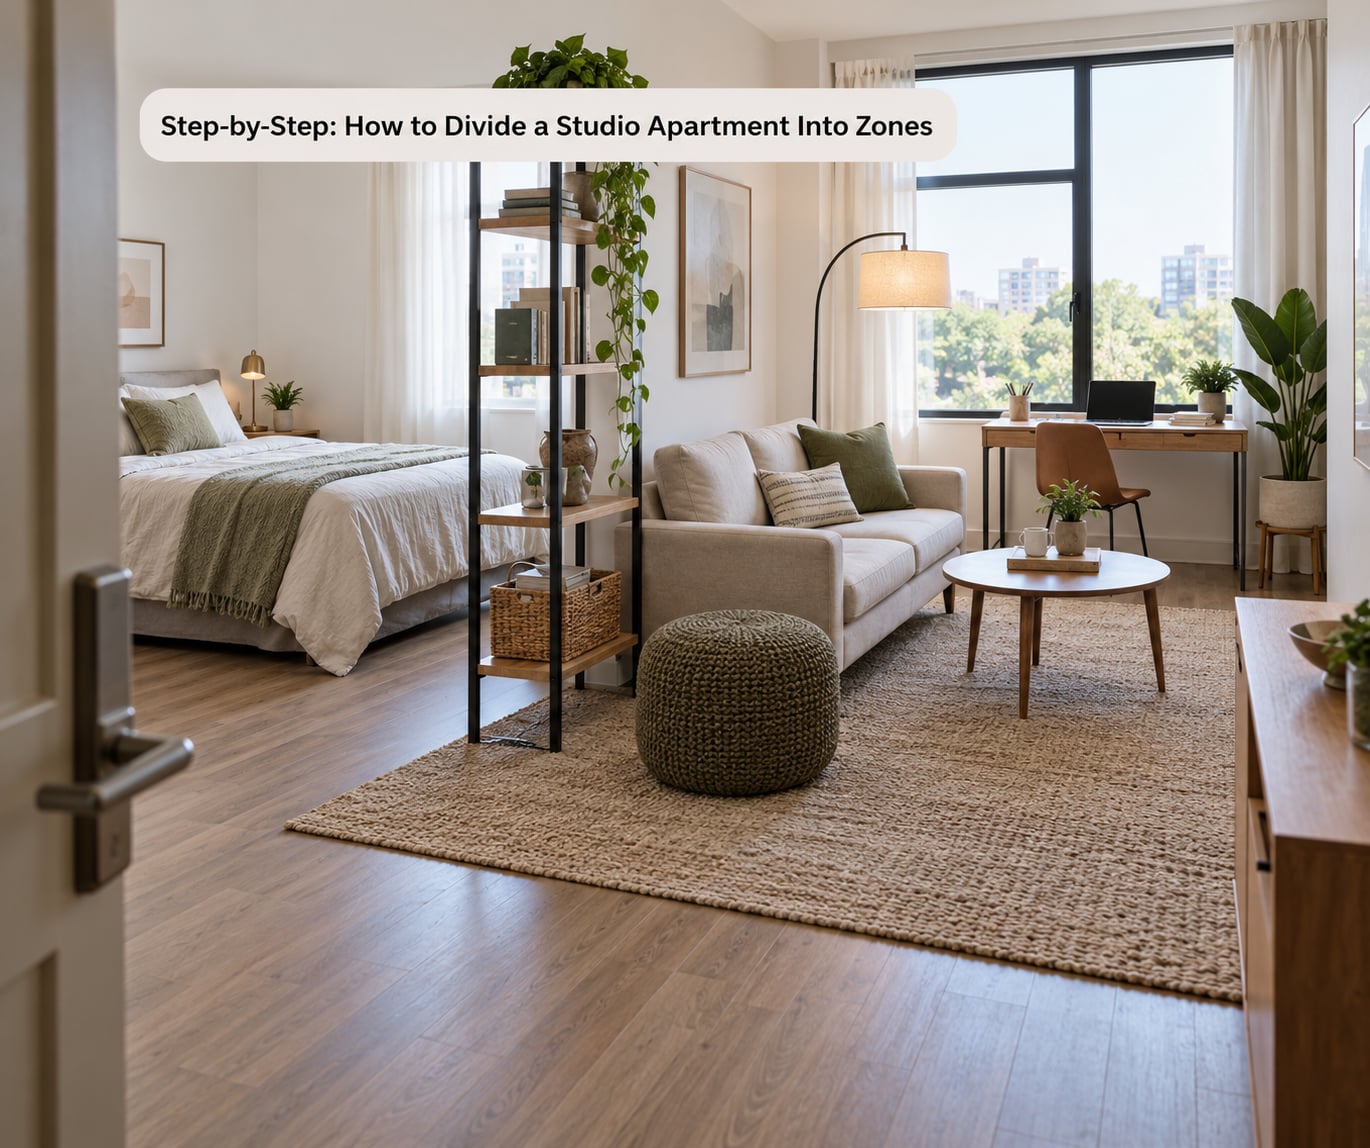
The order below matters. Each step assumes the previous one is done, because every decision downstream depends on the geometry you settled earlier.
Measure the Studio and Map the Existing Layout
Measure the room first, including the parts you would rather skip: ceiling height, the width of the entry door, the swing of that door, and where the outlets sit relative to the walls. Then walk the space and note where daylight lands through the day.
Sketch the existing furniture arrangement on the floor in painter’s tape at roughly one foot per inch. That scale is crude but perfect for spotting problems. Draw the path from the front door to the window and to the kitchen, and you have already found your main walkway before you move a single object.
What to look for in the sketch is open floor space with no purpose and pinch points where furniture already narrows a path. Almost every studio has one long uninterrupted wall and one wall broken up by doors or windows. That long wall is where your zones will go.
Choose the Zones Your Studio Needs
Four zones cover nearly every studio: sleeping, living, dining or working, and entry plus storage. Most people need three of them and want all four, which is where layouts go wrong.
Rank your activities honestly before buying or moving anything. Sleep and work are hard to fake. A dining table matters in a studio with a fold-down counter or a kitchen island and barely registers in one without. Couples sharing a room need a defined sleeping area; a solo renter working from home needs a nook that closes visually at the end of the day.
Write the ranked list somewhere visible. When you later realise a clever layout requires four dividers, the list is what tells you to stop at three.
Place Large Furniture First
Put the bed, sofa, desk and dining surface in place before anything else, and treat them as walls rather than as objects. The classic move is a bed pushed against the longest wall with its headboard on the solid side, never floating in the middle of the room.
Place the sofa at a right angle to the wall rather than parallel with it, floating it 12 to 18 inches off the surface. That gap does two things: it stops the sofa from looking shoved against the wall, and it creates a strip of floor that reads as a boundary.
Protect two things while you work. Keep a 24 to 30 inch path clear from the entry door to the window and the kitchen, and never stand a tall piece directly in front of the only window. A studio survives a tight corner far better than it survives a dark one.
Add Rugs, Lighting, and Removable Dividers
Now, and only now, add the signals that turn furniture placement into a visible boundary. Most rooms need two of these, not five.
A rug is the cheapest signal there is. Under-foot, a rug behaves exactly like a change in flooring, so it separates a seating area from a sleeping area without taking an inch of vertical space. Size matters more than colour: a rug that is too small floats in the middle like a mat, while one that reaches under the front legs of every seat anchors the whole group. Most seating areas need at least a 5 by 8 foot rug.
Lighting is the invisible wall. Warm bulbs around 2700K in the living zone and a cooler task lamp at the desk make two parts of one room read as two rooms, because your eye separates them by brightness before it registers anything else. Different lamps on different switches make this even easier.
For a harder boundary, hang a curtain from a ceiling track or a tension-mounted rod. Curtains work because they are reversible: open them and the studio is one room again, which is exactly what you want on a day when guests are over. Open shelving, a folding screen, a row of tall plants or a dresser placed longside against the bed all work the same way. A dresser with drawers facing the living area is a particularly good choice because it separates and stores at the same time.
Make Each Zone Work Harder
A boundary only holds if the zone behind it has somewhere to put things. Plan storage per zone, not per item, and each object gets exactly one home.
- Sleeping zone: under-bed bins or a bed caddy instead of a nightstand, plus a wall shelf at head height for books and a charger.
- Living zone: a closed coffee table or storage ottoman, since an open one shows every cable and remote in the room.
- Work zone: a shallow desk with vertical storage above it, so the surface stays clear enough to actually work at.
- Entry zone: a narrow console or a rail of adhesive hooks by the door, which keeps bags and keys out of the living zone.
- Dining zone: a drop-leaf table on castors, so the eating surface disappears against the wall when you are not using it.
Vertical space is the underused one in a studio. Anything mounted above eye level adds capacity without adding footprint, and a shelf placed high on the wall behind a sofa draws the boundary up rather than across.
Test the Layout and Adjust the Details
Walk the finished room the way you actually move through it, not the way it looks in a photo. Walk from the door carrying something. Walk from the bed to the bathroom half-asleep. Turn on every lamp you plan to use.
Check three things at different times of day. First, that the 24 to 30 inch path still exists with every chair pulled out. Second, that daylight still reaches the far end of the room. Third, that from the front door you cannot see the bed, if that matters to you, which is the request I hear most often in studio layouts.
Almost always something needs to move half a foot. Small adjustments are cheap now and expensive after you have bought curtains.
Common Mistakes and Easy Fixes
Almost every failed studio layout comes down to one of seven problems. Each has a specific correction.
Blocking the only window
A tall divider across the window is the fastest way to make a studio feel like a storage closet. If a boundary has to sit near a window, keep it low: under roughly shoulder height, or open shelving that transmits light. Set it back from the glass by a foot or more rather than in front of it.
Over-dividing
Four boundaries in 400 square feet produces four cramped boxes and no usable floor. Pick your top two zones, give those clear boundaries, and let the rest share a visual treatment. Three zones is usually the ceiling, and only two of them need hardware.
Dividers that look heavier than they are
Solid dark panels and tall bookcases loaded with books read as walls. Opt for open shelving, a curtain in a light fabric, or a screen you can see through. If you want blocking privacy, remember a divider needs to be about 5 feet tall to interrupt sightlines at standing eye level and no taller unless you want real separation.
Narrowing the walkway
Twenty-four to thirty inches is the number most studio layouts land on, and it is enough for one person to pass with a laundry basket. Anything that eats into that width, including a chair that stays out while you cook, gets pushed back against the wall or replaced with something narrower.
Bulky dividers with no storage
A divider that eats floor space without giving anything back is dead weight. Every vertical piece should earn its footprint with shelves, drawers or a surface. That is why a dresser or a storage ottoman usually beats a folding screen in the same spot.
Mismatched pieces that look accidental
A thrifted divider that shares nothing with the rest of the room reads as clutter rather than intent. Repeat one material, one colour or one shape somewhere else in the studio and the piece suddenly looks deliberate. Repainting a flat-pack bookshelf to match an existing piece is a cheap way to do it.
Buying furniture before measuring
Most studio regrets come from a piece that fits the showroom and not the room. Measure first, tape the footprint on the floor, and leave it there for a day. If you bump into it repeatedly, it is the wrong size.
Frequently Asked Questions
What separates zones in a studio apartment without adding walls?
Furniture placed at a right angle to the wall does most of the work. Then reinforce that line with two more signals: an area rug under the seating group, a warmer lamp in one zone than the other, or a curtain on a tension rod. Two matching signals make the boundary read as a room. One signal reads as furniture placed oddly.
Can a renter put up a room divider in a studio apartment?
Usually yes, as long as nothing is fixed to the wall. Check your lease first, then favour freestanding pieces: a bookcase, a rolling console, a folding screen, tension-mounted curtain rods and adhesive strips instead of screws. Those come down in minutes and leave no marks for move-out inspection.
Do room dividers make a studio apartment feel smaller?
They can, and the reason is almost always height and opacity rather than the divider itself. Keep tall pieces away from windows, use open shelving or a light fabric you can see through, and stop at about 5 feet unless you want real separation. A low or transparent boundary defines a zone without shrinking the room.
How tall should a divider be to separate the bed from the living area?
About 5 feet interrupts a standing sightline while leaving light moving along the ceiling. Lower works if you only need a visual cue, and full height is worth it only if you want the bed genuinely hidden from the entry door. Anything taller in a small room starts to feel like a wall you put up yourself.
How do I keep a walkway open between zones in a small studio?
Tape the path from the front door to the window and to the kitchen before you move anything, then keep it clear at 24 to 30 inches wide. Check it with chairs pulled out, not with furniture neatly tucked away. If the path pinches, pull a piece 6 to 12 inches toward a wall or swap it for something narrower with storage underneath.
How many zones should a studio apartment have?
Three is the practical maximum, and two is often better. Sleeping, living, and one of dining or working covers nearly everyone. Give your top two zones a clear boundary and let the third share the room visually. More zones than that leaves you with cramped boxes and no floor left to walk on.
Start With One Flexible Boundary
Do not begin with curtains or a screen. Measure the room, tape the layout on the floor, and put the bed, sofa and desk where they will live. That work alone fixes most studio problems and costs nothing.
Then add one removable boundary to the zone that annoys you most, usually the sleeping area seen from the front door. A curtain on a tension rod or a dresser you already own will do it, and both come out of the apartment when you move. How to divide a studio apartment into zones is not one clever purchase; it is a measured layout plus one or two honest edges.