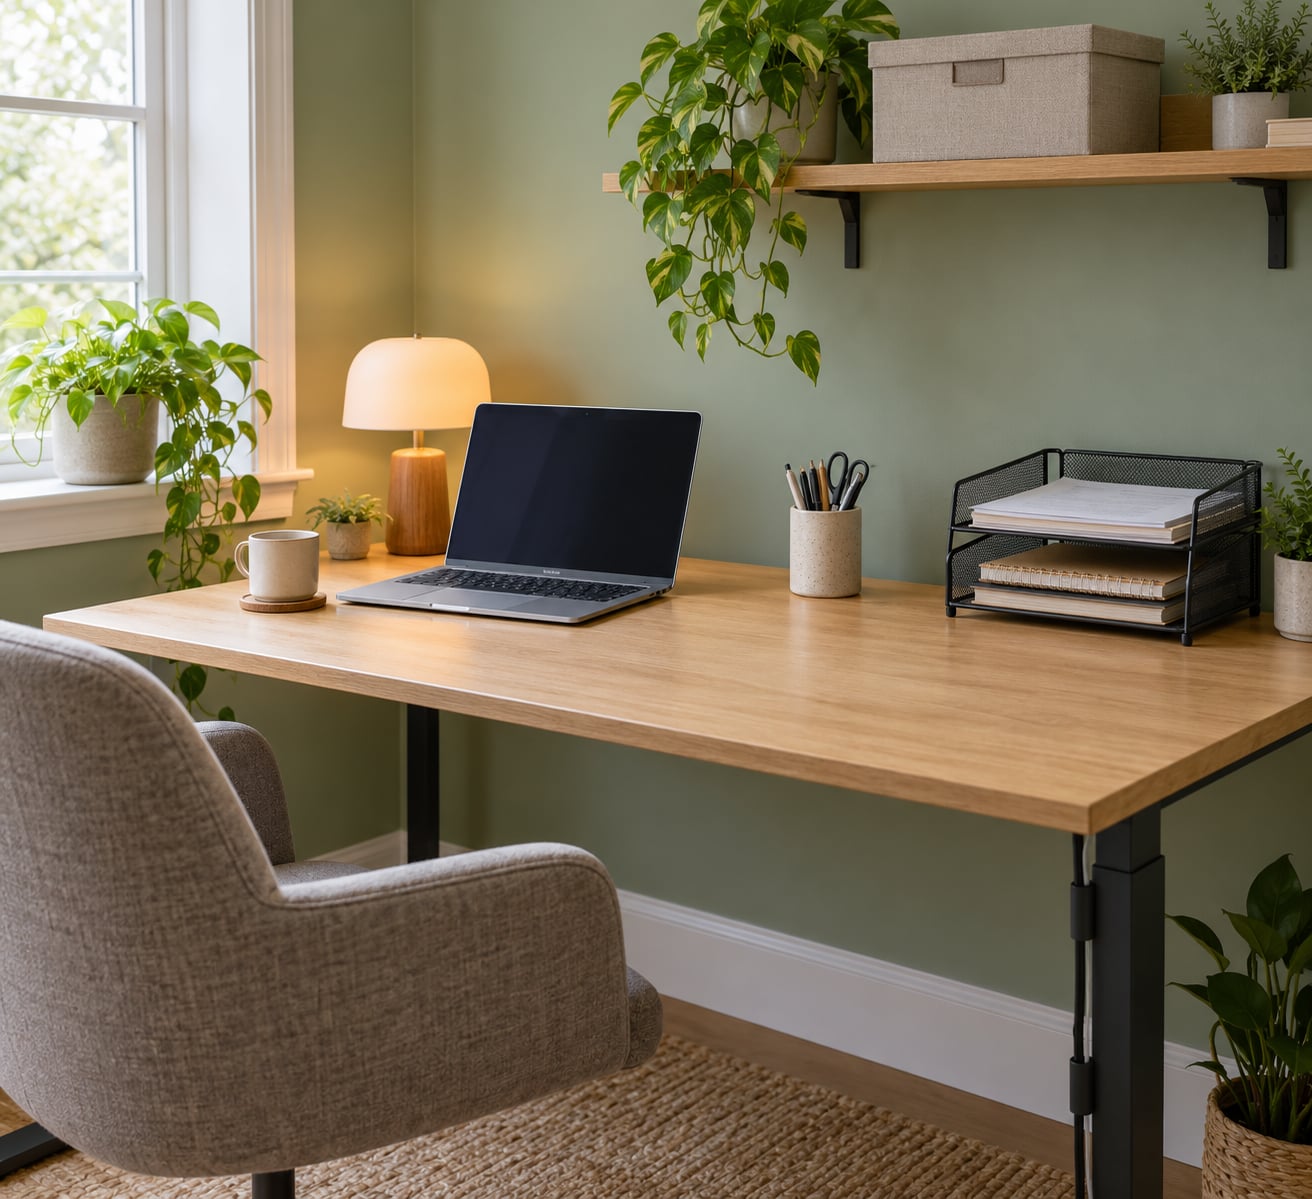
To organize a home office desk, empty the entire surface, sort every item into keep, relocate or trash, then divide the top into computer, writing, charging and reference zones. Keep daily tools within arm’s reach, move the rest to vertical storage, and finish with a five-minute reset at the end of each day.
The whole reset takes about 30 minutes, and most of it costs nothing. What changes a desk is rarely a purchase. It is deciding where every single object lives before you put it back down.
- Clear the whole surface first, including the pen cup and the charging pile, so you can see what you actually own.
- Give each kept object a zone based on how often you use it: computer, writing, charging, reference.
- Use a stackable document tray and an under-desk cable tray to move things up and down instead of across.
- Run one catchall tray for the small things that have no home, then empty it every evening.
I’ve reset the same desk in a rented corner nook more times than I care to admit, and the pattern is always the same. Thirty focused minutes, four zones, and the surface stays workable for about a month before it drifts.
Table of Contents
- What You Need
- How to Organize a Home Office Desk Step by Step
- Clear and Decide What Stays
- Measure the Desk and Map the Zones
- Clean and Repair the Work Surface
- Sort and Store Supplies by Task
- Put Daily Essentials Within Reach
- Manage Cables and Charging Clutter
- Add a Simple Finishing Touch
- Common Mistakes
- Frequently Asked Questions
- How do I organize a desk with no drawers?
- What should every office desk have?
- How do I keep my desk tidy once it is organized?
- Where should I keep bills and paperwork at home?
- How do I hide cords on and under a desk?
- Conclusion
What You Need
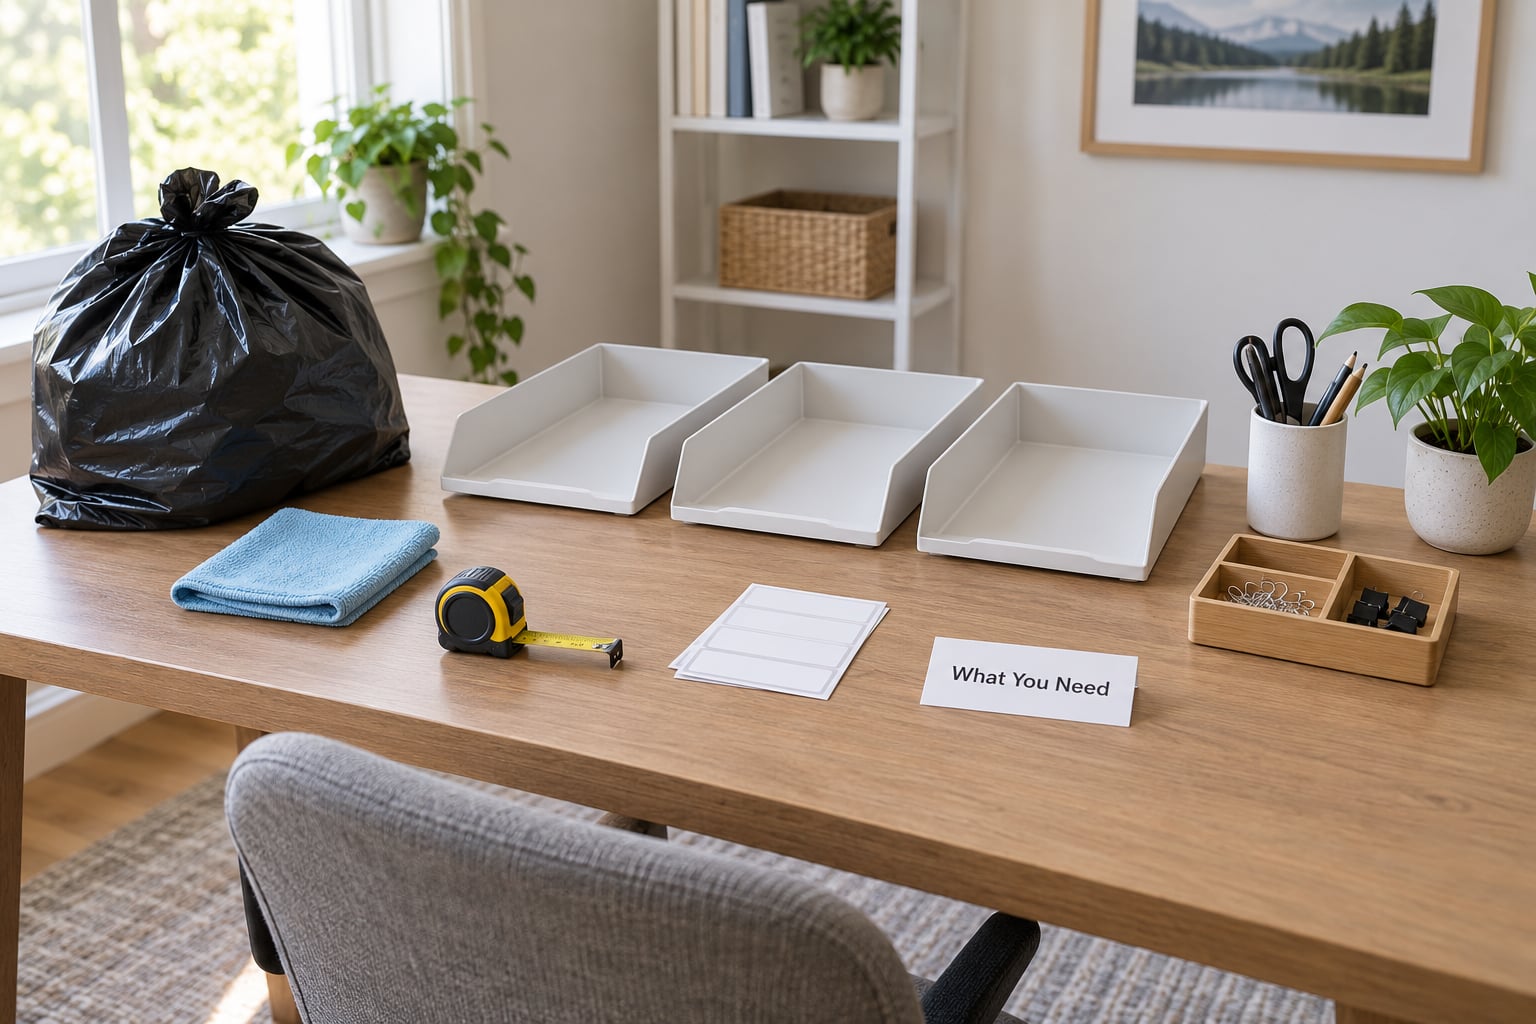
You need far less than most people buy first. Set out a trash bag, two or three sorting bins or open boxes, a measuring tape, a cloth with a mild all-purpose cleaner, and whatever labels you have on hand. Masking tape with a pen works fine for containers you plan to move around.
Add a set of drawer dividers, cable ties or reusable hook-and-loop straps, and a handful of small containers only if your desk already has drawers or a shelf you can reach without standing up. Measure first, buy second. Dividers that are slightly too wide collapse under the drawer and stop helping after a week.
Most of this can come from what you already own. A mason jar holds pens, a clean box becomes a bin, a paper towel holder carries a roll of labels, and a shallow baking sheet catches keys and coins. Repurposed containers look fine as long as they are the same height and finish, which is also the trick to a desk that looks deliberate instead of improvised.
Optional upgrades are the things that buy convenience rather than order: a monitor riser that doubles as a shelf, an under-desk cable tray, adhesive cable clips, a pegboard, a small rolling cart, or a label maker. Skip all of them on the first pass. Add only what you can point at a specific problem you hit while clearing the desk.
How to Organize a Home Office Desk Step by Step
Clear and Decide What Stays
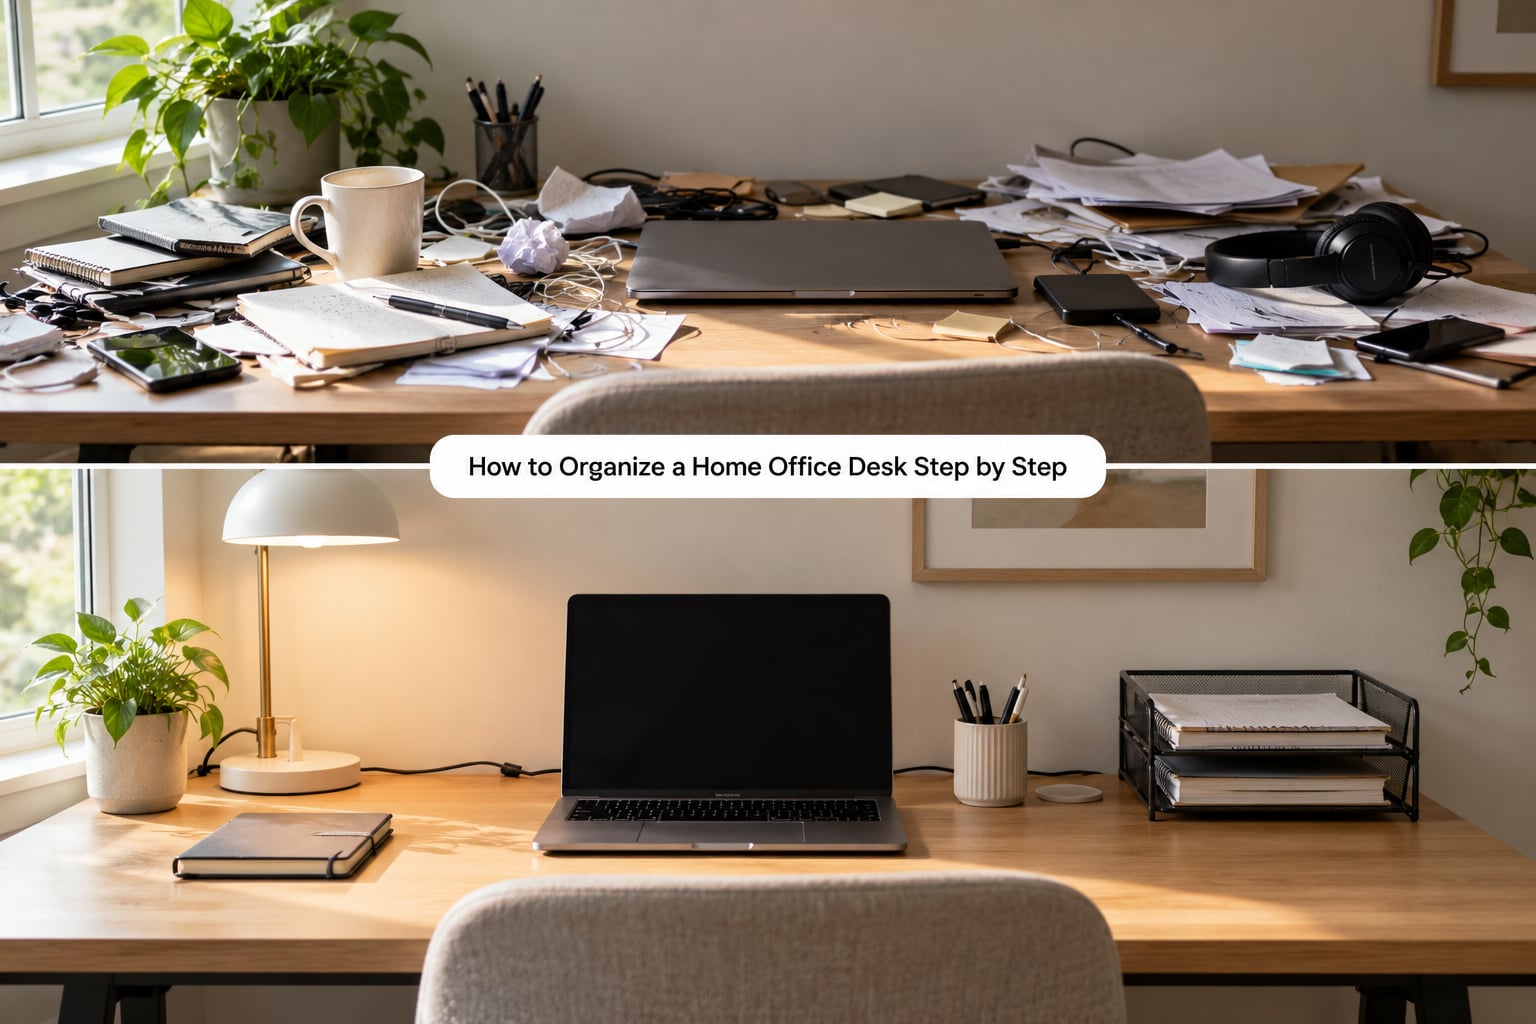
Take everything off the desk, not just the obvious piles. Pull out the pen cup, the coaster stack, the charging bricks, the notebooks wedged behind the monitor, and anything living in the keyboard tray. If you cannot name the last time you used it, that is already an answer.
Sort as you go into four piles: keep on the desk, keep but stored elsewhere, relocate to another room, and discard. Papers get their own pass later, because mixing loose paper with objects is how a reset turns into a filing project that never finishes.
A simple rule handles the awkward middle: anything used less than once a week moves off the desk. Not into the trash, just out of arm’s reach and into a drawer, a shelf or a bin you do not open daily. Visual clutter is mostly frequency you have not questioned.
You will know this step worked when the desk surface is bare and every remaining object has an owner. If a pile is still growing while you sort, put it aside and handle it last so the clear surface stays clear.
Measure the Desk and Map the Zones
Measure the desktop width and depth, the inside of each drawer, the distance from the desk edge to the wall, and the clearance under the desk for a chair. Write the numbers down. Every organizer decision that follows depends on them.
Now divide the surface into four zones based on task rather than object. The computer zone holds the screen, keyboard, mouse and anything you touch while thinking. The writing zone needs clear space in front of you with the notebook and one pen. The charging zone is a single spot near an outlet, ideally at the back or side edge. The reference zone is a tray or shelf for paper you consult but do not handle.
Keep anything used more than a few times an hour inside an arm’s reach of your chair position. Anything used once a day can sit at the far edge. Anything used weekly should not be on the desk at all.
The test is simple: sit down, and check that you can reach your keyboard, mouse, notebook and pen without standing or twisting. If you have to lean around something, that item is in the wrong zone.
Clean and Repair the Work Surface
Wipe the top with a damp cloth and a mild all-purpose cleaner, then dry it fully. Open every drawer and vacuum or wipe the interior, including the runners, where crumbs and dust collect unnoticed for years. Clean the back edge where the monitor meets the desk; that strip hides more grime than the visible surface.
Check the surface itself while it is bare. Sticky spots usually mean a few days of deliberate scrubbing with warm soapy water, not a stronger chemical. White rings from a cup need a mild abrasive or a paste made from baking soda and water, worked gently and dried immediately.
Look at the storage too. A drawer runner that has slipped, a shelf pin that has worked loose, or a bin with a cracked corner will undo the layout later. Tighten, replace or retire it now, while the desk is empty.
This step pays for itself because a clean surface shows you the real amount of usable space. Half of what feels like a tiny desk is often just a dirty one.
Sort and Store Supplies by Task
Group supplies by the activity they serve, not by the store aisle they came from. Writing supplies go together, printing supplies go together, planning and calendar materials go together, and craft or hobby materials get one bin rather than four partial ones scattered around.
Give each group a home that matches how often it is used. Daily supplies get a drawer or a desktop caddy. Weekly supplies get a labeled bin on a shelf. Seasonal or project supplies leave the office area entirely.
Fit the container to the space you measured. A bin that is a half-inch too deep will not slide into the shelf, and a tray placed at the back of a deep desk becomes a place papers go to disappear. Measure the interior width of the drawer and the height of the shelf opening, then subtract a finger’s width so you can actually get things back out.
Label the front of every container with one word that says what happens to the contents. Act, file, reference, later. People on r/organizing call the label maker the single most useful tool in the room, and it earns its keep fast once you have more than three bins.
Put Daily Essentials Within Reach
Return only the daily set to the surface: monitor, keyboard, mouse, lamp, one notebook, one pen, and your phone or charger in the charging zone. Everything else goes to a drawer, a tray or a shelf. The target is a clear stretch of desk in front of you roughly the size of an open notebook.
Place the lamp at the back corner opposite your writing hand so it lights the page rather than your hand. Keep the pen cup at the edge of the writing zone, not in the middle of it. A monitor riser lifts the screen to eye level and adds a shelf underneath, which is why it is the single most-praised item in desk-reset conversations on r/tidydesks.
Group related oddities together so a busy corner still reads as intentional. Pens in one jar, hand cream and a lip balm in a small dish, a stapler and a tape roll in one caddy. On a small desk, clustering in twos and threes uses less space than spreading items out evenly.
If you share the desk with other people, give each of them a labeled bin for their own mail and belongings and set a rule that nothing lands in your computer or writing zone. That single bin removes the most common source of drift in a shared household office.
Manage Cables and Charging Clutter
Unplug everything before you start. Sort the cables into two groups: power cables and everything else, including USB and charging leads. Most cord chaos comes from mixing signal cables with power cables in one bundle.
Mount the power strip under the desk or on the wall rather than on the work surface, then coil the excess length and secure it with a hook-and-loop strap. Route the bundle along a desk leg and clip it there so it does not cross the space where your knees or feet go. Adhesive cable clips along the back edge are enough for a small desk.
Set one charging spot with a small tray or caddy. Phones and watches go there, which keeps the surface clear and gives every device a place at night. A charging station looks intentional in a way that a loose wall plug never does.
A few safety rules matter here. Do not overload an outlet or daisy-chain power strips, keep the strip itself uncovered rather than hidden under a rug or a stack of paper, and keep water, drinks and plants away from power connections. If a cable is frayed, cracked or runs hot, replace it instead of routing it more neatly.
You will know this step worked if you can pull the desk slightly away from the wall and still have the computer, lamp and phone working.
Add a Simple Finishing Touch
Add one or two low-cost finishing elements and stop. A small plant, a framed print propped on a shelf, a catchall tray near the edge of the desk, or a short stack of books used as a riser. Each one needs a footprint, so choose items that earn their space rather than filling every corner.
Match what you can. Coordinating bins in a single finish and color read as a system, while five organizers in five colors read as a storage aisle. If your decor is warm wood and linen, warm-toned containers and a woven tray will look deliberate; cool white and gray plastic will look borrowed.
Skip anything that needs drilling if you rent. Adhesive hooks, removable pegboard panels and over-the-door organizers give you vertical storage with no holes in the wall, and they come down cleanly at move-out.
Finally, write down the finished layout. A photo of the cleared desk on your phone is more useful than a list, because it shows the exact position of each item and gives you something to reset back to after a busy week.
Common Mistakes
Most failed desk resets fail in the same six ways, and each one has a straightforward correction.
- Buying organizers before measuring. Containers chosen before you know the drawer depth or shelf opening rarely fit. Measure first, then buy, and subtract a finger’s width from every interior dimension.
- Storing everything in sight. Visible items compete for attention whether or not you use them. Keep only what you touch daily on the surface and move weekly items to a closed bin or a labeled drawer.
- Crowding the desktop. A monitor flanked by knickknacks leaves no room to write or rest your forearms. Clear a clear stretch roughly the size of an open notebook in front of you, and count that as non-negotiable space.
- Mixing unrelated supplies. One drawer holding pens, batteries, cables, snacks and receipts means you dig through everything for anything. Group by task and give each group its own container.
- Using containers that do not fit. A bin that is too deep for the shelf becomes a black hole. Choose shallow, labeled containers sized to the opening you actually have.
- Ignoring cable safety. Bundling cords is tidying, not safety. Do not overload outlets, keep liquids away from power connections, and replace any cable that is frayed or hot.
The correction that matters most is maintenance, because clutter returns within a day or two if nothing changes after the reset. Run a five-minute end-of-day routine: papers go to the inbox tray or the shred pile, dishes leave the desk, everything returns to its zone, and the catchall tray is emptied.
Once a week, spend ten minutes emptying the inbox tray, refilling what you actually used, and wiping the surface. Once a season, pull everything out of the drawers again and repeat the keep, relocate, trash triage. A desk needs a real purge roughly four times a year to stay usable.
Two habits from the organizing community are worth copying. The first is the catchall tray, a single shallow dish for keys, coins, earbuds and charging cables, emptied every evening. The second is the one-in, one-out rule, where anything new that comes onto the desk sends one existing item off it. Together they keep a tidy desk from quietly growing back.
Frequently Asked Questions
How do I organize a desk with no drawers?
Without drawers, work upward instead of inward. Use stackable document trays or a small shelf unit to lift items off the surface, an under-desk shelf for a printer or books, and adhesive hooks or a removable pegboard for pens and cables. Keep only daily essentials on the top, then measure your available vertical space before buying anything.
What should every office desk have?
Every desk needs four things regardless of size: a clear writing area in front of you, a charging spot with the power strip off the surface, one container for paper that needs attention, and a place for daily small items such as pens and a notebook. Add a monitor riser if the screen sits below eye level, and a labeled bin per person if the desk is shared.
How do I keep my desk tidy once it is organized?
Tidy desks survive on a short daily routine rather than willpower. Clear papers into an inbox or shred pile, put items back in their zones, and empty the catchall tray each evening. Once a week, spend ten minutes filing the inbox tray and wiping the surface. Each season, repeat the keep, relocate and trash pass on everything you stored.
Where should I keep bills and paperwork at home?
Sort incoming mail into three groups: act on it soon, recycle or shred it, and archive it. Keep the first group in a single inbox tray on your desk, shred sensitive documents rather than recycling them, and store anything you must keep in a labeled folder in a closed file box nearby. Scan documents you rarely need instead of holding the paper.
How do I hide cords on and under a desk?
Start by mounting the power strip under the desk or on the wall so no cables run across the work surface. Bundle excess length with hook-and-loop straps, route the bundle down a desk leg, and clip it there. Adhesive cable clips along the back edge handle the rest. Never overload an outlet or hide a strip under a rug, and replace any frayed cable.
Conclusion
To organize a home office desk, the order matters more than the containers. Clear the surface completely, sort every object into keep, relocate or trash, measure what you actually have, and then build four zones around how often you use things.
Start tonight with three actions. Empty the whole desktop, pick one daily-work zone and clear a notebook-sized space in front of you, and put only the essentials back within reach. Everything else waits in bins or a drawer until you measure and buy something for it.
The habit that keeps it working is short. Five minutes each evening to reset, ten minutes each week to file, and a seasonal purge of everything you stored. A desk stays calm when it has a system, not when it has good storage.