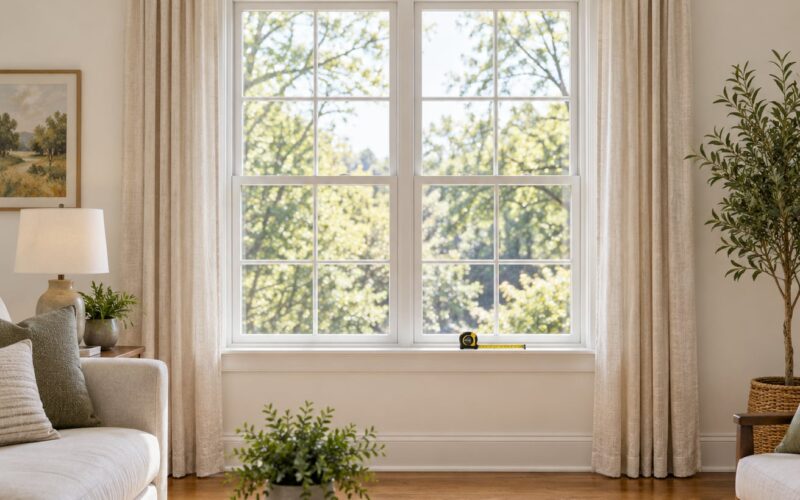
A bay window curtain setup only works when the hardware follows the shape of the window. Straight rods fight the angles, panels bunch at the corners and light leaks through every join, so the fix is to measure the whole window, pick a curtain path that matches its geometry, then hang panels sized for that path. Most people get a decent result in an afternoon with basic tools.
Table of Contents
- What You Need
- Step-by-Step
- How to measure a bay window before you buy curtains
- Choose a curtain path that fits the window shape
- Select panels, shades, and hardware that match
- Install the rod and connect the corner sections
- Hang and adjust the curtains
- Common Mistakes
- Tips for Making the Setup Look Finished
- Frequently Asked Questions
- How do bay window curtain rods work?
- How do I measure a bay window for curtains?
- Can you use a normal straight curtain rod on a bay window?
- What is the easiest way to hang curtains on a bay window if I rent?
- Why do my bay window curtains snag at the corners?
- Conclusion
What You Need
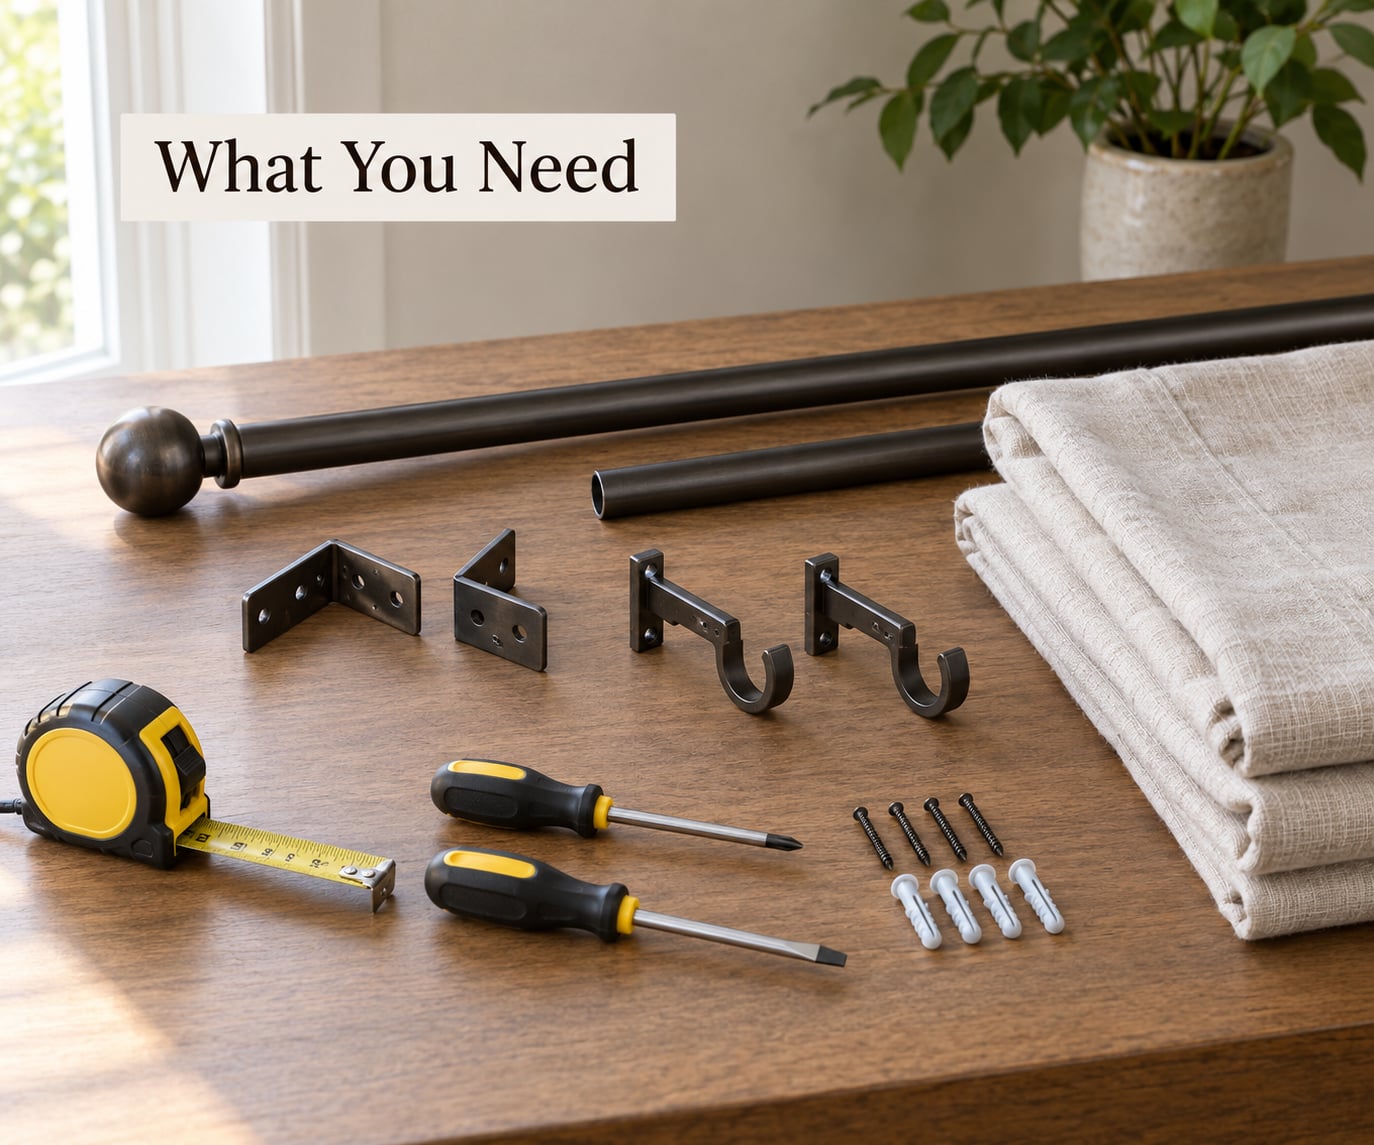
Start with the measuring tools. A 25 foot tape measure, a pencil, a notepad or your phone, and a straightedge or small level are enough for the layout work.
Then the hardware. You need one curtain path for every straight run of window, plus a connector or elbow for each angle between them, and end finials to stop the runners coming off.
- Tape measure, pencil, straightedge, level
- Curtain rod or track sections, one per window run
- Corner connectors or elbows for each angle
- Mounting brackets and the matching fixings for your wall
- End caps or finials
- Curtain rings, gliders or S-fold tape, depending on the heading style
- The panels themselves, plus a sewing kit or iron if hems need adjusting
Fixings matter more than most shoppers expect. Plasterboard needs cavity or toggle fixings, masonry needs appropriate screws or plugs, and a bay window ceiling is often a shallow soffit where the fixing has to land near solid timber rather than the plasterboard skin.
Step-by-Step
How to measure a bay window before you buy curtains
Measure the full width of the bay at the rod line, not at the sill, and write it down. Then measure each individual window run separately so you know where the corners fall.
Measure the projection too: how far the bay sticks out from the front wall. That number decides whether a straight rod can clear the window at all or whether an angled or curved path is required.
Finally, measure the drop from your chosen mounting point to where you want the hem to land. For a generous look, panels should hang past the bottom of the window frame, so measure to the floor or just above it.
Choose a curtain path that fits the window shape
The path has to match the window, so identify the shape first. A three-sided bay has two angles. A bow window curves continuously and needs a curved rail. A corner window sits in an inside corner and can sometimes take a single straight rod with a wider bracket set.
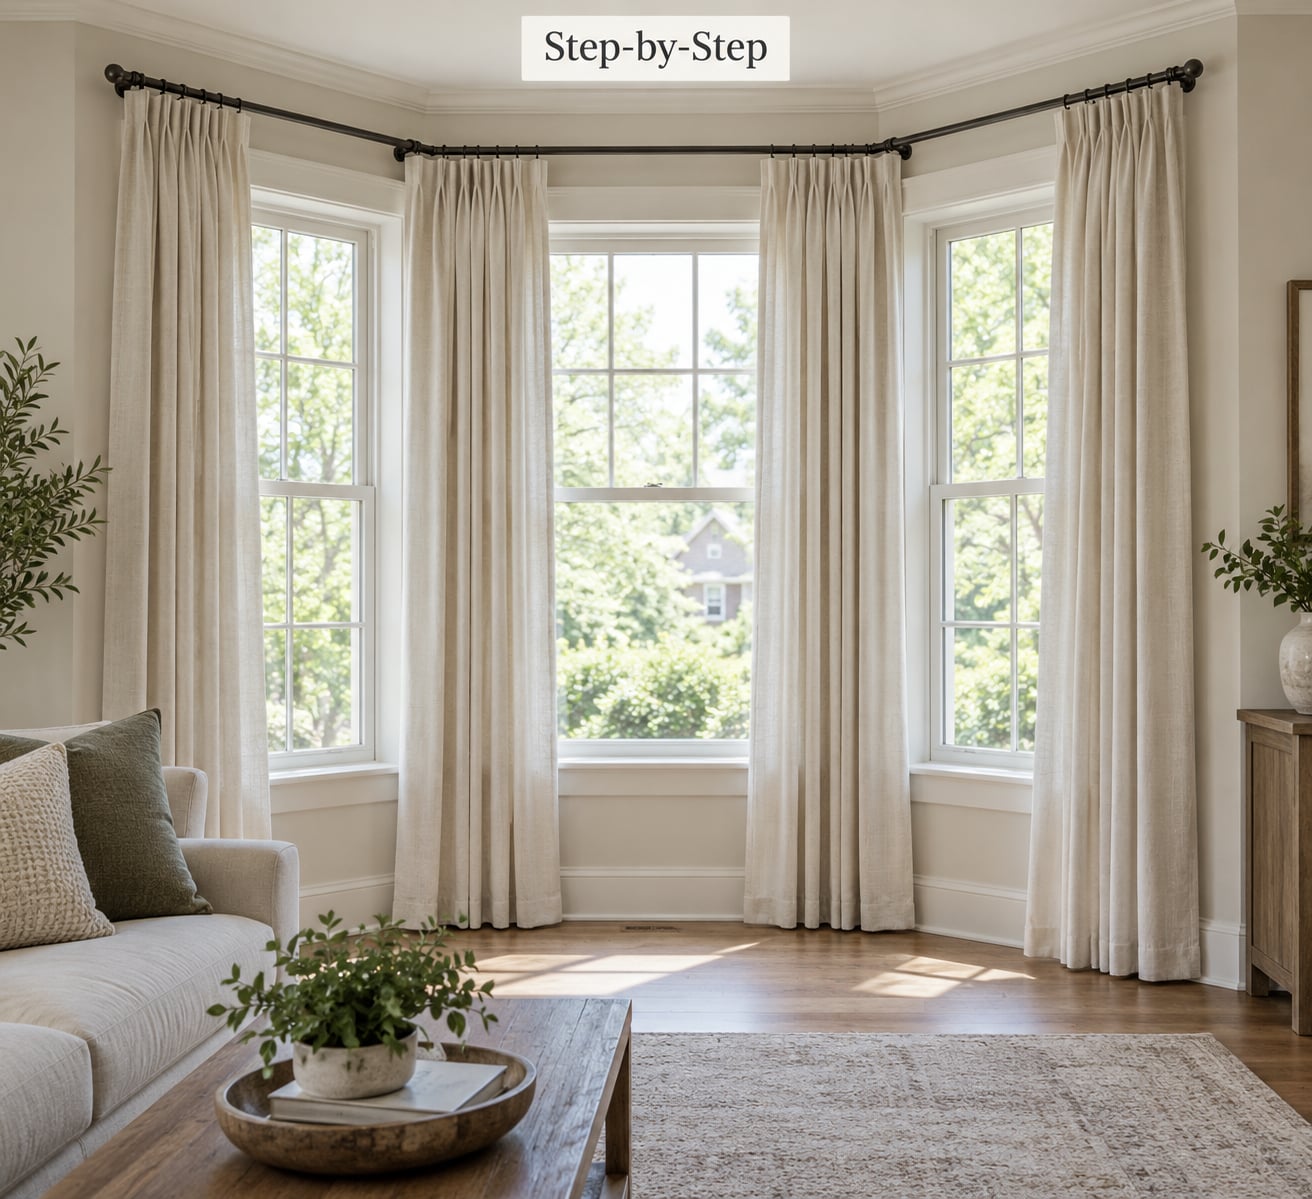
For a standard bay, three straight sections joined by corner elbows is the simplest reliable answer. A flexible track that bends into the angles gives you continuous fabric with no join gap, and pre-bent custom tracks suit bays with unusual angles where a straight section cannot square up to the wall.
Wall mounting suits bays with deep reveals and low ceilings. Ceiling mounting suits bays that project into the room, because the track can sit back from the glass line and the panels will cover the window from above, which hides angles and gaps better than anything else.
Asking whether to make a bay window curtain setup work with rods or tracks comes down to fabric weight. Rings on a rod handle lined or blackout panels well. A track handles folds neatly and glides more quietly, but budget tracks sag under heavy fabric.
Select panels, shades, and hardware that match
Buy panels wider than the run they cover. Most ready-made panels are sold at half the finished width of the flat fabric, and pinching them on a shaped run leaves visible daylight at the corners. Where space is tight, fuller panels stack neatly and still open far enough to clear the glass.
Match the heading style to the path. Rings and clips need a rod with a round or square section. S-fold tape needs a track with a proper channel. Pinch pleats and goblet headings need a track wide enough to take the heading without crushing the fold.
For the hardware, keep the rod or track section diameter consistent across the whole bay so the runners or rings fit everywhere. Use brackets rated above the weight of the loaded panels, and fit two brackets on the longest runs. When the fixings land in plasterboard, toggle or cavity fixings are the ones that hold.
Install the rod and connect the corner sections
Mark your bracket positions first with a pencil, using the straightedge to keep the run true. Check that each section clears the window frame and the projection before you drill anything, because moving a bracket later means patching.
Fix the middle bracket of each run first and work outwards, checking the level as you go. On a ceiling soffit, fix into solid timber where you can find it, and use suitable fixings everywhere else.
Seat the corner connectors loose, join the sections, then slide the assembly onto the brackets and tighten. Do not force the elbow into a fixed angle. Most connectors have a range, and setting each one to the real angle of your bay is what stops panels from pinching and snagging when you draw them across.
Check the full sweep before you hang fabric. Push a runner or ring from one end to the other and watch the joins. Anything that binds now will bind worse once the panels are loaded.
Hang and adjust the curtains
Hang the middle section first, then work outwards so you can match the hems against the drop you measured. Fabric goes on last, after any drilling and sanding is done, so you do not get dust on the fabric or cream on your hands.
Align the hems by measuring from the top of the panel rather than eyeballing the bottom, because a curved run makes the floor look uneven from every angle. Adjust hems while the panels are still on the rail.
Draw the panels closed and check for light gaps at the joins. If a corner leaks, the usual causes are an under-filled panel at that corner, a connector set slightly narrower than the real angle, or a panel too short. Close the same gap from inside the room and you will see which one it is.
Common Mistakes
Measuring only the total width. Total width tells you how much fabric you need but nothing about where the corners are. Measure each run and the projection, or the rod will sit proud of the window.
Using one straight rod across a bay that projects. A straight rod that hits the window frame cannot be fixed by tightening brackets. Switch to segmented sections or a curved rail.
Poor bracket placement. Brackets bunched at one end of a run, or spaced too far apart, make long panels bow and catch. Fit them at the ends and at regular intervals, and add a second bracket on long runs.
Fixing into plasterboard with short screws. The bracket pulls out and the track sags. Use cavity or toggle fixings, or find solid timber behind the soffit.
Uneven lengths. Hanging from different heights around the bay makes the floor line look wrong from every seat in the room. Hang the middle section, match to that, then work out.
Panels that cannot open fully. Not enough fabric width means the stack of fabric is wider than the run and jams at the corner. Fuller panels, or a slightly wider bracket set, fix it.
Forcing the connector angle. Bend the connector to match the bay rather than the other way round. Forcing it puts stress on the join and pulls the panel out of shape.
Tips for Making the Setup Look Finished
Run the curtain path above the window opening rather than beside it. Mounting high hides the reveal, makes the ceiling feel taller and covers awkward angles in one move.
Keep the fabric identical across every section. Mixed panels in the same bay read as a mistake, even when the colours are close.
Use the same fabric for the heading treatment throughout: all rings, all S-fold, or all pinch pleat. Switching heading styles mid-bay is the fastest way to make a good setup look cheap.
Hide the hardware where you can. Brackets painted the same colour as the wall, or runners tucked behind a pelmet valance, disappear once the fabric is up.
For a bay with difficult corners or a rental, choose the simplest treatment that covers the window. A simple roller blind per run, in one fabric, tidies the space without hardware that follows the angles at all.
Renters have decent options. Tension rods between the reveal sides work on a shallow bay, self-adhesive brackets rated for the weight can handle light panels, and a no-drill track designed for tension mounting covers a wide bay without touching the wall.
Motorized bay window curtains are worth it when the window is high or the bay is above a staircase, where reaching the rail is awkward. Check that the motor can carry your panel weight before buying anything.
A note on corner windows versus bays. A corner window has no projecting bay, so a single straight rod usually works and often will not cover well without a wide bracket set. A bay projects into the room, and that projection is the whole problem to solve.
Frequently Asked Questions
How do bay window curtain rods work?
Bay window curtain rods work as separate straight runs joined at angles with corner connectors, or as one flexible or pre-bent track that follows the window shape. Each run has its own brackets, and the connectors are set to the real angle of the bay so the fabric slides around the corner without bunching. This is why a single straight rod rarely covers a projecting bay.
How do I measure a bay window for curtains?
Measure the total width at the rod line, then each individual window run so you know where the corners fall. Measure the projection, which is how far the bay projects from the front wall, because that decides whether a straight rod can clear the glass. Last, measure the drop from your mounting point to the floor to get panel length.
Can you use a normal straight curtain rod on a bay window?
Only if the bay barely projects or the rod sits well forward of the window on brackets. On most three-sided bays a straight rod hits the window frame or stands too far from the wall, and that looks wrong from every angle. Segmented sections joined by corner elbows handle most bays, and a curved or flexible track handles deeper projections and bow windows.
What is the easiest way to hang curtains on a bay window if I rent?
Use a no-drill track designed for tension mounting, fitted between the reveal sides, or self-adhesive brackets that are rated for the weight of your panels and light fabric. Roller blinds per run are even easier and need almost no hardware. The important part is that any adhesive fix is tested with a pull before the panels go on.
Why do my bay window curtains snag at the corners?
Snagging almost always comes from the join. The connector angle is set wrong, the panel has too little fullness to fill the corner, or the bracket is mounted so the track twists slightly under load. Reset the connector to the measured angle, add fullness to the panel at that corner, and check the run is level before you shorten anything.
Conclusion
Start by measuring the whole window at rod height, each run separately, plus the projection from the wall. Those three numbers decide everything else: which curtain path you buy, how many sections you need and how long the panels have to be. Choose hardware that follows the actual shape of the bay, fit the brackets into something solid, and the rest is straightforward.