You can spray paint furniture indoors safely as long as air moves out of the room while you work, you use water-based paint, and nothing nearby can catch a spark. A carbon-filter respirator, a taped-off work zone and thin coats do the rest. Most people get a clean, even finish in two hours of work per small piece, plus drying time.
This guide is for the situations that push painting indoors: a rental with no yard, a garage that is too cold, a dresser that will not fit through the door in one piece, or a piece too heavy to move outside. If you can spray outside, spray outside. Everything below is the setup for when you cannot.
Table of Contents
- What You Need
- Step-by-Step: How to Spray Paint Furniture Indoors Safely
- 1. Choose a Well-Ventilated Room and Set Up the Airflow
- 2. Protect Yourself: Respirator, Clothing and Spark Sources
- 3. Clean, Sand and Repair the Furniture
- 4. Mask Off Everything You Want to Keep Clean
- 5. Apply Thin, Even Coats Indoors
- 6. Let the Paint Dry, Then Let It Cure
- 7. Inspect the Finish, Clean Up and Clear the Air
- Common Mistakes and How to Fix Them
- Frequently Asked Questions
- Can I spray paint furniture indoors if I have a window?
- What type of respirator should I use when spray painting furniture indoors?
- Is water-based spray paint safer to use indoors than oil-based spray paint?
- How long should I let furniture dry after spray painting indoors?
- How can I reduce spray-paint odor inside my home?
- Do I need to prime furniture before spray painting it?
- Conclusion
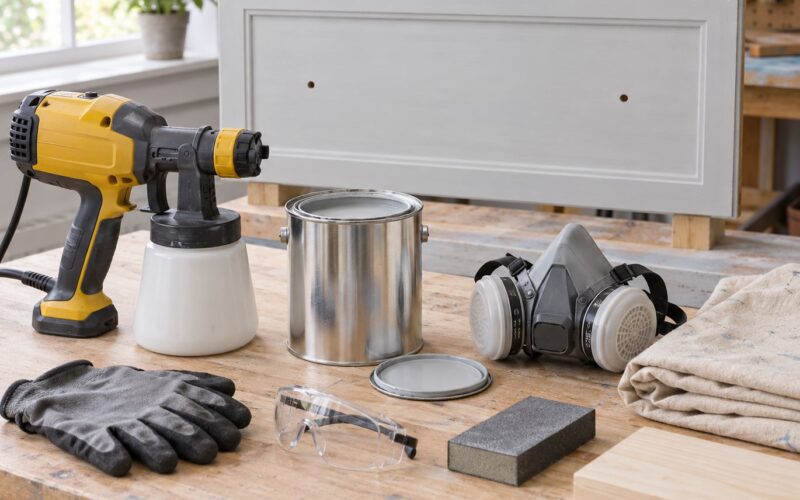
What You Need
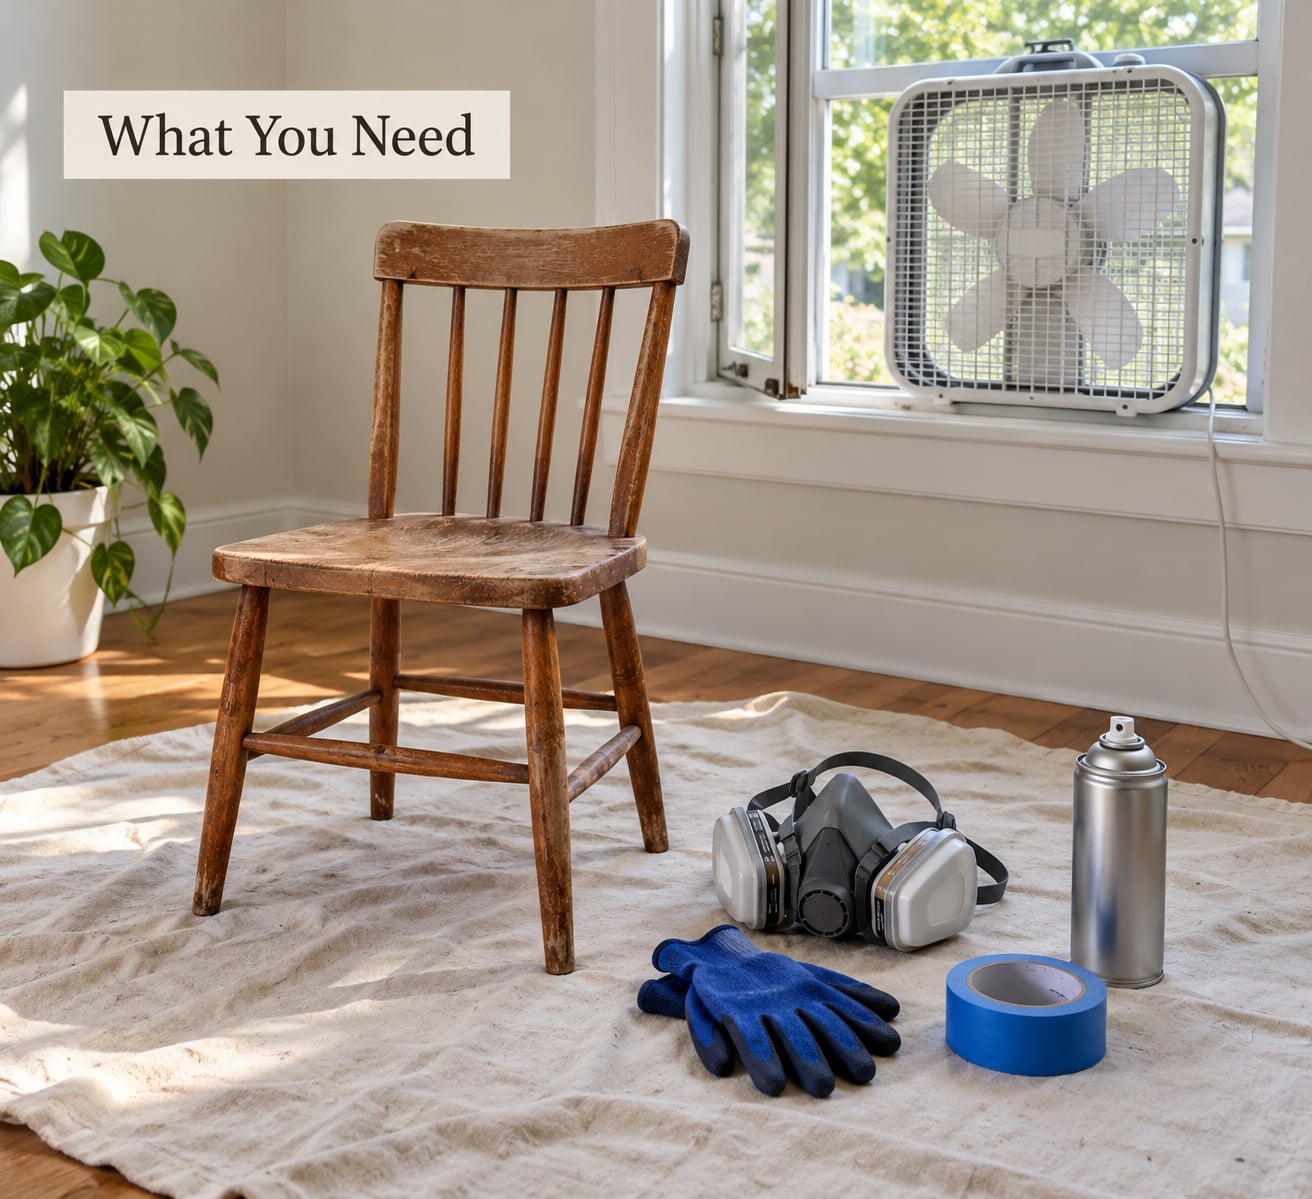
Gather everything before the furniture comes out of storage. Rushing setup is how paint ends up on the floor instead of the piece.
- A room with cross-ventilation. Two openings on opposite walls, or one window plus a box fan pulling air out of the second opening. A closed door and a single window will not move enough air.
- A respirator with organic vapor cartridges if you are using any paint with solvents, plus a correctly fitting N95 or P100 for the fine mist of water-based paint.
- Nitrile gloves, safety goggles and long sleeves. A hooded coverall or a spray sock keeps overspray off your hair and skin. Shoe covers save your socks and floors later.
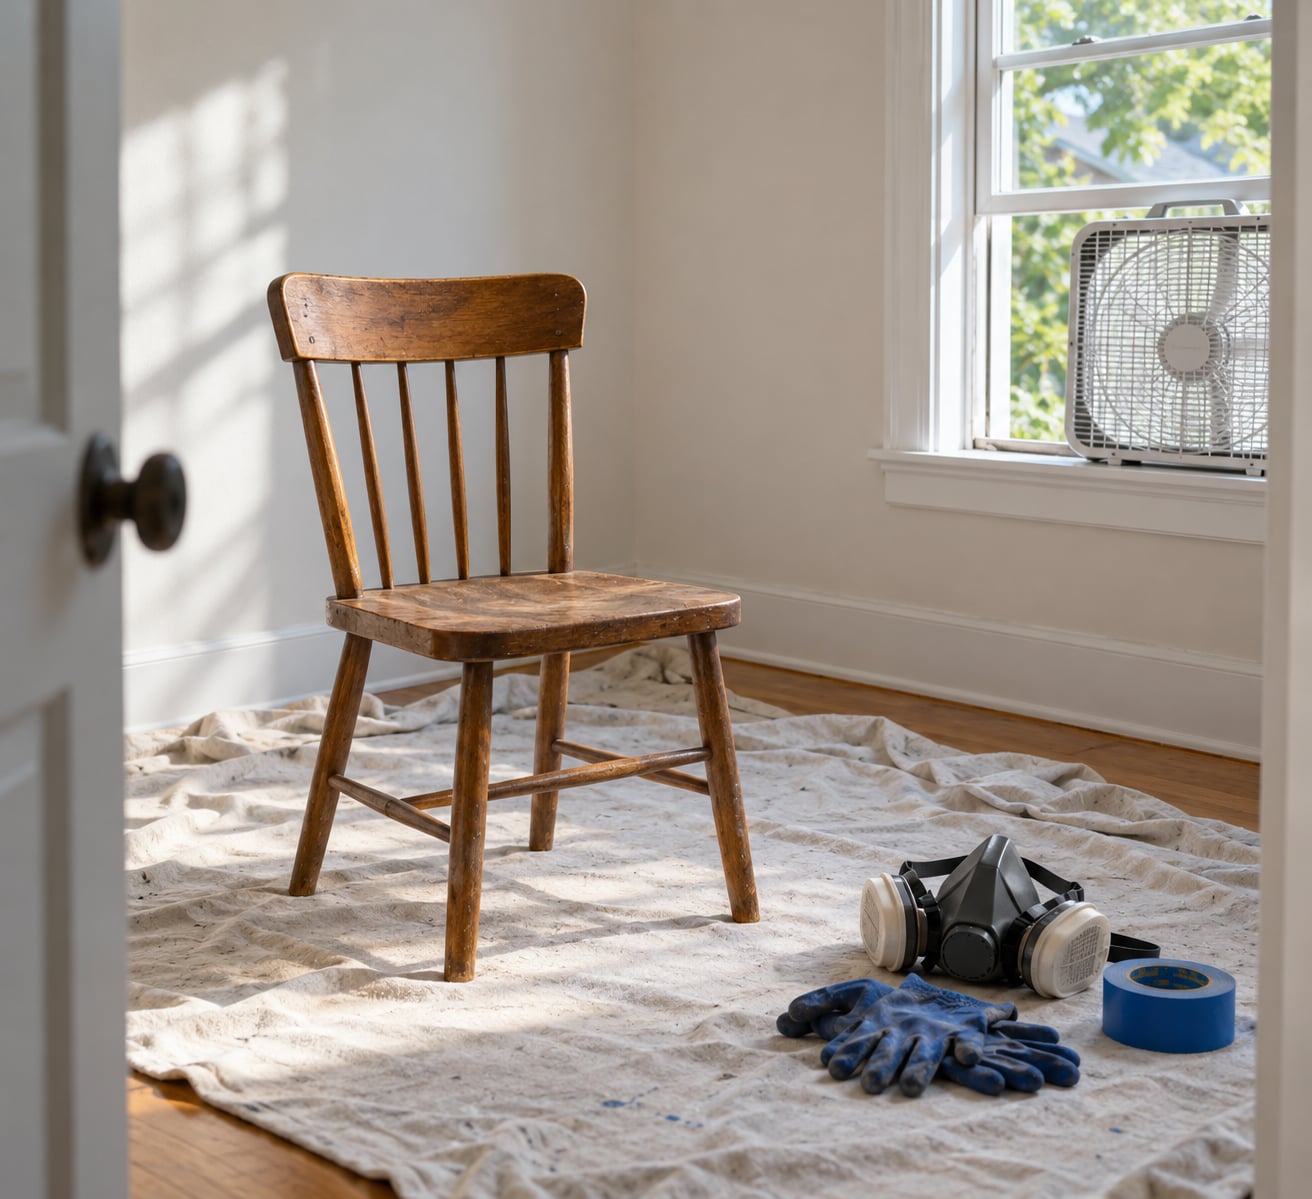
- A canvas drop cloth plus painter’s tape and plastic sheeting. Canvas goes under the piece and takes paint chips without flaking them onto the floor. Plastic is for masking walls, windows and shelves.
- Cleaning and prep supplies: a degreaser or denatured alcohol, lint-free rags, 120 to 180 grit sandpaper for prepping, 220 grit for a final scuff, wood filler for defects, a sanding block and a tack cloth.
- Water-based spray paint labeled for indoor use, plus a matching primer and an optional clear topcoat. Read the can before you buy it; the label lists ventilation warnings, temperature limits and recoat times.
- Optional but useful: a pop-up spray shelter or a cardboard-and-plastic booth, a lazy Susan turntable, a plastic putty knife for scraping drips, and a second fan for drying.
If you plan to spray more than a couple of pieces, a shelter pays for itself in saved cleanup time. Search forums like r/DIY and r/Spraypaint and you will see the same consensus repeated: people who build a simple booth regret far less overspray than people who spray bare in a room.
Step-by-Step: How to Spray Paint Furniture Indoors Safely
1. Choose a Well-Ventilated Room and Set Up the Airflow
Pick the room with the biggest opening to the outside first. A garage with a wide door beats a bedroom window every time. Basements are workable but need extra attention because they rarely have a window at all.
Set up a cross-draft: open the window on one wall, place a box fan in the opening on the opposite wall facing outward, and close every other door in the room. That arrangement pulls air through the space and pushes it out, which is what carries mist and vapors away from your face. Run the fan before you open the paint and keep it running after you finish.
Apartment living means you probably cannot push contaminated air into a hallway. Point the fan at a window, not a shared wall, and if paint odor is drifting to neighbors, use a water-based product and a longer, thinner application rather than one heavy coat.
Plan how long the room stays unusable. Water-based overspray usually clears within a few hours of steady airflow, but paint odor can linger a day or two in carpeted, closed or poorly ventilated rooms. Oil-based and lacquer products take far longer and smell worse the whole time. Treat the room as off-limits until the smell is gone, not just until the can says dry to the touch.
2. Protect Yourself: Respirator, Clothing and Spark Sources
Spray paint sends two things into the air: a fine mist of paint particles and solvent vapors. A dust mask or plain cloth mask handles neither well. Use a half-face or full-face respirator with organic vapor cartridges for anything solvent-based, and add an N95 or P100 particulate filter for the mist.
Fit matters more than brand. Do a seal check by inhaling gently with the filter on; if the mask collapses or air leaks around the edges, the cartridge is not doing anything for you. Gloves, goggles and long sleeves finish the job, because overspray lands on skin and in eyes the same way it lands on walls.
Now deal with ignition sources, which is the part most guides skip. Aerosol propellants and solvent vapors can ignite. Before you spray, check for pilot lights on a gas fireplace, water heater, furnace or gas range, and any open flame. If one cannot be shut off, do not spray in that room.
Water-based acrylic and latex spray paint is not flammable and removes most of that risk, which is one more reason it is the default choice indoors. Oil-based and urethane enamels, lacquers and any product whose label mentions solvents or flammability are a bad match for a home interior. Treat a spray can as a can of gasoline: away from heat, sparks and flames, and never in a room where a furnace can ignite it.
3. Clean, Sand and Repair the Furniture
Start with the surface, not the paint. Wipe the piece down with a degreaser or denatured alcohol and a lint-free rag to remove grime, oils and furniture polish. Paint will not bond to a greasy surface, and a failing finish usually peels off in sheets weeks later.
Fill dents, chips and nail holes with wood filler matched to the surface, then let it dry and sand it flush. Sand glossy areas so the new finish has something to grab. Around 120 to 180 grit works for stripping an old finish or scuffing shiny paint; 220 grit is enough for a well-prepped surface that already holds paint.
Skim a tack cloth over the surface right before you spray to pull off sanding dust, and consider whether to prime. Bare wood, raw particle board, MDF, bare metal and anything you are going from dark to light all need primer. Previously painted furniture in good shape usually does not, though a coat of bonding primer helps when the old finish is glossy or unknown.
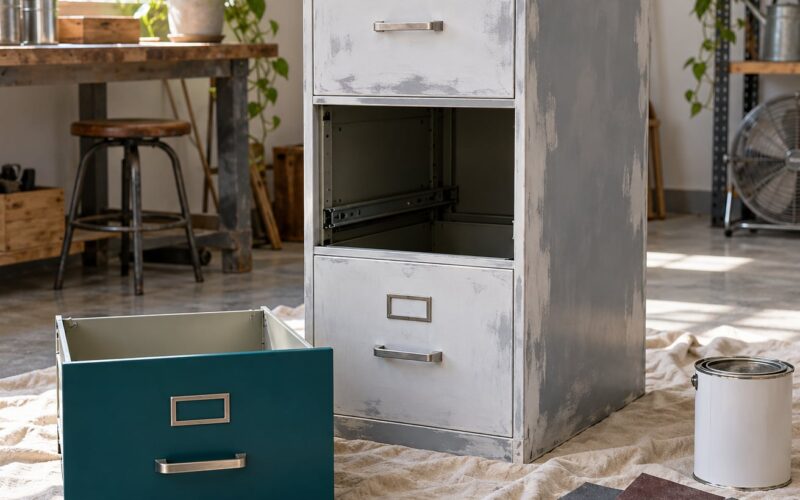
Material changes the prep. Wood wants the full clean and sand. Metal needs rust removed and a rust-inhibiting primer before paint. Laminate and particle board are the two that trip people up: sand the shine off, use a bonding primer made for non-porous surfaces, and expect to need an extra coat because those surfaces drink the first one.
4. Mask Off Everything You Want to Keep Clean
Pull the hardware when you can. Knobs, pulls and hinges come off in a few minutes, and a clean metal part is much nicer than paint dried into the threads. Bag them and label the bag, or tape them in place if they will not come off.
Tape windows, door frames, shelves and anything else near the work zone, then hang plastic sheeting over the tape for full protection. Pre-taped plastic saves time here since the edge is already sealed.
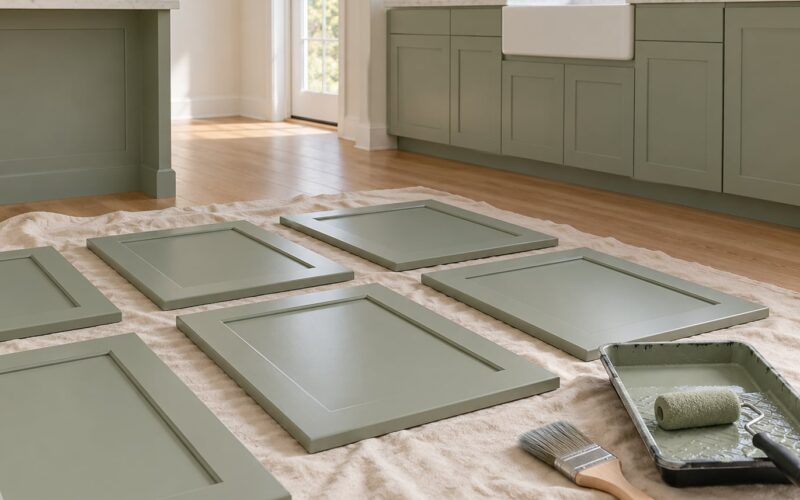
Lay a canvas drop cloth under the piece and catch any paint that flakes off later. Most people reach for plastic sheeting for the floor, but canvas does better for spray work because plastic tears and lets chips slide around while canvas holds them.
Raise the piece on sawhorses or blocks so you can spray underneath and rotate it. Overspray cannot be eliminated indoors, only contained, so build the containment before you open the can.
5. Apply Thin, Even Coats Indoors
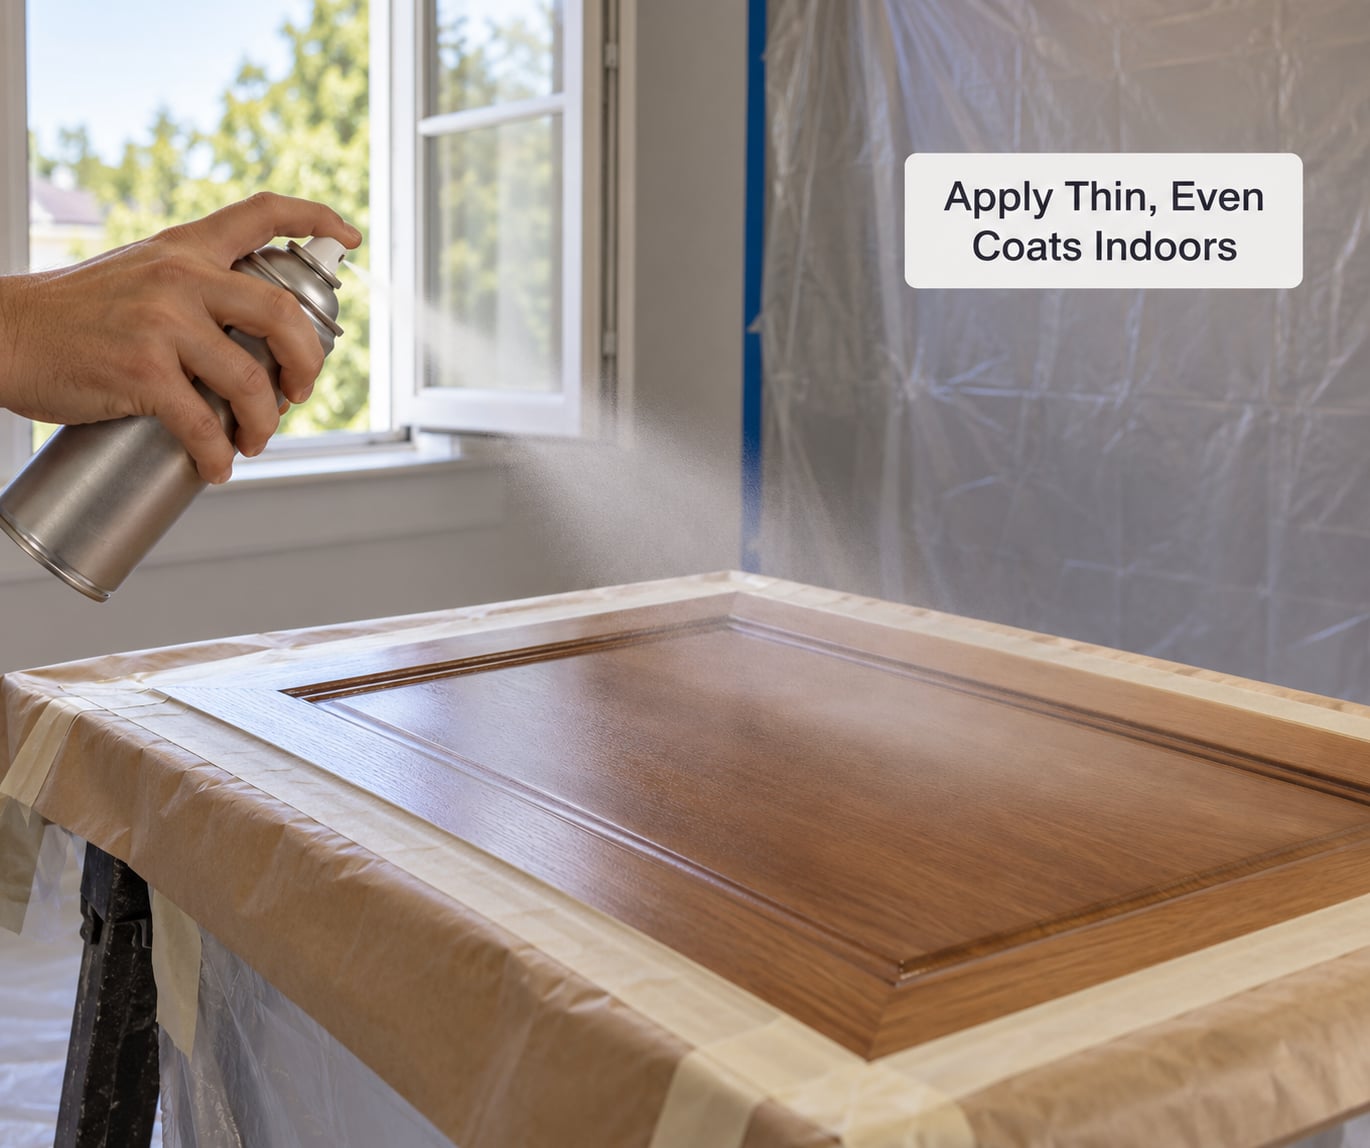
Shake the can for the full time printed on the label, usually a minute, and test the spray on scrap cardboard or the back of the piece. A weak or sputtering spray means the nozzle needs clearing; a spray that spits means it is still full of propellant and needs more shaking.
Hold the can about 12 inches from the surface and move it in a steady side-to-side sweep. Do not hold still and do not arc the can, because both actions dump paint in one spot. Let each pass overlap the last by about half, and keep the passes roughly even in speed.
Work in light coats. The first pass is a tack coat, a thin dusty layer that gives the following coats something to land on, which cuts runs. Follow the label’s flash time, the wait between coats, before the next pass. Most water-based furniture paint asks for a short wait of 15 to 60 minutes; going over the label is where impatient painters create sagging paint.
Rotate the piece between coats so you reach all sides, and move the fan or shelter if it is blocking airflow. Watch for the three classic failures: drips from too much paint in one area, orange peel texture from a spray held too close or too thick, and dust nibs from settling dust.
Keep the room’s air moving as you spray. It keeps vapor away from your face and helps thin coats level out before they skin over.
6. Let the Paint Dry, Then Let It Cure
Drying and curing are different things. Dry to the touch means the surface will not smear if you brush it, usually within an hour or two. Cured means the finish has hardened enough to resist scratches, and that takes far longer, often a day or several depending on the product.
Temperature and humidity drive both. Paint applied in a cold or damp room dries slowly and cures slowly, and a finish that never hardens will scuff and peel. Aim for the range on the can, commonly somewhere around 50 to 85 degrees with moderate humidity, and wait until the room is back in range before you spray.
Leave the piece in the ventilated room while it cures. Do not carry it into a closed closet right away, and do not stack anything on it, set a leg on it or lean it against a wall until the label’s full cure time has passed. A topcoat of water-based clear helps, but it does not speed curing up.
7. Inspect the Finish, Clean Up and Clear the Air
When the recoat window arrives, check the previous coat. If it looks dull and dusty instead of even and matte, give it more time. Pull tape while the coating is still soft enough to cut cleanly, usually before the paint fully hardens, because tape left too long can take a strip of finish with it.
Clean tools the way the can label says. Water-based paint rinses out of most equipment with warm soapy water. Anything that used solvents goes out in the household hazardous waste stream, not down a drain or in the trash, and oily rags and filters can self-heat if you leave them in a pile, so spread them flat outdoors to dry before disposal.
Keep the fan running until the room smells like nothing more than paint. Close the door on the work room, let air move through it for several hours, and if the odor still hangs around the next day, keep airing it out. Track down the source by closing the fan and watching when the smell comes back; a strong return in one spot usually means paint dust settled in a vent or carpet.
Common Mistakes and How to Fix Them
Almost every bad indoor spray job traces back to one of these. The table shows the symptom, what caused it and the fix for the next coat, since most of them cannot be undone after the paint dries.
| Problem | Cause | Fix |
|---|---|---|
| Strong odor that hangs around for days | Poor airflow or an oil-based product | Use water-based paint, open two openings with a fan in one, and keep the fan running after you stop |
| Paint peels or flakes off later | Greasy or glossy surface, no primer, or too many thick coats | Degrease, sand glossy areas, prime bare or tricky surfaces and apply thin coats |
| Orange peel texture | Can held too close or paint applied too thick | Hold about 12 inches back, thin the paint per the label, and mist a second thinner coat over it |
| Drips and sags | Too much paint in one spot or recoating too soon | Wait out the full flash time and sweep the can continuously |
| Dust nibs and specks | Dust settling in the mist | Wipe with a tack cloth, keep the fan low and away from the piece during spraying |
| Dull, uneven or patchy coverage | Coats sprayed too close together or the piece was sprayed while still moving | Wait the full recoat window, then apply one even coat from 12 inches away |
| Paint sticks to the tape and lifts the finish | Tape left on too long | Remove tape while the coating is still slightly soft |
| Finish dents or scratches easily | Furniture used before full cure | Follow the label cure time, avoid stacking and consider a clear topcoat |
Two habits prevent most of these. Do the prep with a clean rag and a fresh tack cloth every time, and set a timer for flash and recoat instead of judging by eye. Rushing the waiting is what turns a good setup into a repaint.
Temperature is the quiet one. A cold basement or a humid garage will slow drying and cure enough to make a soft finish, and no amount of extra paint fixes that. Measure the room before you start, not after the second coat starts sagging.
Frequently Asked Questions
Can I spray paint furniture indoors if I have a window?
Yes, one open window works, but a single window on its own moves very little air and mist settles instead of clearing. Better to open two points on opposite walls and put a box fan in the one facing outward so air is pulled through the room. Keep the fan running while you spray and for several hours afterward, and use water-based paint to keep odor down. If you cannot get cross-ventilation, paint outside or wait for better weather.
What type of respirator should I use when spray painting furniture indoors?
Use a half-face or full-face respirator with organic vapor cartridges, plus an N95 or P100 particulate filter for the mist. A dust mask is not enough, because cloth and cheap paper masks do not filter solvent vapors and fit poorly around the edges. Do a seal check by inhaling gently with the filter on; if it collapses or air leaks around the rim, it is not protecting you. Gloves and goggles matter too, since overspray lands on skin and eyes.
Is water-based spray paint safer to use indoors than oil-based spray paint?
Yes. Water-based acrylic and latex spray paint carries far fewer volatile organic compounds, is not flammable, and clears the air in hours rather than days. Oil-based and urethane enamels and lacquers contain solvents whose vapors can irritate lungs and headaches, and their propellants and vapors can ignite near a pilot light, furnace or water heater. Follow the container label, which lists ventilation warnings and drying times, and never assume a product is safe because the odor seems mild.
How long should I let furniture dry after spray painting indoors?
Most water-based furniture spray paint is dry to the touch within one to two hours and ready for a second coat after the flash time on the label, often 15 to 60 minutes. Dry is not the same as cured; full cure can take a day or several before the finish resists scratches. Keep the piece in a ventilated room, off other objects, and out of a closed closet until the label cure time passes. Cold and humid conditions stretch both numbers.
How can I reduce spray-paint odor inside my home?
Start with the paint, since water-based product is the biggest lever. Then control the air: open two points on opposite walls, put a box fan in the outward-facing opening, and keep it running before, during and after spraying. Spray thin coats instead of heavy ones, because heavy coats put far more solvent into the air at once. Mask off the room so smell does not travel to hallways or neighbors, and keep airing the space out until the odor is fully gone, not just faded.
Do I need to prime furniture before spray painting it?
Prime bare wood, raw particle board or MDF, bare metal, and anything going from a dark color to a light one. Previously painted furniture in good condition usually does not need primer, though a bonding primer helps over glossy or unknown finishes. Laminate and low-porous surfaces need a bonding primer plus an extra coat because the first coat soaks in. Primer also matters for rust prevention on metal and for stain-blocking, so check what the old piece was finished with before you skip it.
Conclusion
Start with the room, not the paint. Cross-ventilate with a fan pulling air out, use water-based paint, wear a respirator with organic vapor cartridges, and take apart anything that can catch a spark. Then clean and sand the piece, mask the room, and spray thin coats from about 12 inches away with half-pass overlap.
Follow the label for flash time, recoat window and full cure, and keep the air moving until the odor clears. Done in that order, indoor spray painting goes from a risky guess into a weekend project you would actually repeat.