Painting a headboard is a weekend job: a few hours of prep, two thin coats of color, and an overnight cure before the bed goes back. Knowing how to paint a headboard comes down to one decision — what the piece is made of, and what finish is already on it. Bare wood, MDF, metal and upholstery all need different prep, and skipping the right primer is the single reason most painted headboards start peeling within a year.
Budget roughly four to six hours on the first day, plus drying time. If the headboard is bolted to an awkward frame, add an hour for figuring out how to get it off.
Table of Contents
- What You Need
- Which paint type works on which headboard
- How to Paint a Headboard Step by Step
- 1. Inspect the headboard and protect the room
- 2. Clean and degrease every surface
- 3. Repair dents, scratches, and loose joints
- 4. Sand the existing finish
- 5. Apply the right primer
- 6. Paint the headboard in thin, even coats
- 7. Add the finishing details and cure the paint
- Common Mistakes
- Frequently Asked Questions
- Can you paint a fabric or upholstered headboard?
- What is the best paint color for a bedroom headboard?
- Can you paint over an existing painted or stained headboard?
- Is spray paint the easiest way to paint a headboard?
- Do you need to seal painted wood after painting a headboard?
- Conclusion
What You Need
Start by identifying the material, because the shopping list changes completely depending on what you find. A solid wood or MDF headboard needs filler, sandpaper and primer. A metal frame needs rust treatment and a bonding primer rated for metal. Upholstered fabric needs a different product again, and vinyl needs a bonding primer plus a flexible paint.
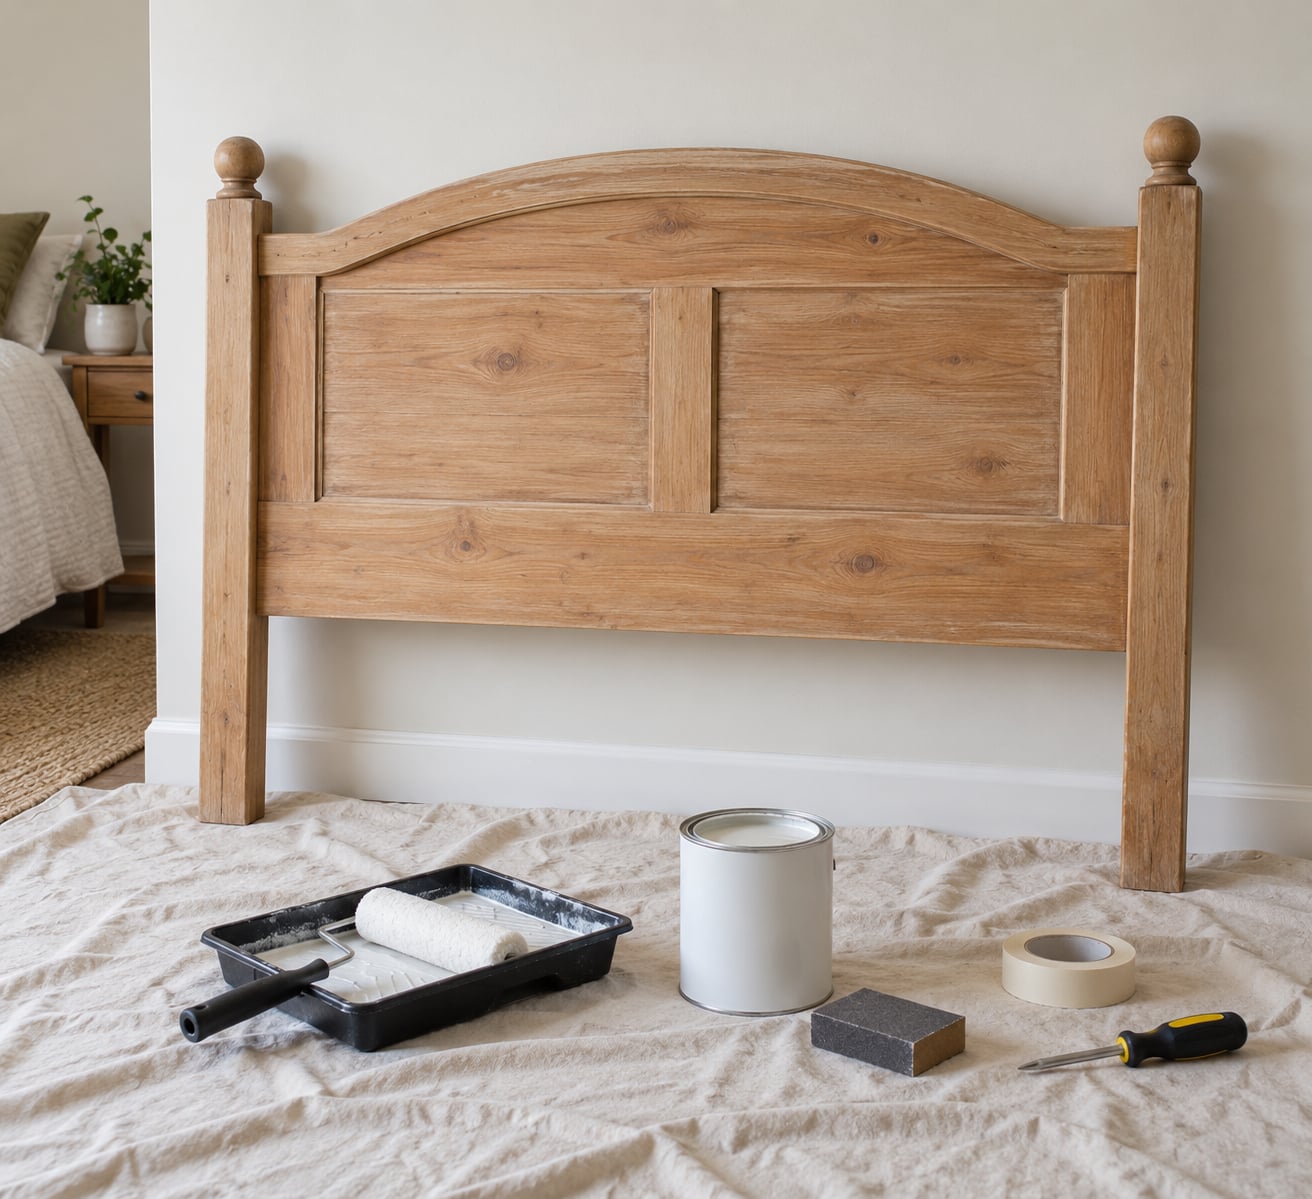
The core kit, whatever the material:
- Paint in your chosen color and finish — matte, satin or eggshell
- Primer suited to the surface: bonding primer for bare or glossy surfaces, metal primer for steel or iron
- A 2 inch angled cutting-in brush and a small roller, or a foam roller for narrow trim
- Masking tape, a paint tray and a stir stick
- 120 to 150 grit sandpaper, plus 220 grit for scuffing between coats
- A scraper, wood filler or spackle, and a putty knife
- Fine steel wool and a rust converter if the frame is metal
- Clean rags, a deglosser or wood cleaner, and a dust-free cloth
- Drop cloth, plus a screwdriver set and the hardware bag from the headboard
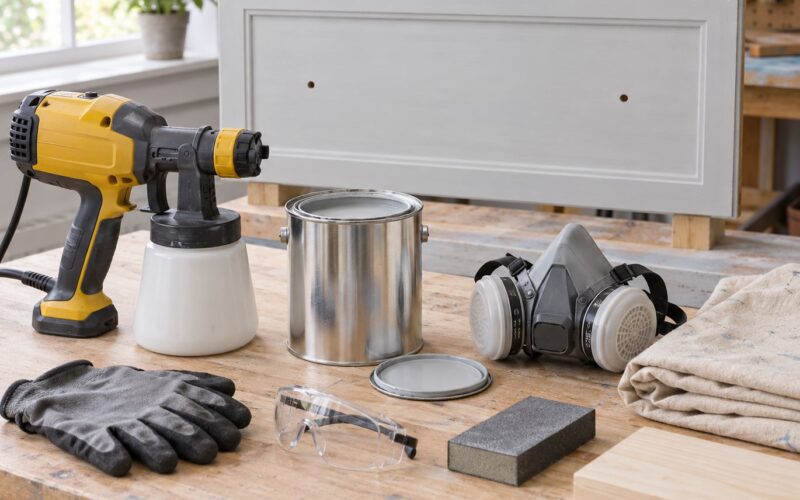
A paint sprayer is optional. It gives the smoothest finish on curved or carved details and cuts the time on the color coats, but it needs more masking, more overspray control and proper ventilation outdoors or in a well-ventilated room.
Which paint type works on which headboard
Water-based latex is the easy default: low odor, clean-up with soap, and it holds up well on sealed wood. Alkyd enamel is tougher and levels out more smoothly, but the odor and cleanup are real, so open the windows. Chalk mineral paint needs no primer on clean wood and sands beautifully, which suits a vintage piece you want to distress.
| Paint | Adhesion | Finish | Best for |
|---|---|---|---|
| Water-based latex | Good over primer | Matte to eggshell | Everyday wood and MDF headboards |
| Alkyd enamel | Excellent | Very smooth satin | Dining rooms, kids’ rooms, high-contact surfaces |
| Chalk mineral paint | Good on bare wood | Flat matte | Vintage and thrifted pieces, decorative finishes |
| Bonding primer plus latex | Best of both | As painted | Glossy or unknown existing finish |
| Fabric paint or spray | Variable | Matte | Upholstered headboards only |
| 2X spray enamel | Very good | Smooth satin | Fast coverage, carved or turned wood |
Whichever you pick, test it on the least visible corner first. A headboard is a shape you see from every angle in the room, and a bad color is obvious in daylight.
How to Paint a Headboard Step by Step
1. Inspect the headboard and protect the room
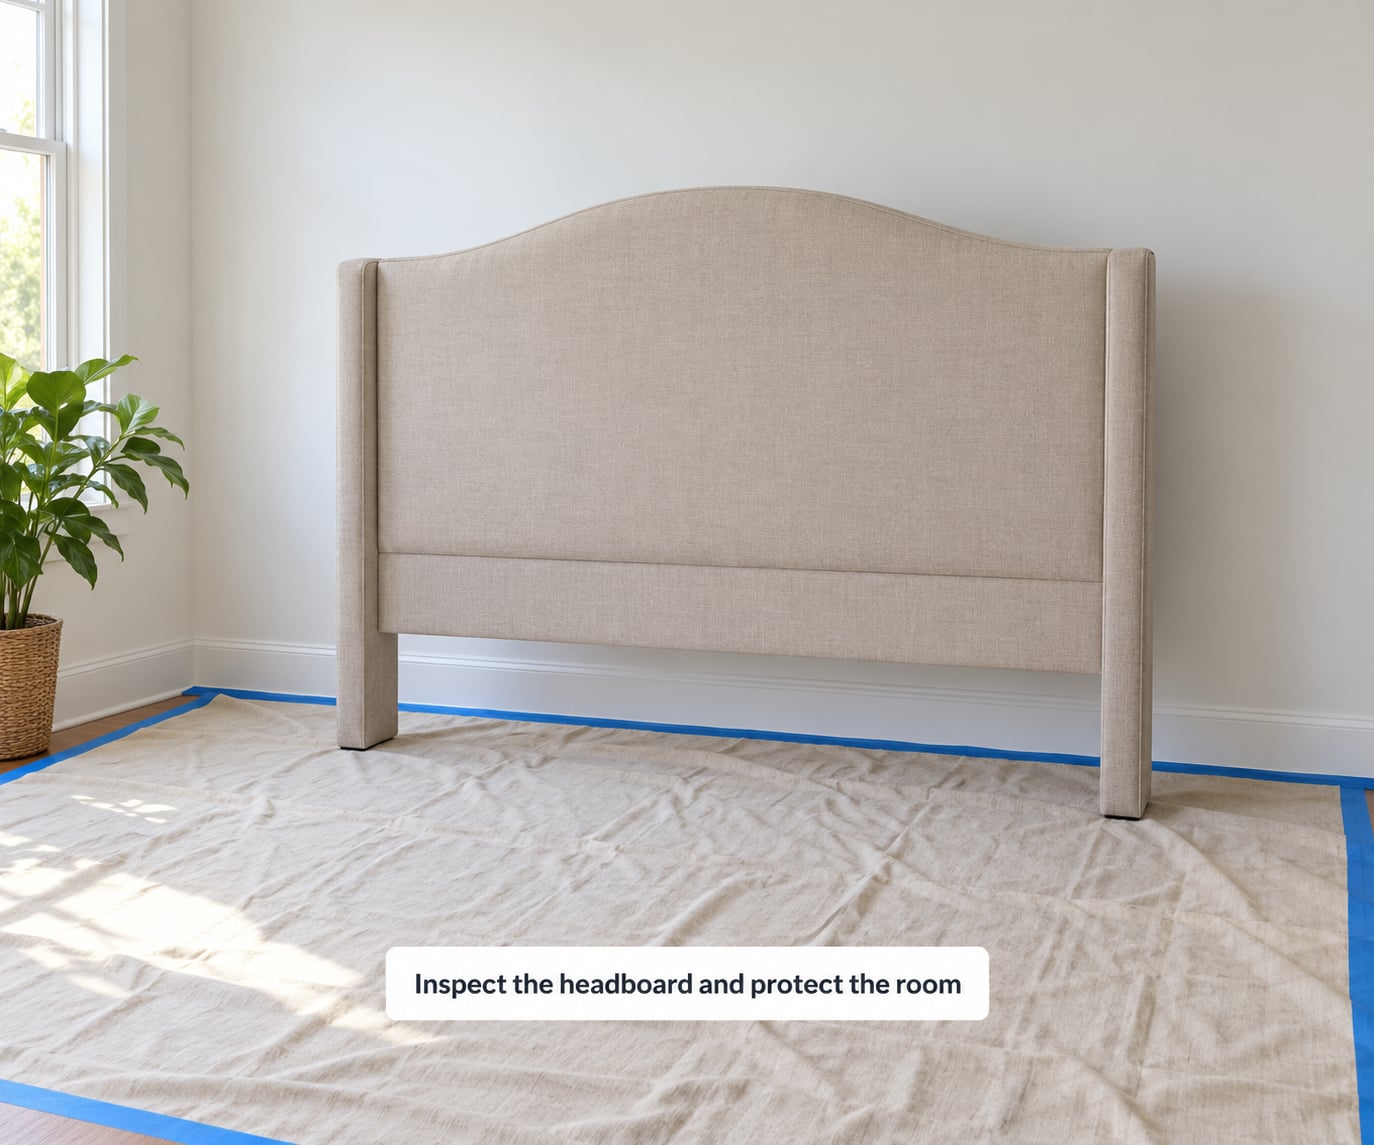
You should confirm the headboard is solid and stable before you touch it with a sander. Push on it gently from the top; any movement means the joints or wall fixings need attention first.
Remove every pillow, and take off any detachable brackets, finials or bolts and drop them into a labeled bag so reassembly isn’t a puzzle at midnight. If bolts run through the headboard into the bed frame, a second pair of hands makes this a five-minute job instead of a fight.
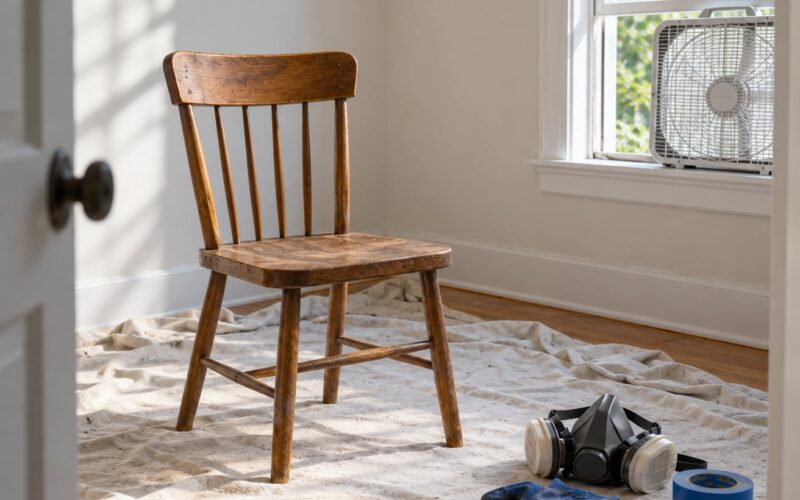
Cover the floor with a drop cloth and tape its edges down. Anything else nearby — light switches, skirting boards, a headboard screwed to the wall — gets a sheet of plastic or a careful tape line.
Check the wall anchors behind the piece. If the headboard is load-bearing, holds up a shelf or TV, or sits near wiring, let a qualified professional look at it before you remove anything. A headboard is decor, not structure.
2. Clean and degrease every surface
Dirt, skin oils and old finish residue are the reason paint peels off in sheets later on, so cleaning is not optional.
On wood and MDF, a dilute deglosser or wood cleaner applied to a rag, then wiped over, removes the film that sanding alone leaves behind. On metal, use a cleaner that cuts grease and let it dry fully. On fabric, treat any stain before you paint, because paint locks a stain in permanently.
Run a clean, dry cloth over the surface and then your fingertips. If it feels tacky or leaves a mark, keep cleaning. It should feel dry and slightly dull before anything else happens.
3. Repair dents, scratches, and loose joints
Fill every divot, chip and nail hole with wood filler, and let it dry until it sits flush rather than dish-shaped.
For wobbly joints, run a thin bead of wood glue into the seam, clamp it, and wipe the squeeze-out with a damp rag before it cures. Replace stripped or broken fasteners rather than reusing them — a loose screw in a headboard is a rattle every time you bump the bed.
On metal, remove rust with fine steel wool and treat it with a rust converter, then let that dry completely. Skip this step and the new paint blisters within months.
Sand the filler flush with 150 grit and run a fingertip over the repair. Smooth means smooth; a ridge under the paint will show as a line in the finished color.
4. Sand the existing finish
Light scuff-sanding is enough when the headboard is sound and you are using a bonding primer; heavier sanding is needed when the old finish is peeling, glossy and sound, or you want paint to grip bare wood.
There is a real disagreement here, and both camps are right in their own case. Houzz users generally favor a light 180-grit scuff before primer rather than stripping to bare wood, and doityourself.com regulars argue the opposite — sand down to the old finish wherever you can. My rule: 150 grit to dull every shiny patch, then judge. If paint lifts off in strips, keep sanding.
Stripping is rarely worth it on veneer, and it’s risky on anything vintage or valuable. A thick, uneven layer is almost impossible to remove without taking the surface with it, so accept the existing finish and work with it.
Vacuum and wipe the dust off with a damp cloth after sanding, then let the surface dry. Paint applied over fine dust will look permanently hazy.
5. Apply the right primer
Yes, prime — on bare wood, MDF, metal or a glossy unknown finish — because primer is the layer that decides whether the color stays put for years or peels off in a year.
Use a water-based bonding primer over clean, scuffed existing paint. Use a stain-blocking primer over bare wood or MDF, which drinks up the first coat and makes it blotchy. Use a metal primer on steel and iron. On fabric or vinyl, use a bonding primer rated for flexible surfaces, and on bare wood with chalk mineral paint, a light coat is still worth it if the piece is MDF rather than solid timber.
Apply the primer the same way you’ll apply the color: brush or roll it thin, keep a wet edge, and don’t leave it puddling in corners. Two thin coats beat one thick one every time.
Follow the can for dry time — typically one to four hours — and check it visually. The sign it worked is an even, matte surface with no glossy patches showing through. If gloss remains, add another coat.
6. Paint the headboard in thin, even coats
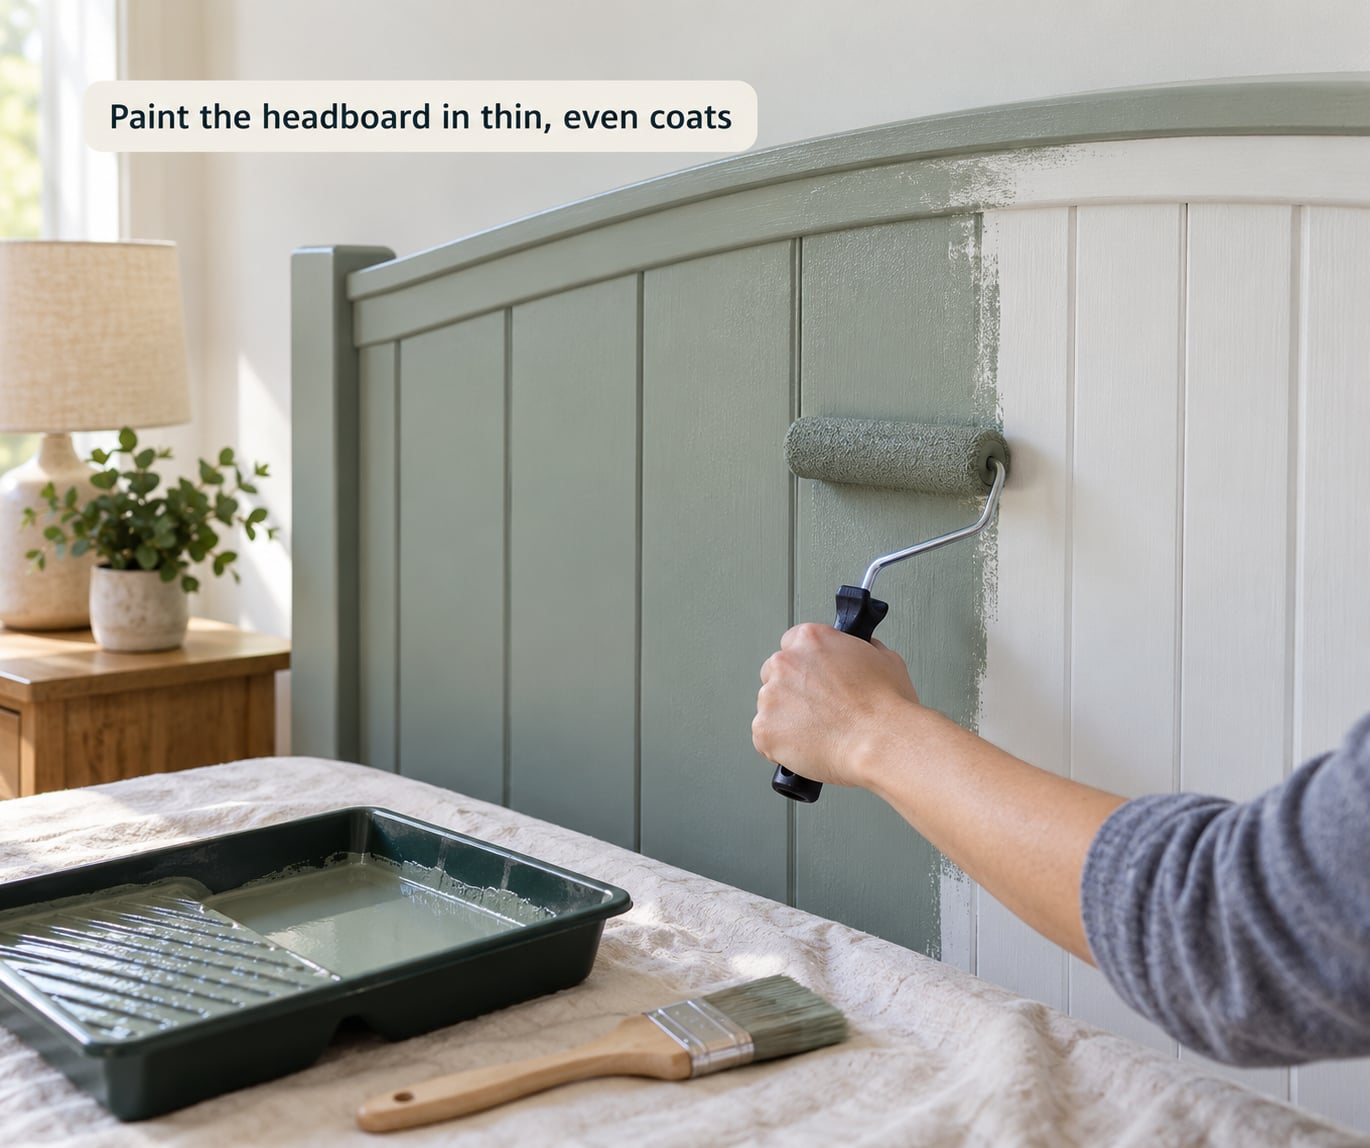
Thin, even coats are what stop brush marks, and that’s how to paint a headboard so the color looks sprayed rather than rolled.
Start by cutting in: run the angled brush along edges, corners, inside the cutouts around the bed posts and any molding. Then roll or brush the flat field out from that edge, always working back into the wet paint you just laid rather than over the part that has started to dry.
Load the roller lightly. If paint rolls off and drips, you have too much on it — press it out in the tray and go again. Overloaded rollers are the origin of most lap marks and sagging texture lines on a headboard.
Vary your stroke direction on every pass, and cross the grain of your work lightly before the coat sets. Two thin coats will level themselves; one thick coat will not.
Let the first coat dry to the touch, scuff it lightly with 220 grit, wipe off the dust, then lay the second. Two coats are the bare minimum on a dark color going over a lighter one; three is safer when you’re covering black with white.
7. Add the finishing details and cure the paint
Once the color coat is dry, add your design — stripes, color blocking, stenciling or a metallic accent. Test the technique on a scrap of the same finish first, because glaze and dry brushing reward practice and punish impatience.
Tap any missed spots with a small brush rather than trying to blend. Then refit the hardware you removed in step one, wiping the threads so paint doesn’t seize the bolts.
Give the piece real cure time before you make the bed. Paint that feels dry is still soft enough to take a pillow impression, and scratch marks show up weeks later. Follow the label — a few hours to touch, up to a couple of weeks before heavy contact, longer in cool or humid rooms.
Common Mistakes
- Skipping the clean. Oils hold the new paint off the surface. Degloss first, every time, even when the headboard looks clean.
- Painting over loose or glossy finish. Anything that peels off with a fingernail has to go first. Scuff the gloss, sand the loose paint, prime the rest.
- Wrong primer for the surface. One coat of wood primer on steel will peel. Match the primer to the material and to a bonding primer if the existing finish is unknown.
- Overloading the brush or roller. Dip less, apply more thin layers. Drips and lap marks come from too much paint, not too little.
- Painting one heavy coat. Thick coats cure unevenly, wrinkle in the corners and take days longer. Two or three thin coats dry faster and look better.
- Skipping edges and crevices. The cutting-in brush is the least fun tool and the most visible one. Walk the perimeter first.
- Painting damp material or a wet room. Moisture traps under the film and the color blisters. Ventilate the bedroom and wait for the filler to be properly dry.
- Rushing the cure. The finish will feel soft for days. Sheet on the mattress for a week or two before the pillows go back, and use a protector on heavy-contact surfaces.
Tape has its own set of failures worth knowing. If you are painting a shape directly onto the wall — the semi-circle technique people ask about most — let the paint firm up for at least a couple of hours before pulling tape, and peel it at a shallow angle. A r/woodworking poster learned that the hard way when tape took a strip of wall paint with it. Score the tape line gently with a utility knife first, and pull it while the color is firm but not fully hardened.
Frequently Asked Questions
Can you paint a fabric or upholstered headboard?
Yes, and it is a popular weekend project, but regular wall paint is the wrong choice. It dries stiff, then cracks and flakes as the cushions move. Use a paint formulated for fabric, or a chalk mineral paint made for upholstery, and always test a hidden patch first. Vacuum the fabric, treat any stains, and expect to apply two or three thin coats with light sanding between them. If the fabric is valuable or the piece is antique, reupholstering usually looks better.
What is the best paint color for a bedroom headboard?
Deeper, warmer tones like olive, terracotta, muted teal and warm off-white tend to hold up in a bedroom because they calm the room down, while gloss white reads crisp and reflects light in a small space. Whatever you choose, sample it on the side of the headboard and look at it at night under your bedroom lighting, not just in daylight. Paint colors shift noticeably between a bright morning and a lamp-lit evening.
Can you paint over an existing painted or stained headboard?
You can, as long as the old finish is sound. Clean it, scuff it thoroughly with 150 to 180 grit sandpaper to dull the sheen, fill any chips, then apply a bonding primer before the new color. If the existing paint or stain is already peeling, no primer will save it, because the failing layer has to come off first. Stain that has soaked into bare wood also needs a stain-blocking primer, since it will otherwise bleed back through the new paint.
Is spray paint the easiest way to paint a headboard?
Spray paint is fast and gives the smoothest finish on carved, turned or spindled wood, but it is not automatically easier. Masking a headboard fully takes almost as long as brushing it, overspray reaches the floor and walls, and indoor use needs ventilation. Use a 2X acrylic enamel rated for furniture, hold the can 10 to 12 inches away, and move in steady passes rather than hovering. Brush and roll when the piece is simple, flat and indoors.
Do you need to seal painted wood after painting a headboard?
For a normal wood or MDF headboard, a good quality interior paint needs no separate sealer — it already contains one. Add a clear water-based topcoat when the surface takes constant contact, when children climb on it, when you used chalk mineral paint, or when you want a gloss or satin finish over a matte one. Let the color cure fully before applying it, and always follow the topcoat can for timing.
Conclusion
Begin by identifying what the headboard is made from and how the existing finish is behaving, because those two answers set everything else. Then work in one order without skipping ahead: clean and degloss, repair and fill, sand or scuff, prime with something that bonds to that surface, lay two thin color coats with a light scuff between them, and give the finish the full cure time on the label.
Most of the time on this project goes into preparation, and that is exactly why the finished headboard looks like furniture-shop work rather than a weekend experiment.