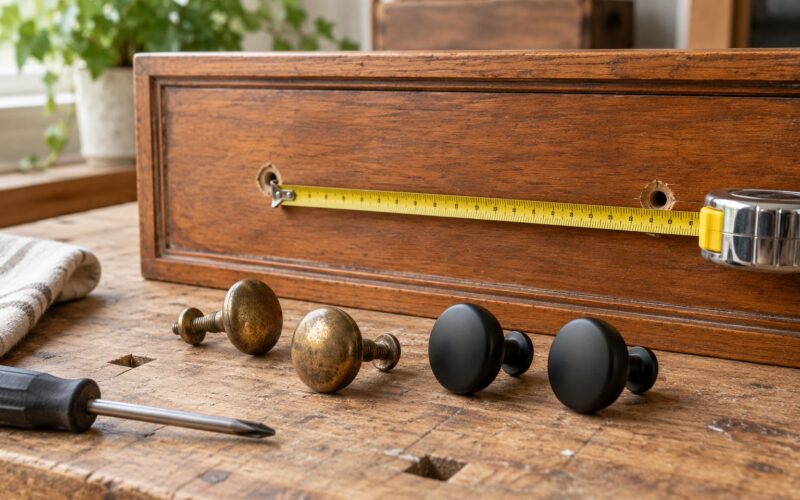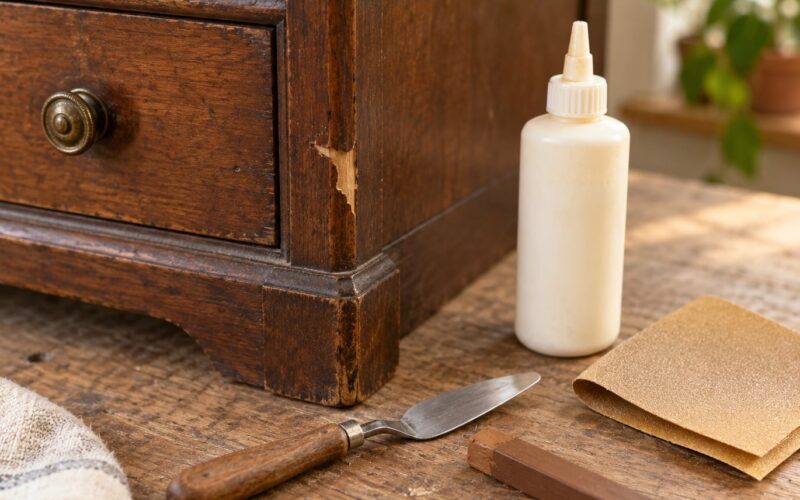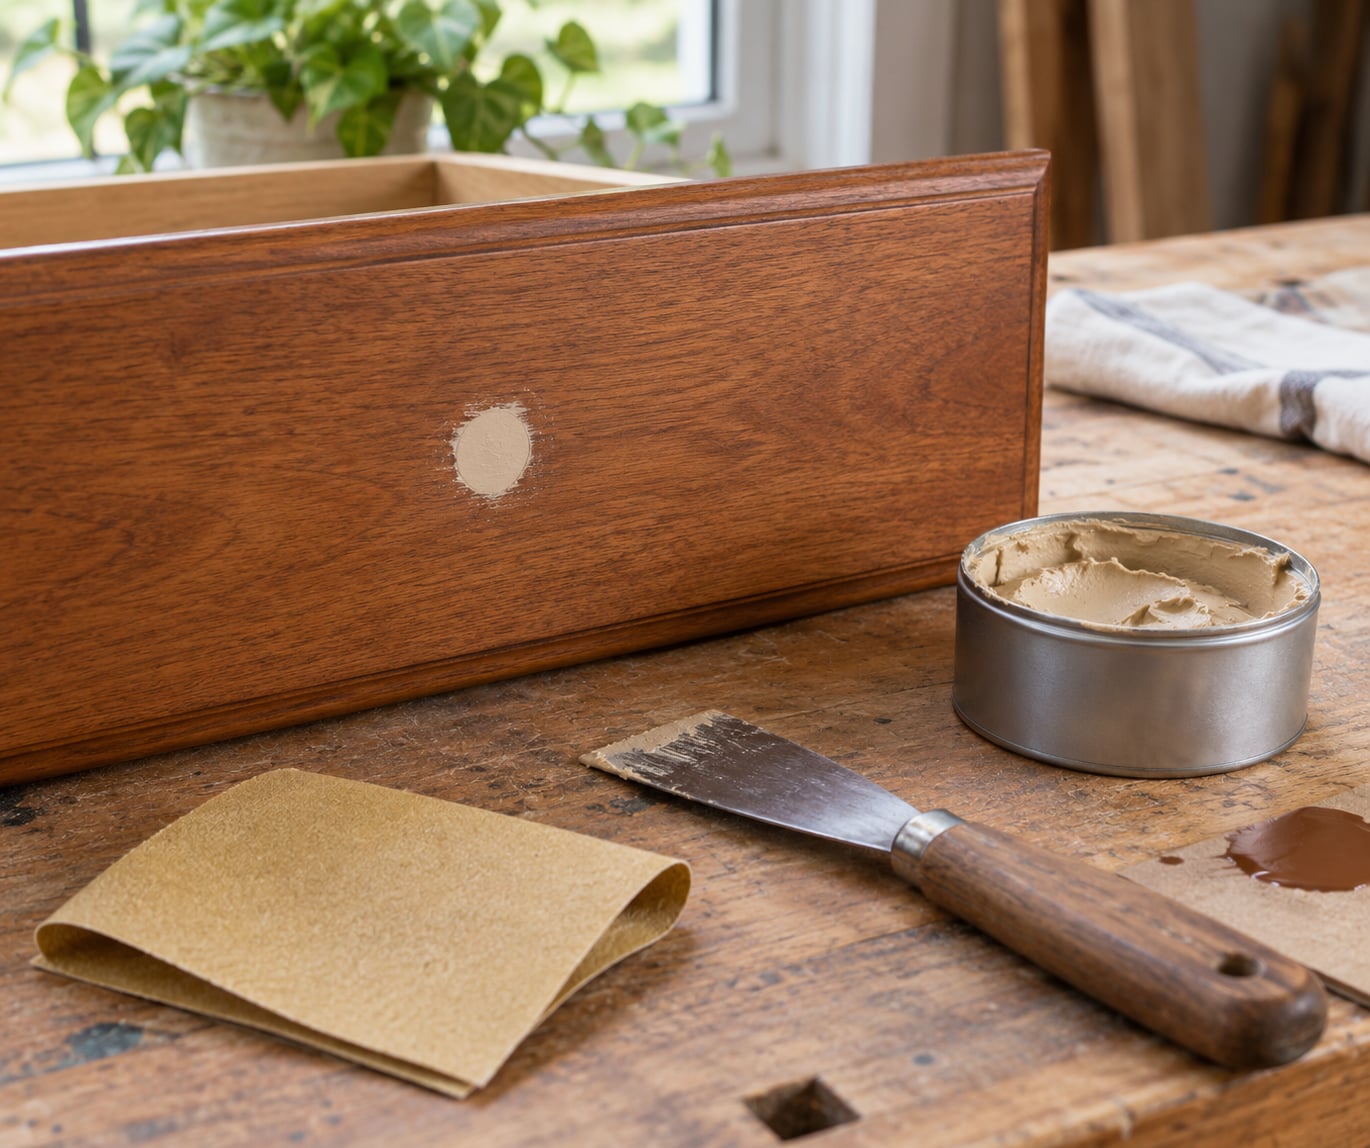
To fill old hardware holes in a dresser, push wood filler into shallow holes with a putty knife, and back deeper holes with a dowel or skewer plug first. Let the filler dry, sand it flush, then touch up the paint or stain. A drawer front with three knob holes takes an afternoon to repair end to end, and most of that time is waiting for filler to dry.
The reason these holes bother people is that they telegraph. Two faint circles in the middle of a drawer front read as an unfinished job no matter how good the new hardware looks, and on a painted piece the bare wood underneath grabs primer and paint differently from the surrounding finish.
Below is the order I work in: pick a filler that matches the hole, plug it, sand it level, then disguise it. The only decision that really matters is whether the hole is shallow or deep, and whether you plan to paint or keep the stain.
Table of Contents
- What You Need to Fill Old Hardware Holes
- Step-by-Step
- How to Fill Small Hardware Holes in a Dresser
- How to Fill Large or Damaged Hardware Holes
- How to Make the Repair Match the Dresser
- How to Sand and Finish the Filled Holes
- Common Mistakes
- Frequently Asked Questions
- What is the best filler for old hardware holes in a dresser?
- Should I use wood filler or wood putty for hardware holes?
- Can I fill large hardware holes in a veneer dresser?
- How long does it take for filled hardware holes to dry?
- How do I make filled hardware holes less visible on a painted dresser?
- Start With the Hole, Not the Filler
What You Need to Fill Old Hardware Holes
Most of this comes out of a drawer you already own. The short list:
- Wood filler for small to medium holes, or stainable filler if you are not painting
- A putty knife, a flexible one, wider than the hole
- Wood glue and 1/4-inch wooden dowels or bamboo skewers for deep holes
- Two-part epoxy putty for holes with torn or broken walls
- Sandpaper in 120, 220, and 320 grit
- A damp cloth or tack cloth for dust
- Primer and the paint or stain already on the dresser
- Safety glasses and a dust mask for the sanding steps
Which filler you reach for depends on the hole and the finish. This is the comparison I use:
| Method | Best for | Dry time before sanding | Takes stain |
|---|---|---|---|
| Wood filler | Shallow holes, painted or stained pieces | 15 minutes to 2 hours | Yes, if you use a stainable formula |
| Dowel plus filler | Deep holes, veneer drawer fronts, pulls being moved | Same as the filler on top | Better than filler alone |
| Two-part epoxy putty | Torn edges, missing chunks of veneer, loose joints | 8 to 24 hours to cure | No, paint only |
| Sawdust and glue paste | Painted dressers, budget projects, many holes at once | 1 hour | No, glue blocks stain |
The sawdust option is the DIY version: mix fine sawdust with wood glue to an oatmeal consistency and press it in. It costs nothing and works well under paint, but the glue in it will not absorb stain, so a bare patch will show up the moment you hit it with an oil finish.
Step-by-Step
How to Fill Small Hardware Holes in a Dresser
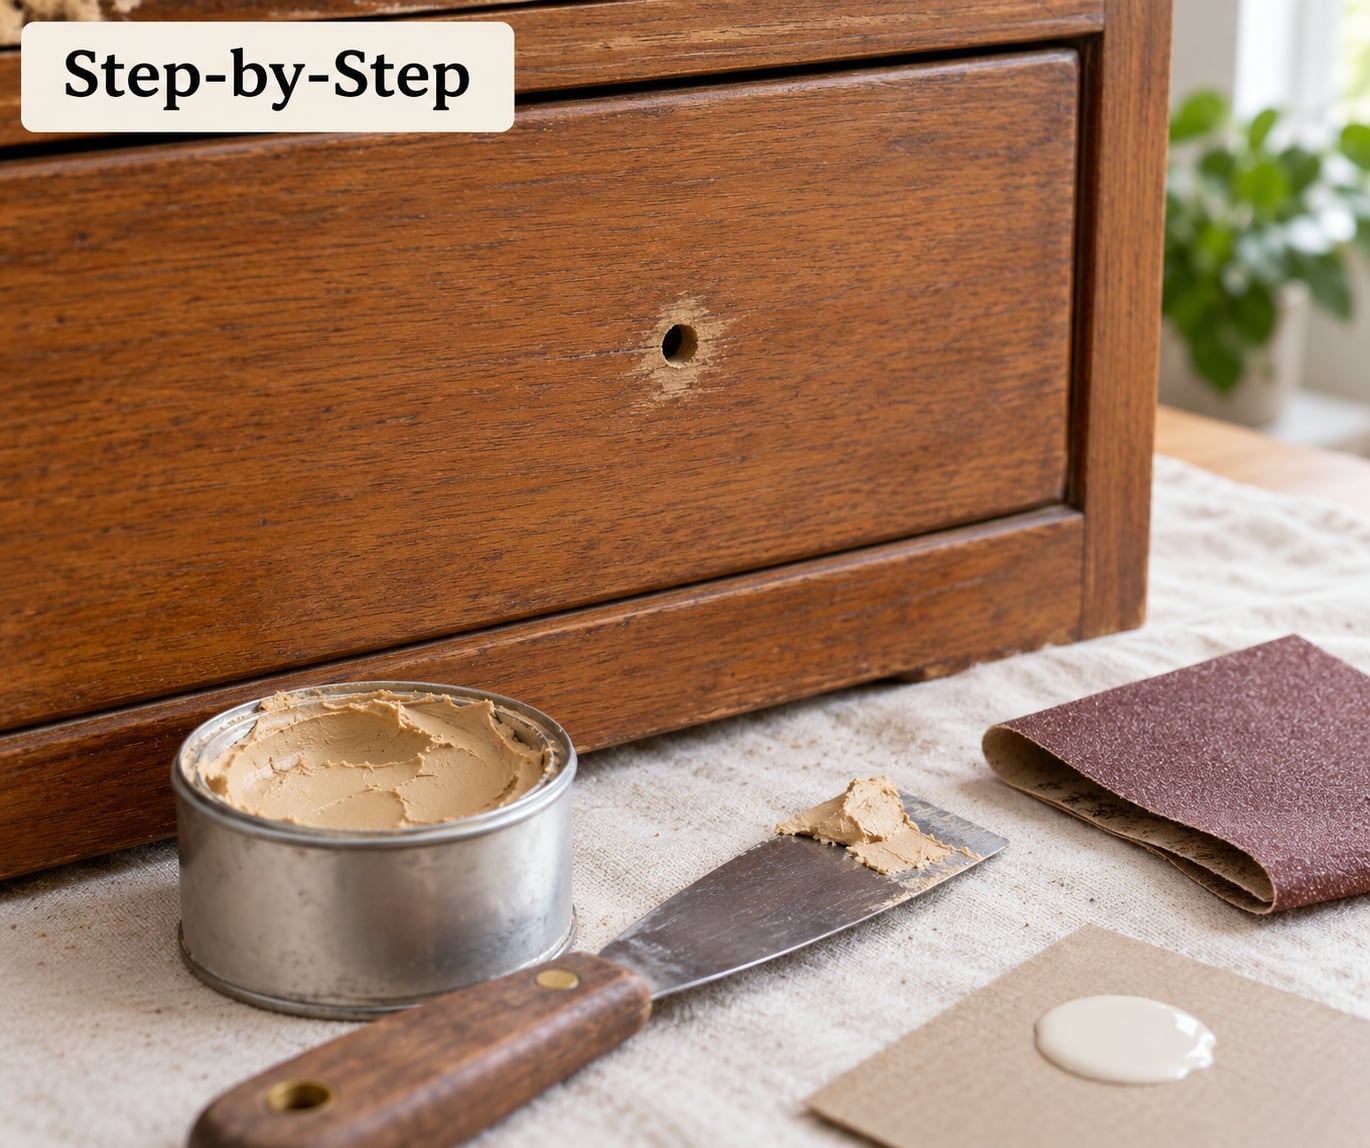
Small holes are the easy case. Clean out any loose dust with a dry brush first, since grit under the filler is what makes a repair sink later.
Load a small amount of filler on the putty knife and press it into the hole rather than smearing it over the top. Push slightly more than level, because filler shrinks as it dries and a hole filled dead flat will dip a week later.
Wait for the label time, then check with a fingernail. If the filler dents at all, give it longer. Sand with 120 grit until it is flush, then 220 to knock off the scratches the coarse grit leaves behind.
When you have several holes to do, work all of them in one session. Filler cures faster in a thin layer than in a thick one, so filling twenty holes and stopping halfway guarantees you come back to shrink spots you already sanded.
How to Fill Large or Damaged Hardware Holes
Once you can see daylight through the hole, or your finger disappears more than an inch in, filler alone is a waste of time. It shrinks far too much and will crack out around the edges.
Glue a dowel or a bamboo skewer into the hole first. Coat it in wood glue, push it in, and let the excess squeeze out around the hole, which also tells you the fit is snug. Trim it off with diagonal cutters once it sets, leaving it standing a hair proud of the surface.
Two-part epoxy putty is the other option. Knead the two parts together and press it into the hole while it is still soft. It sets in minutes and cures overnight, and it will not shrink or fall out later.
On a veneer dresser, be gentle. That surface layer can be thinner than a pencil lead, and levering on a putty knife can lift the whole sheet. Press with the edge of the blade instead of digging in, and test an out-of-sight corner first.
How to Make the Repair Match the Dresser
Find an inconspicuous spot first. Rub a dab of your paint or a drop of stain on the back leg or inside a drawer and let it dry fully, because both change color as they cure.
If the dresser is painted, you are in the easiest position. Fill the repair, sand it level, prime the bare patch so the new filler does not drink up the first coat, then paint. Two thin coats usually disappear into a satin finish.
If it is stained, use a stainable filler and match the grain with a light glaze of the same stain, wiped on and off with a rag. The dowel will still read as a different grain pattern. On a well-used piece that is not a problem, but on a showy walnut front you will see it from two feet away.
Some people simply leave the filled holes alone and let them age with the piece. That works when the dresser is going somewhere weathered or shabby-chic rather than glossy.
How to Sand and Finish the Filled Holes
Sand in progression: 120 grit to level everything, 220 to refine, and 320 if you are painting a high-gloss finish. A small orbital sander with a pad cut to size makes a curved drawer front far easier, and feather the edge so the repair blends into the surrounding surface.
Wipe with a damp cloth, let it dry fully, then prime bare wood and filler alike. Paint or stain follows, and give each coat the full label drying time. Two thin coats beat one heavy one, because a heavy coat tends to sit glossier than the original.
Run your fingertip across the repair when it is done. A dip or a ridge catches your nail, and that is the signal to sand it again rather than live with it.
Common Mistakes
Filling the hole flush instead of slightly proud. It looks right wet and sits low once it shrinks. Fix: always overfill by a fraction.
Using one thick glob for a deep hole. Thick filler dries with a hollow core and cracks across the opening. Fix: a dowel underneath, or fill in two or three thin layers.
Sanding too early. Fresh filler gums up the paper and pulls out of the hole. Fix: follow the label time and test with a fingernail first.
Skipping primer on the patched spot. Bare filler and bare wood drink the first coat of paint differently, leaving a lighter halo that shows under satin finish. Fix: prime the patch, and let it dry fully.
Choosing a finish that fights the dresser. Oiling or staining a glue-based homemade filler gives you a pale blotch that no amount of feathering hides. Fix: paint over homemade filler, stain over a stainable filler.
Frequently Asked Questions
What is the best filler for old hardware holes in a dresser?
A stainable wood filler is the best all-round choice, and it is what I reach for on most pieces. It sands smooth, holds paint well, and takes stain if you buy the stainable formula rather than the paintable one. For holes deeper than about half an inch, back it with a dowel or skewer so you are not filling a cavity that will just shrink and crack. If the edges are torn or the veneer is lifting, use two-part epoxy putty instead.
Should I use wood filler or wood putty for hardware holes?
Use wood filler for hardware holes you plan to paint or stain, because it sands easily and shrinks noticeably. Wood putty is softer, takes longer to cure, and resists sanding, which makes it a poor fit for a hole that needs to end up flush. Putty has its place as a sealing coat over nail holes in trim work. For old knob holes in a drawer front, filler is the right tool.
Can I fill large hardware holes in a veneer dresser?
Yes, but go gently. Veneer can be thinner than a lead pencil, so press filler in with the flat edge of a putty knife instead of digging or levering, which can lift the whole sheet. Back the hole with a glued dowel or skewer rather than filling the cavity with filler alone, and always test on a hidden corner first. If the veneer is already lifting, glue and clamp it flat before you fill anything.
How long does it take for filled hardware holes to dry?
Most solvent-based wood filler is sandable in 15 to 30 minutes, while water-based formulas usually need one to two hours. Two-part epoxy putty sets in minutes but needs 8 to 24 hours to fully cure before sanding. Drying depends on the room as much as the product, so test with a fingernail rather than trusting the clock. Sanding a hole that is still soft pulls the filler right back out.
How do I make filled hardware holes less visible on a painted dresser?
Sand the filler perfectly flush, then prime the patched area so bare wood and filler absorb the first coat evenly. Without primer, the repair shows as a lighter halo under satin paint. Feather the new paint into the surrounding finish at the edges, and use two thin coats rather than one heavy one. On an older glossy piece, a bonding primer or chalk-style paint levels out the sheen difference better than ordinary latex.
Start With the Hole, Not the Filler
Look at the hole before you open a can. Shallow and you are done in an hour with filler, sandpaper, and primer. Deep, torn, or in thin veneer and you need a dowel or epoxy underneath first. Get that decision right and the rest of the repair is just sanding and painting.