The easiest way to decorate a light switch cover is to remove the plate, clean and prep the face, then apply a finish that suits the material: a removable decal, washi tape, sealed paper, wrapped fabric, or a painted border. The whole job takes 20 minutes for tape and closer to an hour once you count drying.
Switch plates are the one piece of hardware everyone in the room touches every day, and the off-the-shelf versions all look the same. Customizing one is a small project that makes a plain wall feel deliberate without a renovation.
Before you pick a finish, know your plate. Most are white plastic, which is glossy and will not hold paint without a bonding primer. Metal plates take paint more readily but need sanding and rust protection. If a plate is scratched or yellowed, decorating it also solves that in one move.
Table of Contents
- What You Need
- Step-by-Step
- How to Decorate a Light Switch Cover with Paper
- Try Five Simple Decorative Finishes
- Reinstall the Cover Safely
- Common Mistakes
- Frequently Asked Questions
- What is the easiest way to decorate a light switch cover?
- Can I decorate a light switch cover in a rental?
- How do I remove a light switch cover safely?
- How can I make a decorated switch cover waterproof?
- What should I do if the switch plate has raised screws?
- Can I paint or glue directly over the light switch?
- A Polished Finish in a Few Simple Steps
What You Need
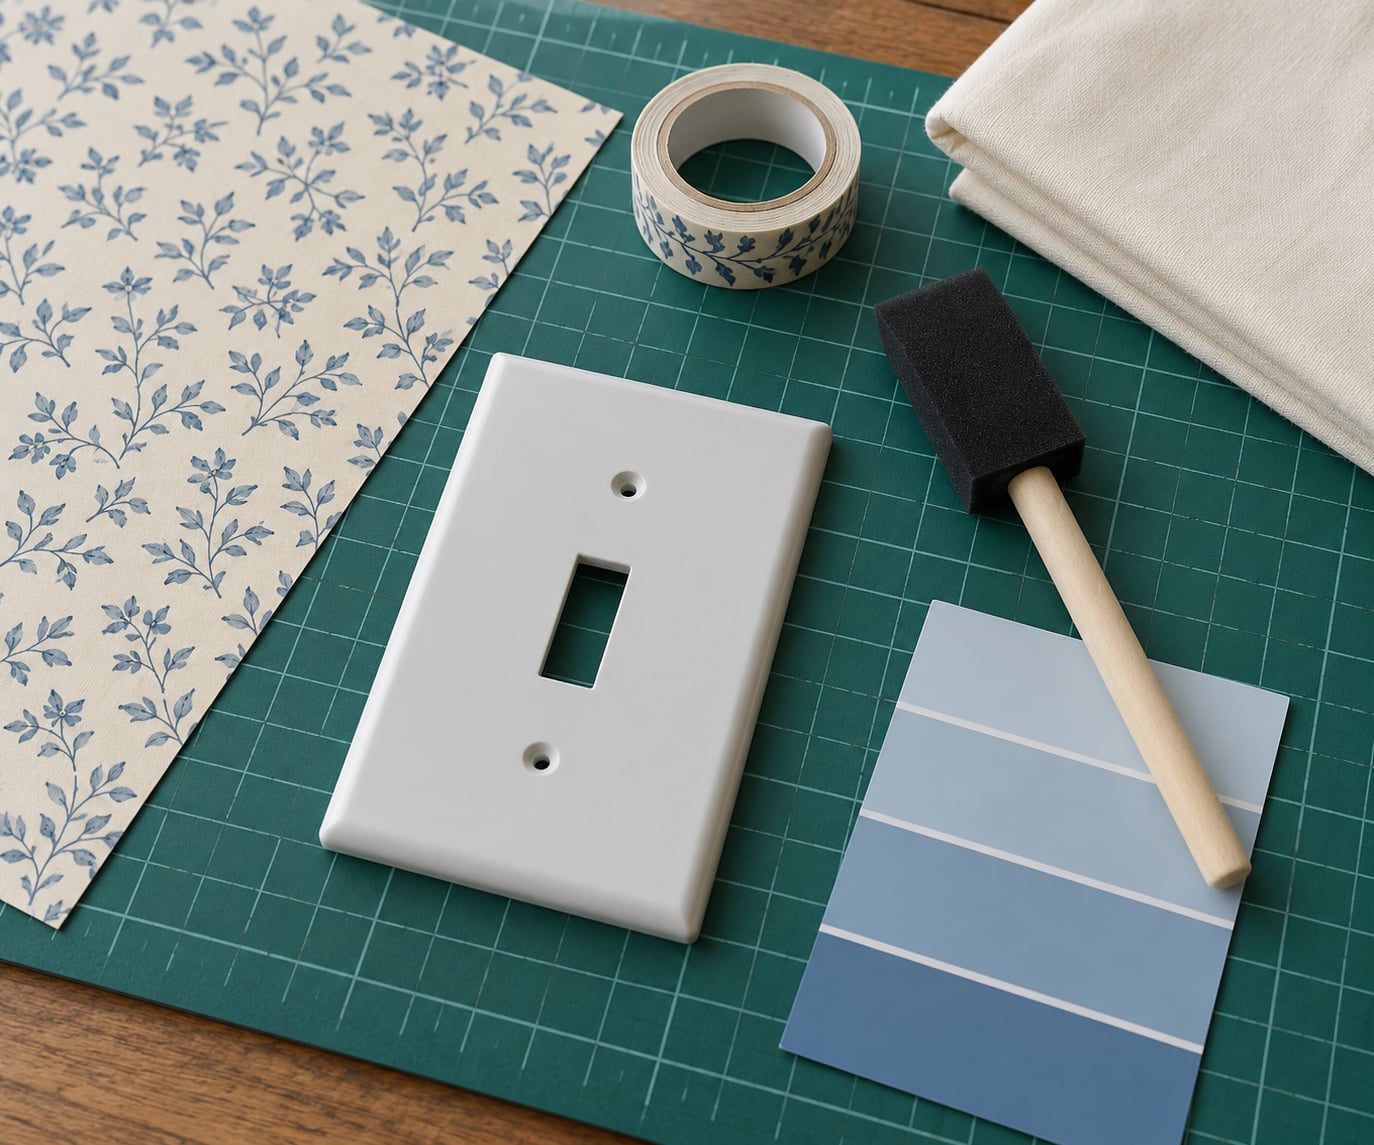
You only need the materials for the finish you choose, plus a few basics that make the difference between a clean result and a messy one.
- A flat-head or Phillips screwdriver, and a voltage tester to confirm the circuit is dead
- Fine sandpaper or a gray scuff pad, plus rubbing alcohol and a lint-free cloth
- Painter’s tape for masking the switch opening and screw holes
- Removable vinyl decals or washi tape for the fastest, fully reversible options
- Patterned scrapbook paper and a water-based decoupage glue such as Mod Podge, with a foam brush
- Plain cotton fabric, fabric glue, and small scissors for the wrapped version
- Acrylic paint, a small angled brush, and a bonding or etching primer rated for plastic
- A water-based clear coat or sealer, and a cutting mat with a craft knife for openings
Check the plate manufacturer’s care guidance before you use solvents or spray products, and work in a ventilated room. A dust mask is worth wearing when you scuff a plate or spray.
Step-by-Step
Start by deciding on one design and measuring your plate while it is still on the wall. Note whether it is a single gang plate, a rocker or Decora style, and how many openings it has, since that tells you which decorative materials will line up.
Then kill the power before anything else:
- Switch off the breaker that feeds the switch and confirm the room light stays off.
- Test the plate with a voltage tester before touching the screws.
- Unscrew the center screw and any second screw, keeping them in a small dish.
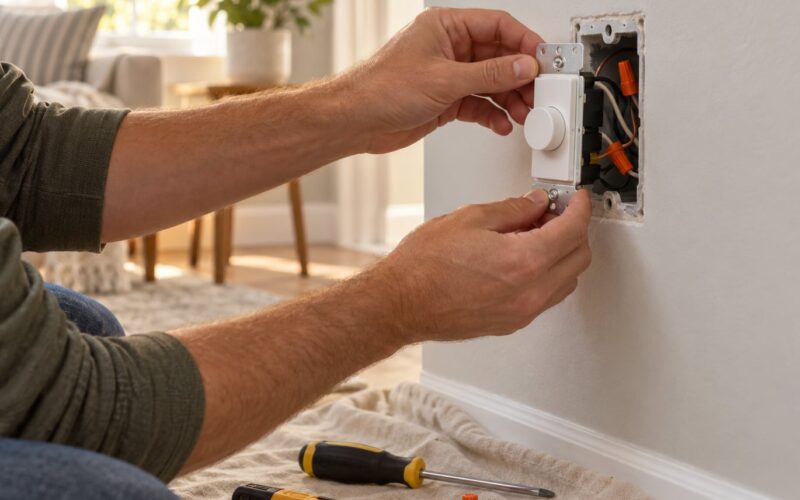
- Pull the plate straight off the wall and let the wires behind it stay visible and undisturbed.
Clean the plate with rubbing alcohol, scuff glossy plastic with a gray pad, and spray on bonding primer if you plan to paint. Let the primer dry fully. Everything you apply now goes onto a plate that is off the wall and de-energized.
How to Decorate a Light Switch Cover with Paper
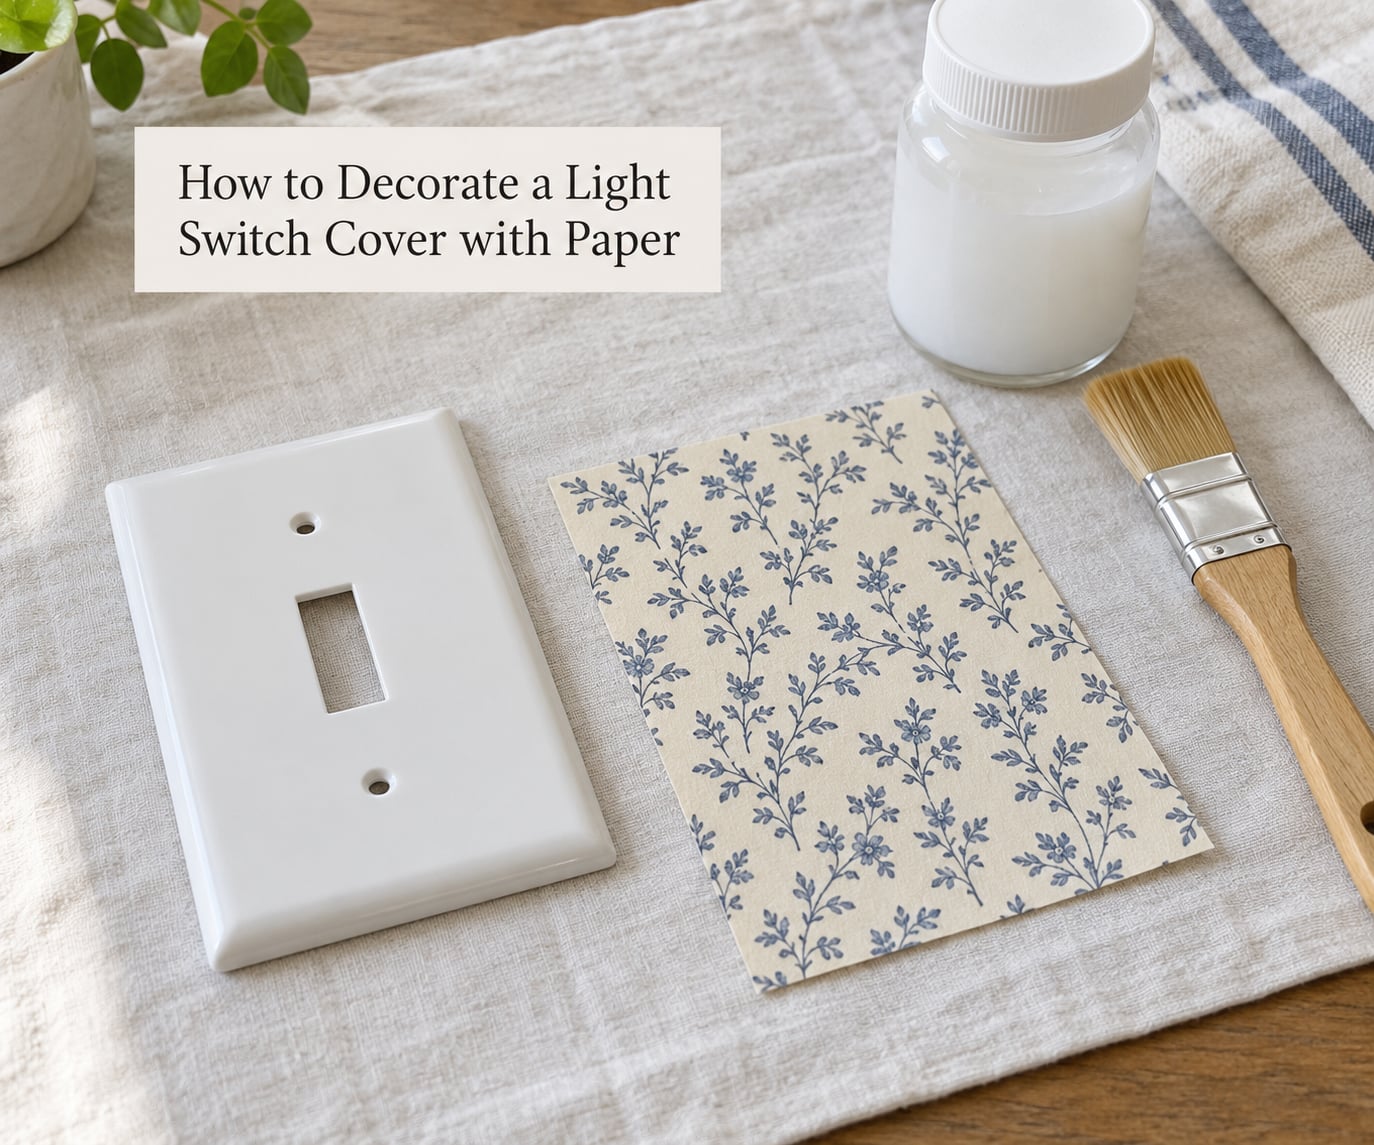
Paper decoupage is the most forgiving beginner project, and it is the method most searchers are actually looking for. You are gluing a thin layer of patterned paper to a flat surface, then sealing it so it survives fingerprints and damp hands.
- Measure the plate and cut the paper about an inch larger on every side.
- Test the fit by laying the paper over the face so the switch opening and screw holes fall well inside the paper.
- Mask the switch opening and the screw holes with painter’s tape, then press the paper down over the tape so you get a clean edge instead of a ragged one.
- Apply a thin coat of Mod Podge to the plate with a foam brush, lay the paper on top, and burnish from the center outward so bubbles push to the edges.
- Slit the corners diagonally, fold the excess to the back, and trim it flush with a craft knife on a cutting mat.
- Cut the switch opening from the back side, then poke the screw holes with an awl or the knife tip.
- Seal the front with two thin coats of a water-based clear coat, letting each dry, and seal the back too.
You can tell it worked when the plate looks evenly matte-to-satin with no light showing through the paper and no lifting at the corners. Push a fingernail into a corner gently; if it flexes, the sealer needs another coat.
Try Five Simple Decorative Finishes
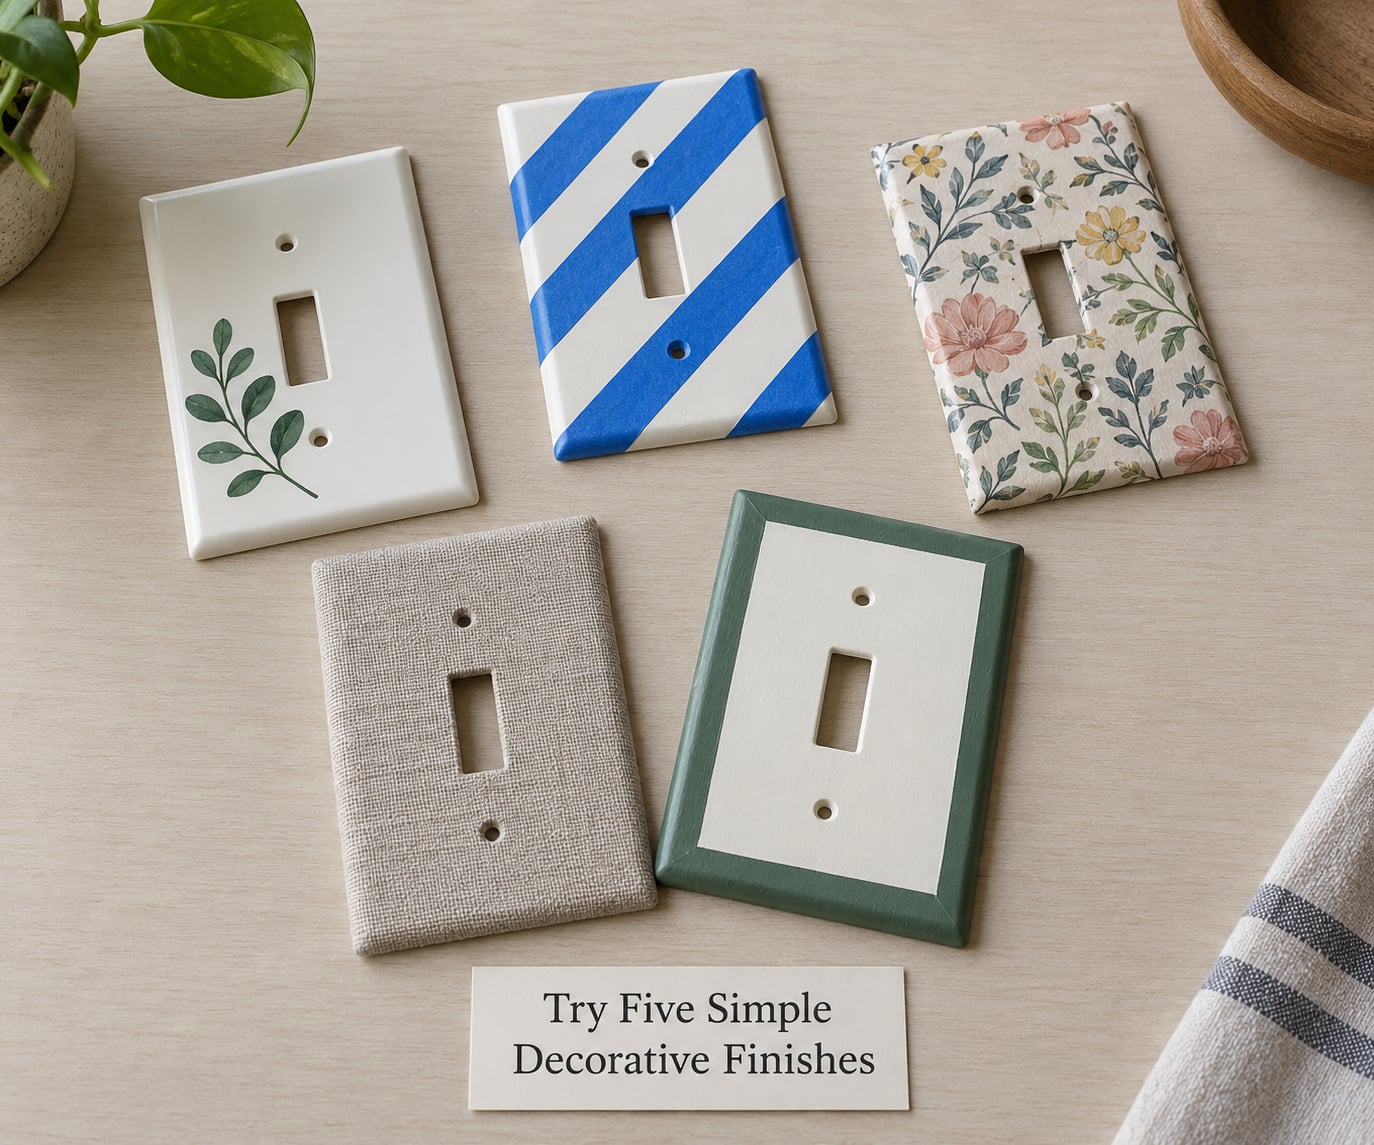
A removable vinyl decal is the fastest route and the safest one for a rental. Peel the backing, press the design onto the center of the plate, and burnish. It lasts through normal cleaning and peels off with a hairdryer or warm soapy water, so durability is medium at best but reversibility is total.
Washi or decorative tape suits a kid’s room or a dorm because it costs nothing and takes under 20 minutes with a craft knife. Lay stripes, checks, or a single diagonal band, then wrap the ends around the back and trim. The tape’s pattern is the design, so there is no painting skill involved, and it peels off cleanly as long as you never put it over the wall paint.
Full paper decoupage looks the most custom and holds color best on its own, but it takes the most time. Sealed properly it handles a hallway, though water-based sealers can yellow slowly on plastic, which is the trade-off people complain about most.
Wrapping fabric suits farmhouse, boho, and coastal rooms. Cut the fabric slightly larger than the plate, wrap the edges to the back, glue down with fabric glue, then trim the openings from behind. Cotton or linen holds a clean crease and hides scuffs that paint would show, and it comes off in warm water with a little patience.
A painted border is the least removable and the most forgiving of mistakes. Mask the switch opening and screws, scuff the plastic, prime it, then paint a contrasting inner rectangle with an angled brush. Keep the border even and let each coat dry; the paint stays put but comes off with heat and a scraper if you change your mind.
Reinstall the Cover Safely
Give the finish the full cure time listed on the sealer or primer, which is often longer than the label suggests. A plate that feels cool or tacky is not ready.
Line the plate up with the device and the box, guide the wires clear so nothing is pinched between the plate and the wall, and thread the center screw by hand. Tighten only until the plate sits flush against the wall. More than that cracks plastic and strips the screw holes, and a stripped hole is the reason plates wobble later.
Never let paint, adhesive, fabric, tape, or decals cross the switch opening or touch a moving part. Anything inside that opening is working hardware, and the plate edge is what keeps fingers away from it. Restore the breaker last, then flip the switch a few times to confirm it still throws normally.
Common Mistakes
Crooked paper usually means the paper was laid down without anchoring one edge first. Mask the switch opening, stick one edge, then smooth outward from that edge rather than dropping the whole sheet on at once.
Trapped bubbles come from pushing too hard or working too fast. Use light pressure and a foam brush, and push bubbles to the edge instead of straightening them in place.
Peeling edges are almost always an unfinished sealer. Two full coats of clear coat, edge to edge, with full drying between, fixes it. Painting that flakes off plastic is the same problem in a different form, and the answer is a bonding primer before the first coat.
Paint entering the switch opening means the masking went on after the painting. Mask first, always, and use a scrap of card the size of the opening as a template for the border.
An over-tightened plate cracks or strips. Snug is flush; anything past that is too far, and a stripped screw hole can be rescued with a slightly longer screw or a wall plug.
A plate painted over years ago can refuse to come off because paint builds up in the screw slots. Run a screwdriver through a bit of boiled oil, or back the screw out with a drill at low speed, and never force the plate away from the wall while it is still attached.
Three habits fix most of the rest. Sample your wall color and trim before committing to a palette, choose removable products entirely in a rental, and give every finish the full drying time on the label rather than the time you wish it took.
Frequently Asked Questions
What is the easiest way to decorate a light switch cover?
Removable vinyl decals or washi tape are the easiest options. Both go on in under 20 minutes, need no primer and no sealer, and come off with warm soapy water or a hairdryer, leaving the original plate clean. Decals suit a single motif or a nursery, while tape suits stripes, checks, and a kid’s room. Buy a spare plate to practice the layout first.
Can I decorate a light switch cover in a rental?
Yes, as long as every change comes off cleanly. Stick to removable decals, peel-and-stick vinyl, washi tape, or a temporary fabric wrap, and keep the original plate in a drawer to reinstall before you move out. Skip paint, Mod Podge, and permanent adhesive, because those alter the plate itself. Photograph the finished look before you start so you can match the original color exactly.
How do I remove a light switch cover safely?
Switch off the breaker that feeds the switch, then confirm the room light stays off before you touch anything. Test with a voltage tester, unscrew the center screw and any second screw, then pull the plate straight off the wall without rocking it. The wires behind stay where they are. If the plate is stuck, painted over, or the slot is stripped, stop and call a licensed electrician rather than forcing it.
How can I make a decorated switch cover waterproof?
Brush on a water-based clear coat or sealer over the finished face, and give it at least two full coats with drying time between them. For a kitchen, bathroom, or laundry room, choose a sealer labelled for water and non-porous surfaces. Keep the coating off the switch opening and edges, where it would collect grime. Expect a long-wear finish to soften slightly in color over a few years on plastic.
What should I do if the switch plate has raised screws?
Mask the screws before painting, taping right over the head and adding a second piece on top so the edge seals. For decoupage, cut the paper larger, then poke the screw holes from the back and trim around the head afterward. When reinstalling, tighten only until the plate sits flush, since raised screws leave a visible gap that a border or decal cannot disguise.
Can I paint or glue directly over the light switch?
No. Never put paint, glue, fabric, tape, or decals over the switch itself or inside the opening. Those parts move, and coatings make them stiff, and an opening that cannot move is a problem. Work only on the flat cover that screws to the wall, and keep the switch opening and screw holes clear so the device still operates normally. Call a licensed electrician for anything beyond the cover.
A Polished Finish in a Few Simple Steps
Start with a removable decal or a few strips of washi tape if you want the least risk and the fastest cleanup. Choose sealed paper decoupage when you want a pattern nobody else in the house will have, and accept a longer dry time in exchange for a custom look.
Whichever route you pick, the same three habits decide the outcome: turn off the breaker first, prep the surface so the finish has something to grip, and give it the full drying time on the label. If you can spare a spare plate from a hardware store, test the whole layout on that first. Practising the layout there is the cheapest way to find out that your paper was an inch short before you cut into the good one.
That is how to decorate a light switch cover well: pick the finish that matches the room, respect the hardware, and let the last coat cure before you screw the plate back on.