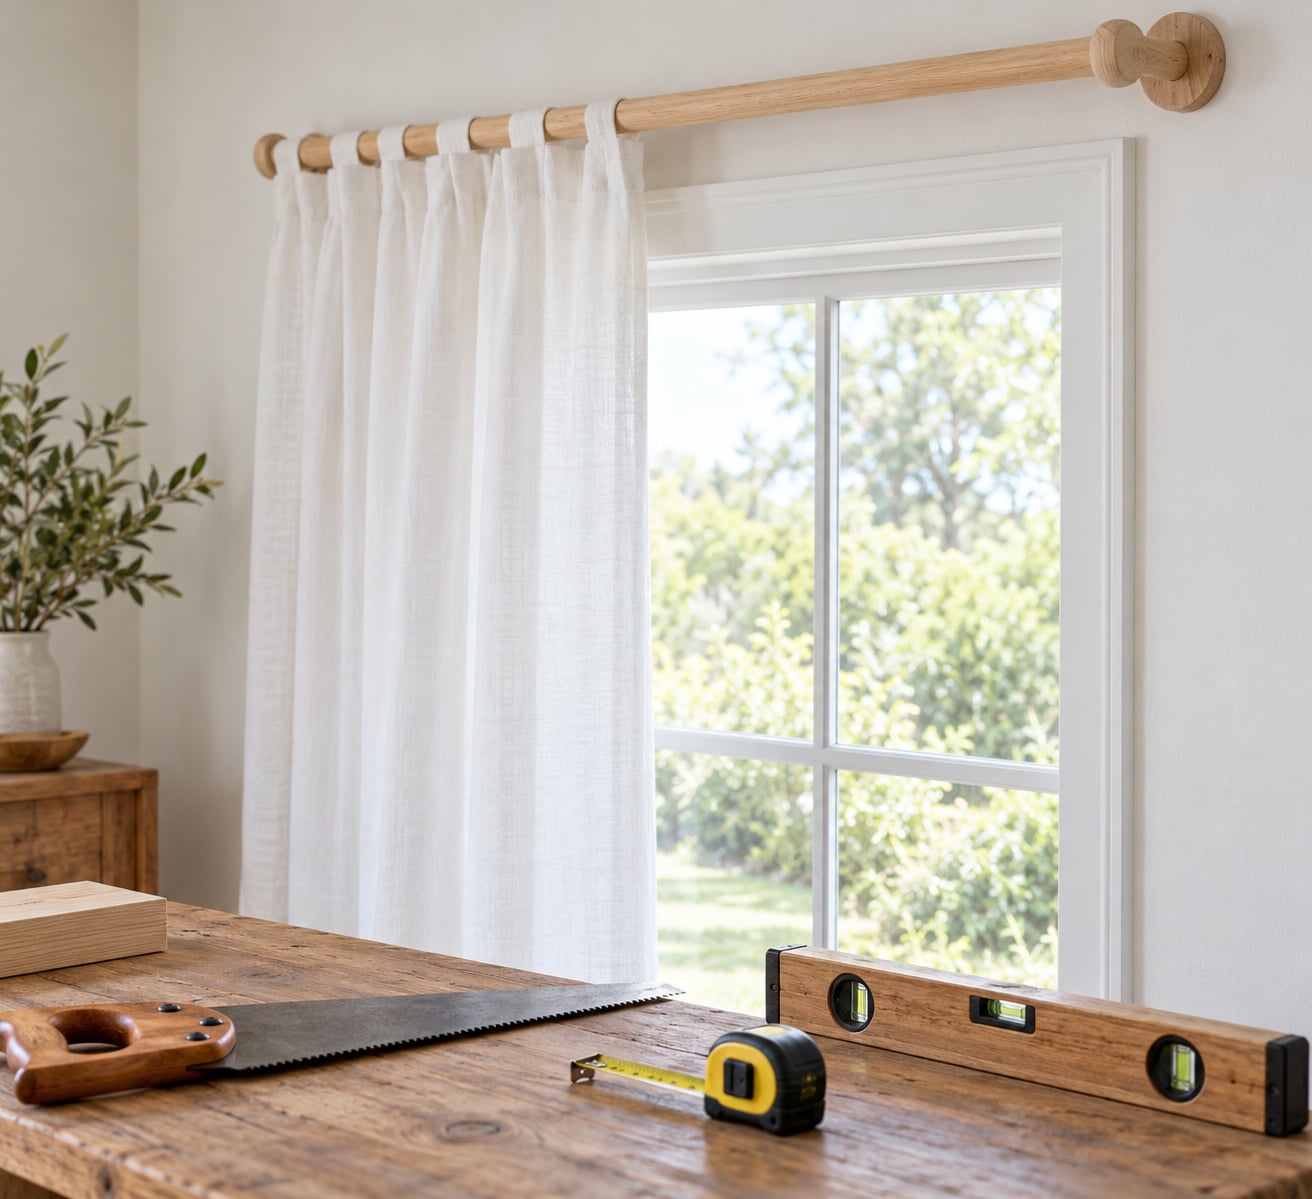
You can make a DIY curtain rod in one afternoon with a wooden dowel, a broom handle, electrical conduit, or copper or galvanized pipe, cut it to any length you need, and hang it on brackets or finials you make yourself. Measure your window, add 6 to 10 inches on each side, mount the rod 6 to 8 inches above the frame, and you have a custom-length rod for a few dollars of hardware-store materials.
The reason most people build their own is simple: off-the-shelf rods come in fixed lengths, rarely fit a wide or bay window, and multiply in cost once you have more than a couple of windows to cover. A rod you cut yourself is exactly as long as your window needs, and the finish is yours to pick.
Below I walk through the four base materials that actually work, the measuring formula that keeps the curtains looking full, and the mounting options for renters who cannot drill. The whole job needs a saw, a tape measure, and about two hours once you have the rod stock in front of you.
Table of Contents
- What You Need
- Step-by-Step: How to Make a DIY Curtain Rod
- Step 1: Measure the Window and Choose the Rod Length
- Step 2: Cut and Finish the Curtain Rod
- Step 3: Add Finials or Decorative End Caps
- Step 4: Position and Mount the Brackets
- Step 5: Hang the Curtains and Check the Finish
- Common Mistakes and Helpful Tips
- Frequently Asked Questions
- What can I use instead of curtain rods?
- Can I make a DIY curtain rod using a wooden dowel?
- Can galvanized pipe be used for curtain rods?
- Can I use copper pipe as a curtain rod?
- What pipe materials are best for curtain rods?
- How can I hang my curtains without a rod?
- Conclusion
What You Need
The rod base is the only decision that really matters. Everything else is a bracket, a fastener, and a finish.
- Wooden dowel in 1 1/4-inch or 1 1/2-inch diameter. Easy to cut, easy to stain, warm enough for farmhouse and cottage rooms. It will not carry heavy blackout drapes alone.
- Broom handle, if you want the cheapest start. Most are already finished, come in hardwood, and look like a dowel that has already been through life.
- Electrical conduit, sold in the electrical aisle in 10-foot lengths. Thin-walled steel pipe that is very cheap, holds a lot of weight, and takes spray paint beautifully.
- Copper pipe in 1/2-inch or 3/4-inch diameter. The most decorative option and the priciest per foot, with a natural finish that suits industrial, boho, and farmhouse rooms.
- Galvanized steel pipe. Heaviest and strongest, with a dull zinc finish that is forgiving about scratches and can go outdoors without rusting through.
- Brackets or end finials in a matching finish. You need two of one or the other. Cafe rod brackets clamp on; standard brackets screw into studs or anchors.
- Curtain rings or clips if your panels have a heading rather than a pocket.
Tools: a tape measure, a pencil, a hand saw or miter saw for wood, a pipe cutter or hacksaw for metal, 80-grit and 220-grit sandpaper, a level, a stud finder, and a drill if you are anchoring into the wall.
One thing trips people up more than anything else: bracket diameter has to match rod diameter. A 1/2-inch dowel will fit a 7/16-inch cafe rod bracket once you sand it down. A 3/4-inch conduit will not fit at all. Match these before you cut.
Step-by-Step: How to Make a DIY Curtain Rod
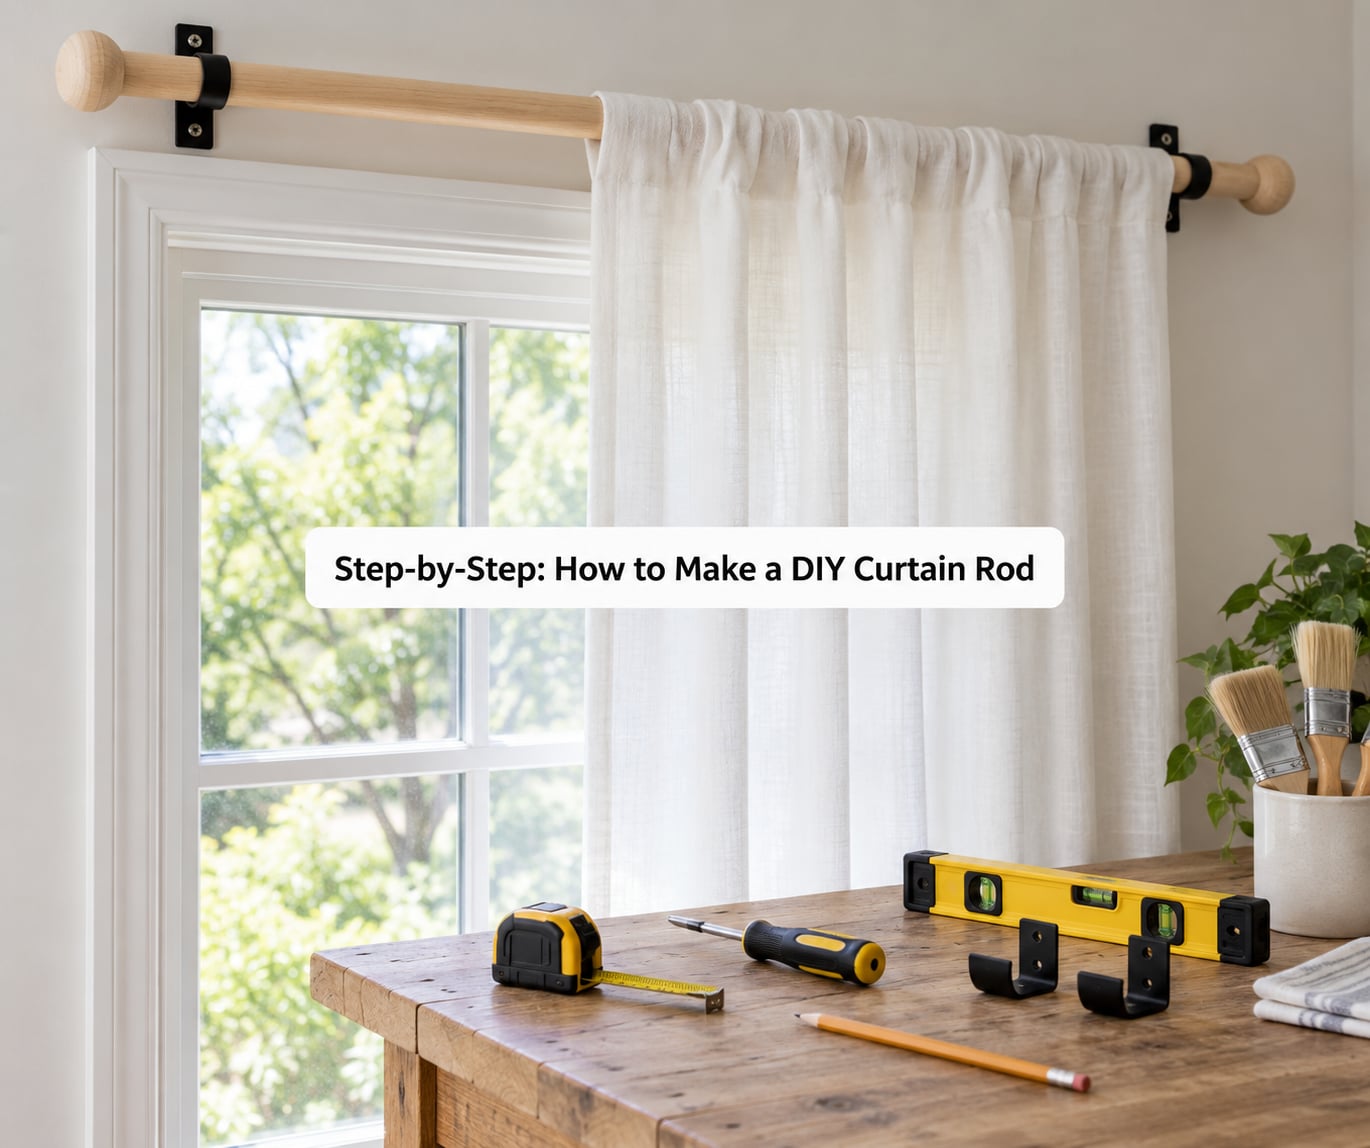
Step 1: Measure the Window and Choose the Rod Length
Measure the width of the window frame, not the glass. Then add 6 to 10 inches on each side so the curtains can stack fully open without covering the frame.
Mount the rod 6 to 8 inches above the top of the frame for a standard room. Go higher for tall ceilings or a roomy living space, lower for a casual window seat or a bathroom.
Work out your total length before you buy anything. Window width plus 12 to 20 inches is the formula, and it is the number every tutorial argues about, so write it down. Bay windows and corner windows need a rod wider than the straight run, usually the full diagonal span plus a foot.
Step 2: Cut and Finish the Curtain Rod
Mark your cut line with a pencil and a tape measure wrapped around the rod as a straightedge. Cut wood with a hand saw using shallow strokes toward the mark, or a miter saw if you have one.
For metal, score the cut line with a pipe cutter and finish the cut with a hacksaw. A hacksaw alone works but takes longer and leaves a rougher edge.
Sand wood twice: 80-grit to smooth the cut and open the grain for stain, then 220-grit to take out the scratches before sealing. Two coats of polyurethane over the stain protect a raw dowel from warping in dry indoor air.
For metal, wipe off the factory printing and any sticky labels before finishing. Scrubbing with a green scrub pad and a little dish soap does most of the work. Paint metal with a rust-inhibiting spray in thin coats, and let each coat cure before handling.
Leave conduit or galvanized pipe unfinished if you like the raw industrial look. Seal copper with a clear coat instead of paint, or polish it with salt and vinegar if you want the shine back.
Step 3: Add Finials or Decorative End Caps
End pieces do two jobs: they stop curtains sliding off the rod, and they are most of what makes a homemade rod look deliberate.
For wood, screw a cabinet knob or drawer pull into each cut end with a short screw and a dab of wood glue. An upcycled knob from an old dresser is the cheapest finial there is, and mismatched pairs read as deliberate rather than accidental.
For pipe and conduit, use threaded end caps in the matching diameter. Screw them on with two wraps of thread tape so they stay put. Caps matter more here than anywhere else, because a cut pipe edge is sharp enough to snag a curtain hem.
If you skip finials entirely, mount two standard brackets instead and leave the ends plain. That suits a minimalist room and saves a step.
Step 4: Position and Mount the Brackets
Hold the rod up against the wall at your chosen height and mark both bracket positions. Check the level before you drill anything, because nothing shows a crooked rod faster than daylight around a curtain.
For drywall, push a stud finder across the wall and put at least one bracket into a stud. Where there is no stud, use a drywall anchor rated above the weight of your curtains. Brackets that pull out of drywall are the most common DIY failure, and anchors are the fix.
For a tension-mount rod, screw the inner tube so the fit is snug against the wall and hand-tight only. Overtightening crushes the spring.
Tenants have three good options. A tension rod between the two inside corners of a window frame works for light panels. Adhesive mounting strips rated for the load work on smooth painted drywall, though they can take a finish off when removed, so test an inconspicuous spot first. Moldable mounting putty with a magnetic base creates a removable bracket that cures overnight.
Skip adhesive for blackout drapes. The load plus the leverage of a pulled curtain is more than most strips are rated for, and the failure happens at 6 a.m.
Step 5: Hang the Curtains and Check the Finish
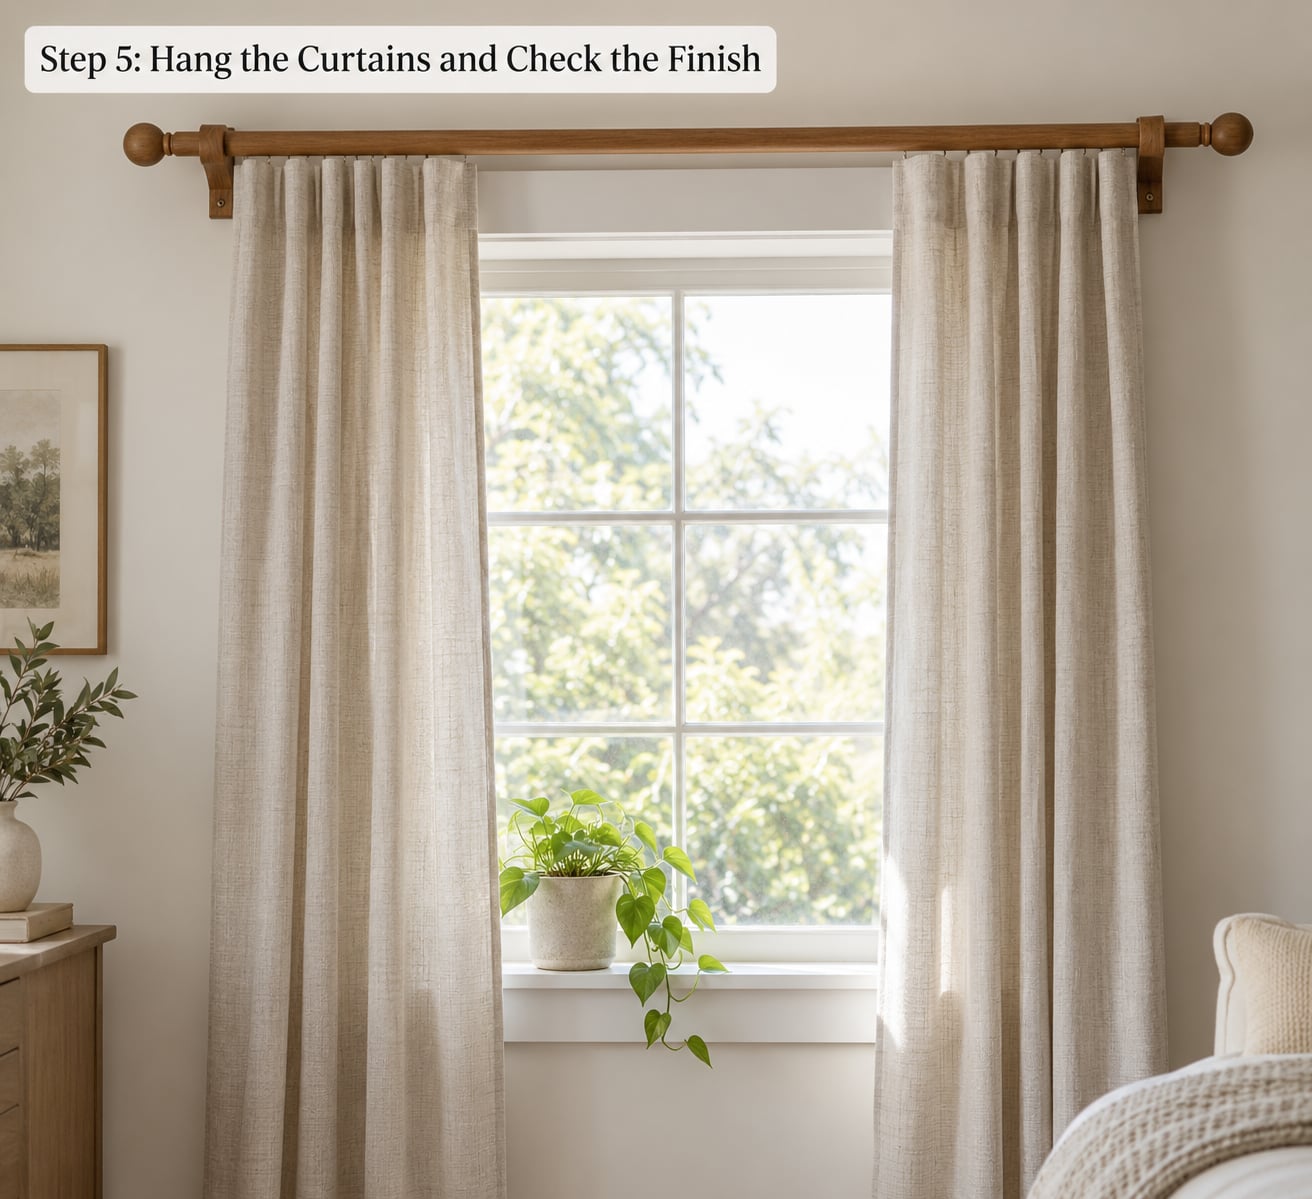
Slide grommet panels directly onto the rod before you mount it, if the grommets are tight. Then lift the rod into the brackets with the curtains already threaded, which is far easier than feeding panels onto a mounted rod.
For rod-pocket or tab-top panels, put the rod through the pocket or over the tabs first, mount the rod, then hang each panel from its tabs. Add rings or clips if your panels have none of those.
Center the panels on the rod, then stand back and check three things: the rod is level, the brackets sit the same distance from each window edge, and both ends extend the same amount past the frame. Adjust one bracket rather than both.
Give the rod a firm tug at each end. If it shifts or the brackets creep, take it down and fix the fastener now, not after a curtain has torn a bracket out of the wall.
Common Mistakes and Helpful Tips
Measuring too short. A rod cut to the exact window width looks cramped and stops the curtains stacking clear of the glass. Add 6 to 10 inches per side and let the panels hang wide.
Brackets at uneven heights. Mark both positions, then check with a level before drilling. A 1/8-inch difference is visible from across the room once the curtains are on.
Weak adhesive carrying heavy drapes. Adhesive strips belong to sheer and linen panels. Blackout fabric on a bedroom window gets tugged every morning and will eventually let go of the wall.
Leaving cut wood unsealed. The raw end of a dowel drinks moisture and splits along the grain. Seal the ends as carefully as the rest, or glue a cap over them.
Forgetting rings or clips. Buy them before the rod goes up. Retrofitting means lowering the whole rod again.
Bare cut pipe. Deburr every metal cut with a file or a fine sanding block, then cap the ends. Metal burrs snag fabric on the draw and can draw blood on the way.
Two more tips that save time. Buy every bracket and finial in one trip, because a mismatch discovered mid-project costs more than the drive back to the store. And buy one extra bracket if a wall turns out to be uneven, which it usually is near a window.
Frequently Asked Questions
What can I use instead of curtain rods?
Wooden dowels, broom handles, electrical conduit, copper pipe, galvanized steel pipe, or a length of fence board all work as a rod base. Dowels and broom handles suit light to medium curtains and stain easily. Conduit and galvanized pipe hold heavy blackout drapes and take spray paint. Copper costs more per foot but needs no finishing if you like the raw look.
Can I make a DIY curtain rod using a wooden dowel?
Yes, a wooden dowel is the easiest material to work with. Choose 1 1/4-inch or 1 1/2-inch diameter, cut it with a hand saw or miter saw, sand at 80 grit and again at 220 grit, then seal with two coats of polyurethane over stain or paint. Add a cabinet knob at each end as a finial. A dowel handles sheer and linen panels well but can sag under heavy blackout drapes.
Can galvanized pipe be used for curtain rods?
Yes, and it is the strongest option available. Galvanized steel pipe resists rust, so it works for indoor rooms and for covered outdoor patios. It holds heavy blackout drapes without deflecting, takes spray paint in any finish, and hides scratches better than copper or a stained dowel. Buy threaded end caps in the same diameter so the cut ends are covered and safe.
Can I use copper pipe as a curtain rod?
Yes. Copper pipe gives you a warm, industrial look that suits farmhouse, boho, and contemporary rooms, and it needs no paint if you like it raw. Scrub off the factory printing and any adhesive labels before finishing, or seal the whole rod with clear coat. Cut edges are sharp, so cap both ends and deburr the cuts with a file first.
What pipe materials are best for curtain rods?
Galvanized steel pipe is best for strength, holding heavy blackout drapes and resisting rust. Conduit is the best budget pick and is easy to cut and paint. Copper pipe is best for appearance and warmth. Match your brackets to the rod diameter before you cut, since a bracket that fits conduit will not fit a larger dowel, and confirm the pipe cutter you need is on hand.
How can I hang my curtains without a rod?
Three renter-friendly routes work. First, a tension rod squeezed between the inside corners of the window frame, which suits sheer panels. Second, adhesive mounting strips rated for the curtain weight, tested on an inconspicuous patch of wall first. Third, moldable mounting putty with a magnetic base, which makes a removable bracket that cures overnight. Avoid all three for heavy blackout drapes.
Conclusion
Start with the tape measure. Get the frame width, add 6 to 10 inches on each side, and write the number down before you leave for the hardware store. Then pick your material to match the curtain: dowel for sheers and linen, galvanized pipe or conduit for blackout drapes, copper when the look matters more than the budget.
Match your brackets to the rod diameter, bring a level to the wall, and the rest is cutting, sealing, and hanging. Updated for 2026.