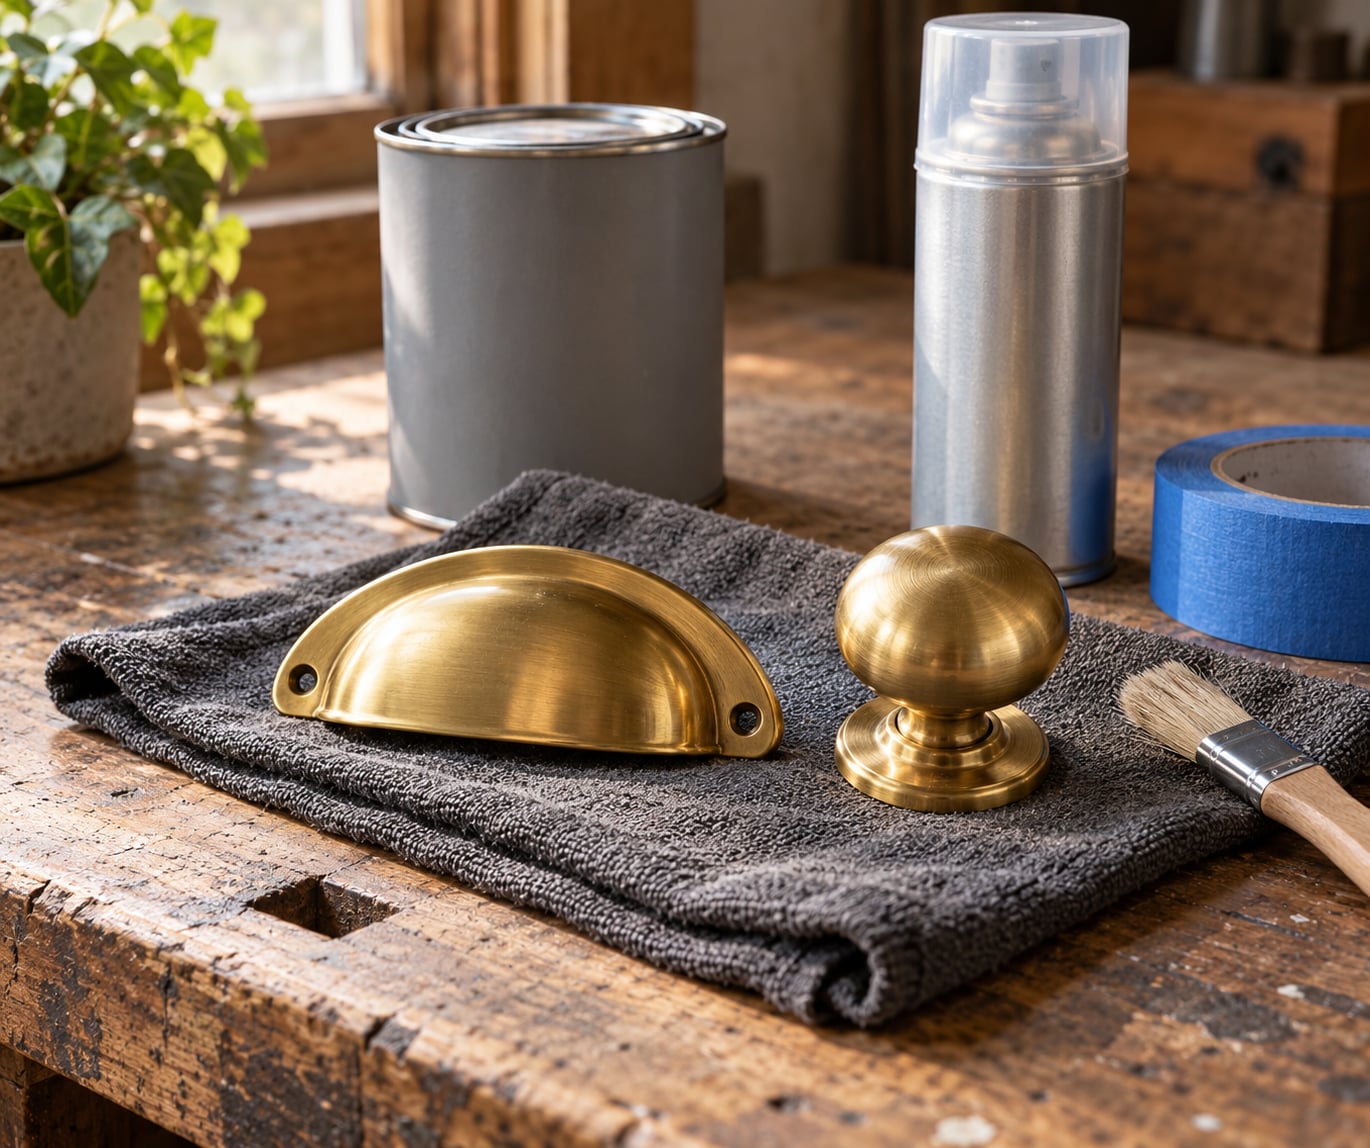
You can update brass hardware without replacing it. The trick is working out whether the piece is solid brass or brass-plated, then either polishing it back to a shine, painting it a new colour, or darkening it with an ageing solution. Most sets of door knobs, levers and drawer pulls take an afternoon to do.
The reason so many people bin working brass is that the finish has gone dull, greenish or blotchy and they assume it is ruined. It usually is not. Brass is a copper-zinc alloy, so underneath years of tarnish there is still a solid, workable metal underneath — and in a lot of cases the piece is only brass-plated steel with plating that has worn thin in spots.
Which route you take depends on what you want at the end. Restoring suits inherited or antique pieces, painting suits a room you just repainted, and antiquing sits between the two. Below, the steps for all three, plus a short list of what tends to go wrong.
Table of Contents
- What You Need
- For cleaning and polishing
- For painting
- For antiquing
- Always worth having
- Step-by-Step: How to Update Brass Hardware Without Replacing It
- Step 1: Identify the Hardware Finish and Choose an Update
- Step 2: Remove and Clean the Hardware
- Step 3: Prep the Surface for Paint or Refinishing
- Step 4: Apply the New Finish
- Step 5: Reinstall and Check the Result
- Common Mistakes
- Polishing through the plating
- Painting over lacquer
- Skipping the clean
- Too many coats, too little drying time
- Forgetting to mask the holes
- Handling the piece before it cures
- Using acetone carelessly
- Frequently Asked Questions
- Can I paint brass hardware without removing the old finish?
- What is the best paint for updating brass cabinet hardware?
- How do I know if my hardware is solid brass or brass-plated?
- Can I use spray paint on brass drawer pulls?
- How long should I wait before reinstalling painted brass hardware?
- What if my brass hardware has a lacquered or aged finish?
- What To Do First
What You Need
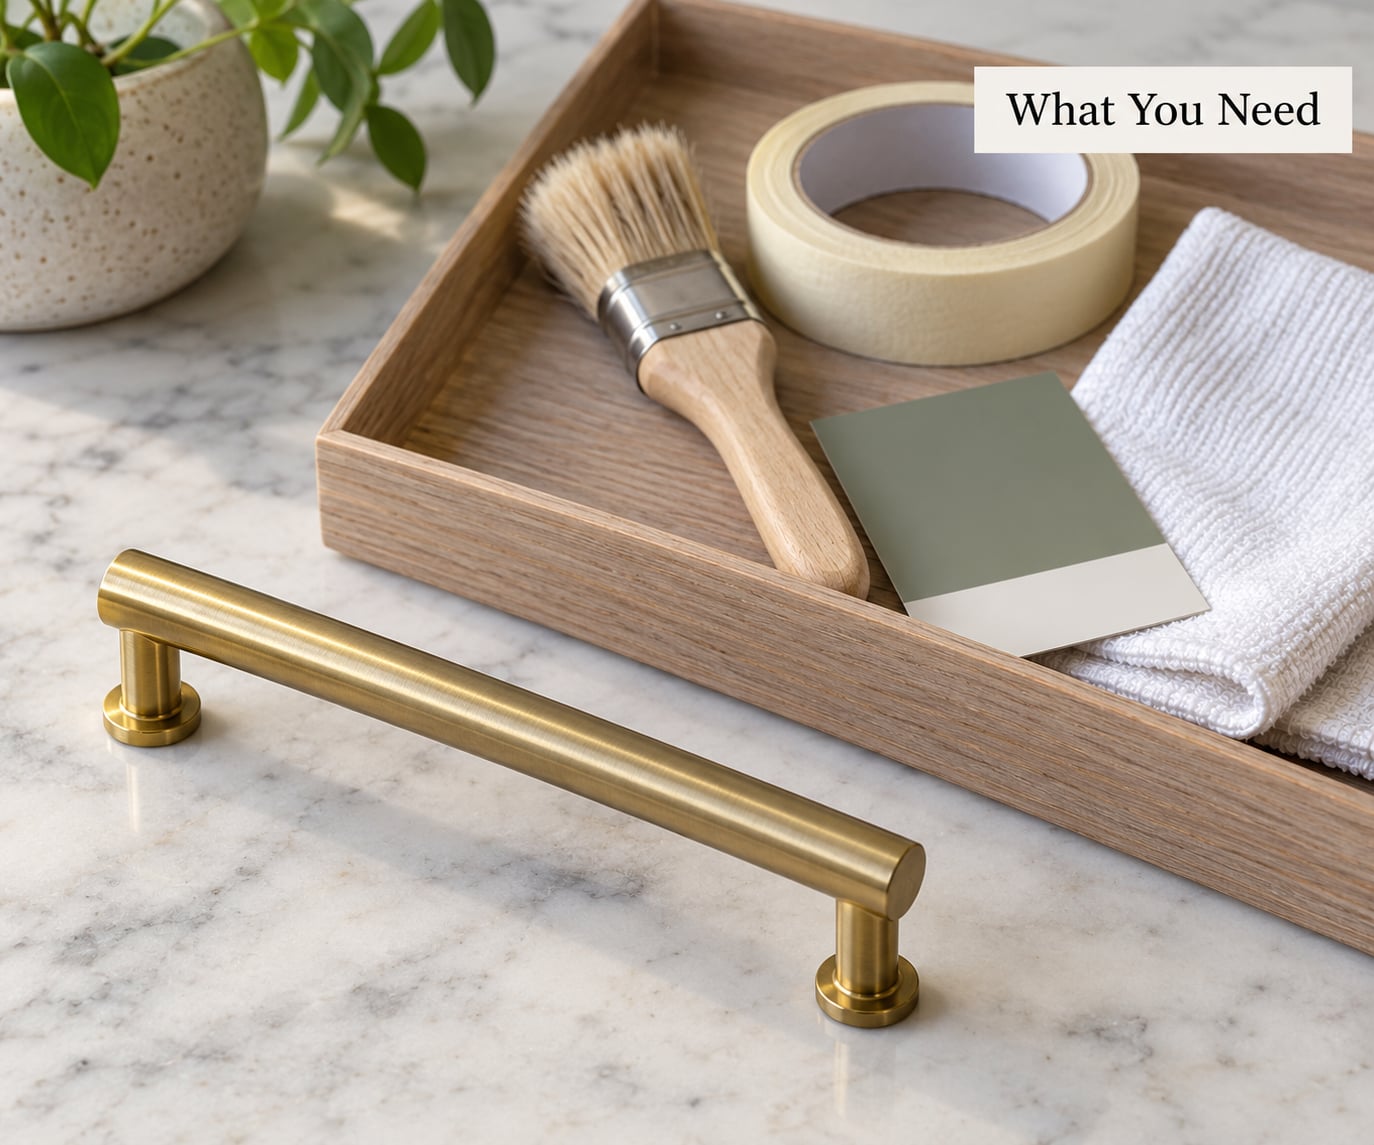
You do not need much, and most of it you already own. What you do need depends on which of the three update methods you pick.
For cleaning and polishing
- A Phillips or flat screwdriver and a magnetic bowl or screw tray
- Warm water and a drop of dish soap, plus two soft cloths
- A brass polish such as Brasso or Simichrome, or a metal polish
- Fine steel wool in grade 0000 or 000, or a brass-bristle brush
- Microcrystalline wax and a clean applicator pad for sealing
For painting
- Masking tape and a scraper card
- A degreaser or acetone for wiping oils off the metal
- An adhesion primer, also sold as bonding primer or acid-etch primer
- Rust-inhibiting spray paint or metallic paint rated for metal
- A satin clear coat sealer, plus a tack cloth or paper towel
For antiquing
- A commercial metal-ageing solution, or hydrogen peroxide, white vinegar and table salt
- A shallow plastic tub, a toothbrush and clean water for rinsing
- Microcrystalline wax or boiled linseed oil for the seal
Always worth having
Rubber gloves, paper to mask off the door or drawer face, and a dust mask if the hardware is old enough to carry paint. If you strip paint from hardware that came out of a house built before 1978, treat it as lead paint: work wet where you can, wear a respirator, and keep children and pets out of the room until the area is cleaned.
Step-by-Step: How to Update Brass Hardware Without Replacing It
Step 1: Identify the Hardware Finish and Choose an Update
Grab a fridge magnet. If it sticks hard, the piece is steel or iron and any brass colour on it is plating, so skip the polishing route entirely and go straight to paint or a clean-and-darken approach. If it does not stick, it is solid brass or a non-ferrous alloy.
Solid brass is heavy for its size, usually warm and dull on the back where nobody handles it, and will never chip or peel. Brass-plated pieces are lighter, and once you polish you may hit a dull silver-grey underneath where the plating has worn away — that is your cue to stop, because every extra pass makes the bare patch bigger.
Then check for lacquer. Lacquered brass feels slick and stays bright for years, and it is the coating that makes paint peel off within weeks if you skip it. Unlacquered brass has no film and tarnishes on its own. If you are not sure, scratch an inconspicuous spot with a coin; a bright clean mark means lacquer is gone there.
Step 2: Remove and Clean the Hardware
Remove every piece and put the screws in a labelled container. Back the screws out slowly and steady the knob from behind so you do not twist the post out of the door. Mask a strip of tape over the edge of the rose so a screwdriver slip will not nick the paint.
Wash the hardware in warm water with a drop of dish soap. Soap strips the oils that make tarnish spread, and it is safe on every finish including brass-plated steel. Scrub the crevices with an old toothbrush and let pieces soak a few minutes.
Rinse, dry fully with a soft cloth, and give it a few minutes longer in the air. Any moisture left behind will make lacquer bubble and paint bubble with it. Wipe the mounting posts and screw holes with a degreaser or a dab of acetone on a folded paper towel before any finish goes on.
Step 3: Prep the Surface for Paint or Refinishing
For polishing, work your way up from the dullest areas. Start with soapy water and a soft cloth, move to grade 0000 steel wool or a brass-bristle brush, and finish with polish on a clean cloth. Stop at bright metal and do not chase a mirror shine; that is when people grind through plating.
For painting, every layer on top has to go. Strip existing lacquer with a brass-safe lacquer remover or a light scuff with fine steel wool, then wipe the residue off with acetone. Mask the screw holes and any threaded post with tape so paint cannot bridge them.
For antiquing, skip the polishing entirely. A clean, oil-free surface is all the ageing solution needs, and polished metal takes a patina unevenly.
Step 4: Apply the New Finish
Shake the primer can hard for a full minute and spray a light coat from about 25 to 30 cm away. Thin coats are the whole game here, and a quick second pass over any thin spot is better than one heavy one. Let the primer dry for the label time, usually around an hour.
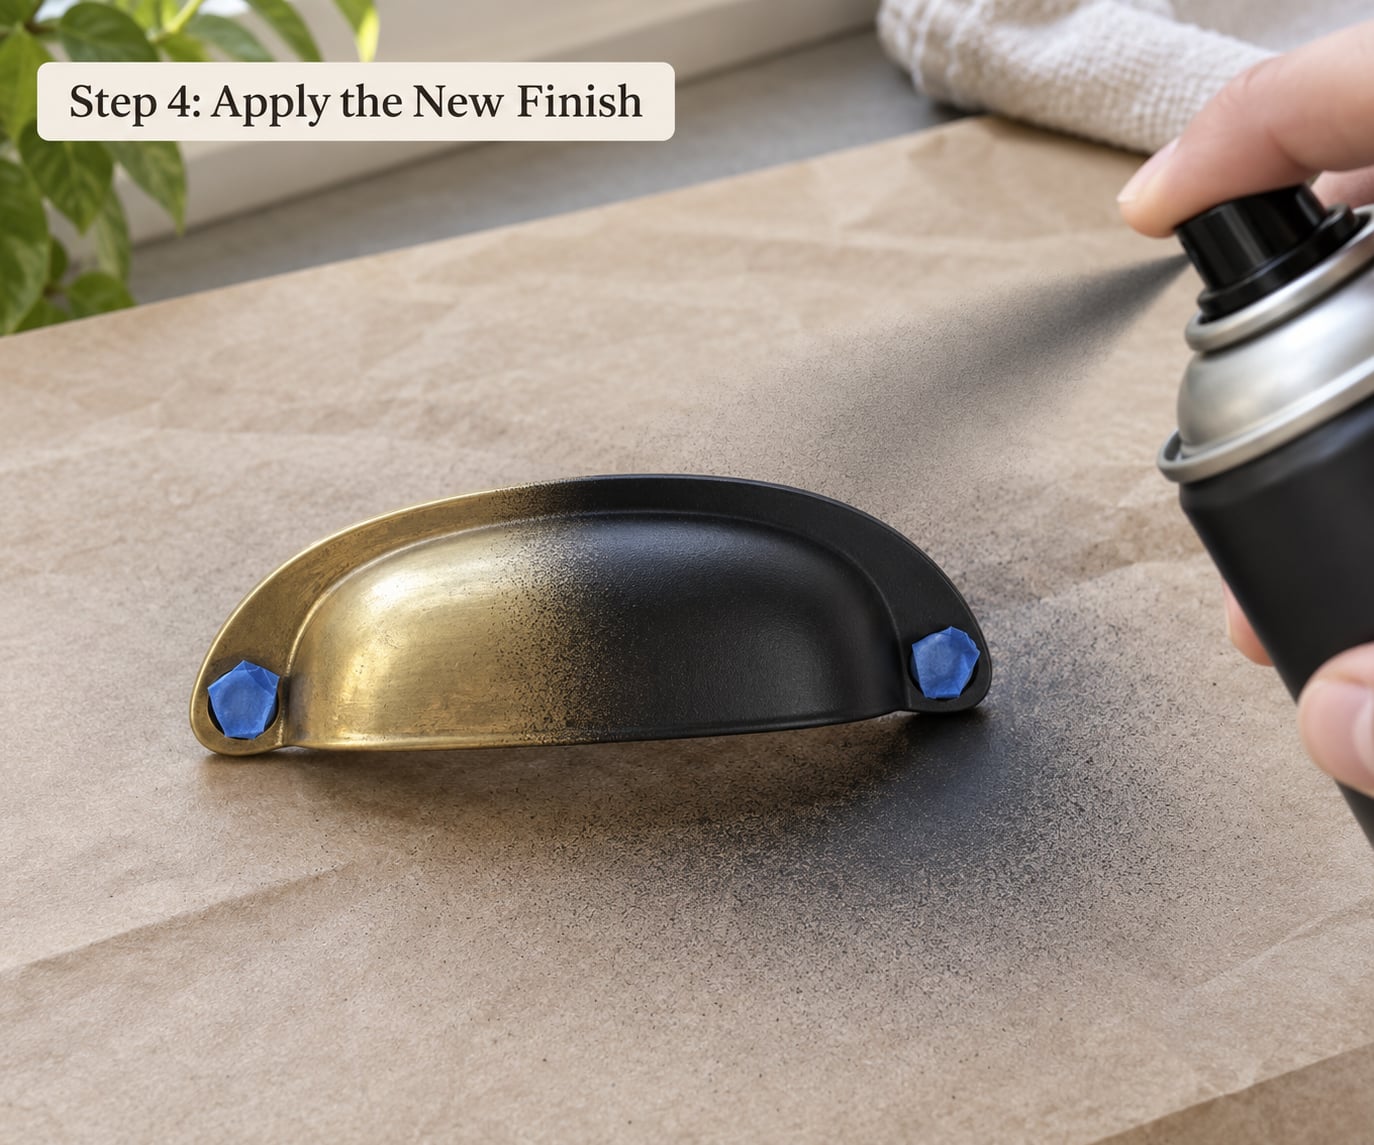
Then the colour coat, same distance, same patience. Two or three light passes beat one thick one every time, because thick coats run, pool in the crevices of an ornate pull and dry lumpy. Many people hang the piece from a piece of wire while it sprays so the front stays clean.
For antiquing, put the hardware in a tub of ageing solution and leave it 15 to 30 minutes, checking every five. Pull it out, rinse, and if you want a deeper patina, dunk it again. Hydrogen peroxide, vinegar and salt mixed in equal parts works well; the peroxide lifts the surface while the salt speeds the reaction.
When the colour or patina is where you want it, seal it. Wax goes on thin with a pad and buffs off; a satin clear coat sprayed lightly gives a tougher finish on knobs people grab daily. Give the whole thing the full cure time on the label before the hardware goes anywhere near a door.
Step 5: Reinstall and Check the Result
Hold the hardware up to the rose, start each screw by hand so it threads without forcing, and tighten until snug. Do not overtighten; you can strip the threads in the door and turn a small job into a repair. Some people run a dab of thread-locking compound on the screws instead.
Now check the result under normal light, not under the work lamp. Look at the finish along the edges and inside the detail work, where thin spots hide. A small touch-up on a bare spot is fine, and a fine nail file or 0000 steel wool smooths a run after the piece has fully cured.
Common Mistakes
Polishing through the plating
The most expensive mistake on this list, because it cannot be undone. On plated hardware, polish gently and check often. Stop the moment you see a different colour metal under the shine, and switch to painting, which hides worn plating instead of exposing more of it.
Painting over lacquer
Lacquer will not hold paint. You end up with flakes coming off in your hand around a month later, which is exactly the failure people describe in DIY forums. Remove the lacquer or scuff it thoroughly, then use a bonding primer before any colour coat.
Skipping the clean
Skin oils, wax and furniture polish block adhesion. Paint applied straight onto a greasy knob looks fine on day one and peels after the first week of use. Dish soap and a degreaser wipe take five minutes and prevent the whole job.
Too many coats, too little drying time
Each coat needs its own flash time, and hardware sits in a closed-up shape where paint pools. Two thin coats beat four rushed ones, and rushing between coats makes runs that stay visible after curing.
Forgetting to mask the holes
Paint that seals a screw hole makes the knob impossible to install and can glue the post to the door. Tape before you spray, and pull the tape while the last coat is still slightly tacky.
Handling the piece before it cures
Spray finishes feel solid long before they have hardened underneath. Give painted hardware a full day before reinstalling, longer in cold or humid rooms, and avoid leaning anything against it in the meantime.
Using acetone carelessly
Acetone will haze lacquer and dull finished surfaces in seconds, and it will take the paint off your door if it drips. Use it on a cloth, not a soaked pad, and keep it away from wood and painted faces.
Frequently Asked Questions
Can I paint brass hardware without removing the old finish?
You can paint over existing colour if it is sound, but you cannot paint over intact lacquer. Lacquer has to come off with a brass-safe lacquer remover, or be scuffed thoroughly with fine steel wool, before an adhesion primer goes on. Skipping that step is the most common reason painted knobs peel off within weeks.
What is the best paint for updating brass cabinet hardware?
A spray paint or aerosol rated for metal works best on knobs and pulls because it gives an even coat in tight crevices. Rust-inhibiting paint in a satin or matte finish suits kitchen and bathroom hardware. Brush-on metallic paint works on larger plates, but take off any sealer first and lay it on thin.
How do I know if my hardware is solid brass or brass-plated?
Try a magnet first. If it sticks firmly, the piece is steel and the brass colour is plating. Solid brass is heavy for its size and never chips or peels. Polish one small spot: if you suddenly see dull grey metal, the plating is worn through and you should stop polishing there.
Can I use spray paint on brass drawer pulls?
Yes, as long as the pull is cleaned, degreased, scuffed or stripped and primed with a bonding or acid-etch primer. Spray from 25 to 30 cm away in two or three thin passes rather than one heavy coat, mask the screw holes first, and leave it a full day before you put the pull back on the drawer.
How long should I wait before reinstalling painted brass hardware?
Wait at least 24 hours in a normal room, and longer in cold or damp conditions. Follow the drying time printed on the can, because flash time and cure time are different things. Installing too early leaves fingerprints and scuffs that stay in the finish permanently.
What if my brass hardware has a lacquered or aged finish?
Lacquered hardware needs the film removed or scuffed before it will take paint. Aged, unlacquered brass is easier: polish it if you want brightness, or clean it and dip it in an ageing solution for a dark antique patina. If the patina is genuinely original and you like it, clean it gently and wax it instead.
What To Do First
Start with the magnet, because that one test decides whether you are allowed to polish at all. Then clean the whole set in soapy water, dry it properly, and do one test piece in the method you like before you touch the other eleven. If the aim is to update brass hardware without replacing it, the work is an afternoon of prep and patience rather than a shopping trip, and the result sits on the doors for years.