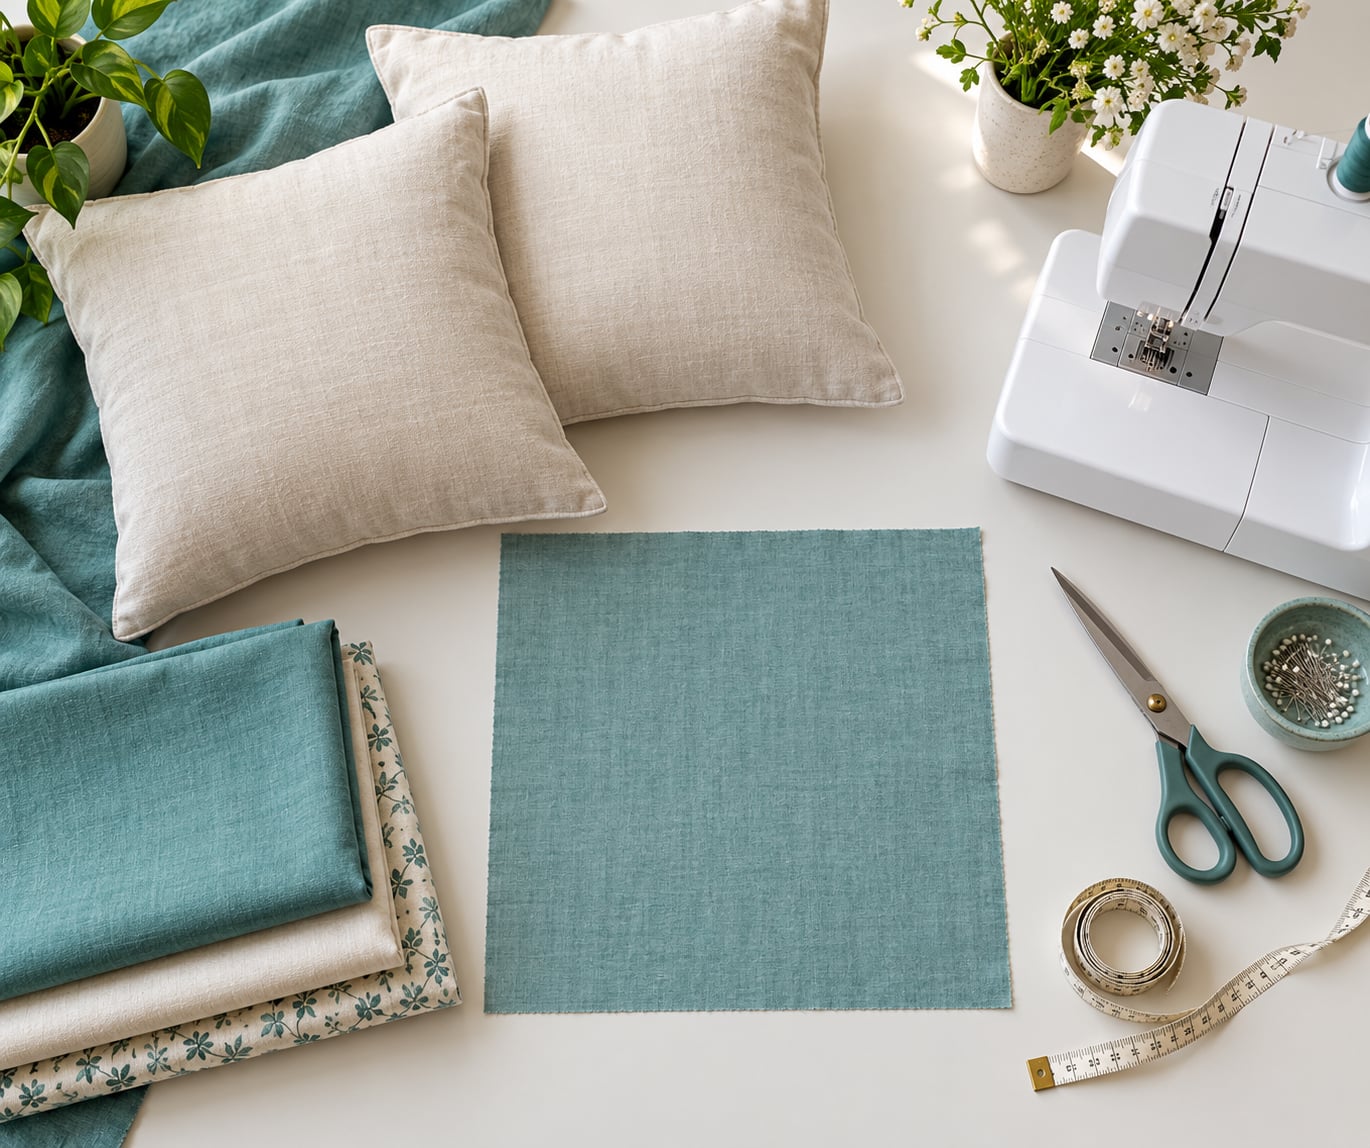
To make throw pillow covers with an envelope back, you cut one square front panel and two shallower back panels, hem the raw edges of the backs, then sew both backs to the front so they overlap on one side. The overlap slides over your pillow insert and tucks shut. No zipper, no hardware, and the whole thing takes about half an hour once you have the numbers.
The reason sewists reach for this method is that the finished cover is completely removable, which means you can wash it hard without a zipper splitting or an insert soaking up detergent. It also hides the seam allowances completely, so the pillow looks clean from every angle on the sofa.
You need one pillow insert, roughly 3/4 yard of medium-weight 54 inch wide fabric for a standard 18 inch cover, a 1/2 inch seam allowance throughout, and about 6 inches of total overlap between the two back panels. Measure the insert before anything else, because every cut depends on that number.
Table of Contents
- What You Need
- Step-by-Step: How to Make Throw Pillow Covers with an Envelope Back
- 1. Choose Your Fabric and Measure the Pillow
- 2. Cut the Front and Back Fabric Panels
- 3. Hem the Envelope Edges
- 4. Sew the Side Seams
- 5. Turn, Shape, and Insert the Pillow
- Common Mistakes and Easy Fixes
- Frequently Asked Questions
- How much overlap should the two back panels have?
- What fabric works best for an envelope pillow cover?
- What size should the cover be for an 18 inch insert?
- Is an envelope back hard for a beginner to sew?
- Can you wash an envelope pillow cover in the washing machine?
- What is the 2 2 1 throw pillow rule?
- Conclusion
What You Need
Start with the insert, because it drives every measurement. A standard throw pillow insert is sold as 18 by 18 inches, but inserts are stuffed loosely, so lay yours flat, smooth one end with your palm, and measure across the middle of the compressed shape. That flattened number is the size you build for.
Medium-weight woven cotton or cotton blend works best for a beginner envelope back. It presses flat, washes well, and hides seam lines. Skip anything sheer, satiny, or very stiff, because light fabric lets the insert show through and heavy interfacing makes the envelope stiff and hard to open.
Here is the supply list:
- One square pillow insert (14, 16, 18, 20, 22, or 24 inch)
- About 3/4 yard of 54 inch wide fabric for a standard 18 inch cover
- Fabric scissors or a rotary cutter with a clear ruler
- Measuring tape and a fabric pencil or chalk
- Iron and pressing cloth
- Clips or large pins
- All-purpose polyester thread in a color close to the fabric
- Standard 90/14 sewing machine needle
- Optional: a small piece of batting, fusible fleece, or a coordinating binding strip
Set your machine to a plain straight stitch at about 2.5 to 3 mm stitch length for a standard 1/2 inch seam. Leave the tension alone unless your fabric is doing something strange, and always backstitch a few stitches at the start and end of each seam so the corners do not pull apart later.
Step-by-Step: How to Make Throw Pillow Covers with an Envelope Back
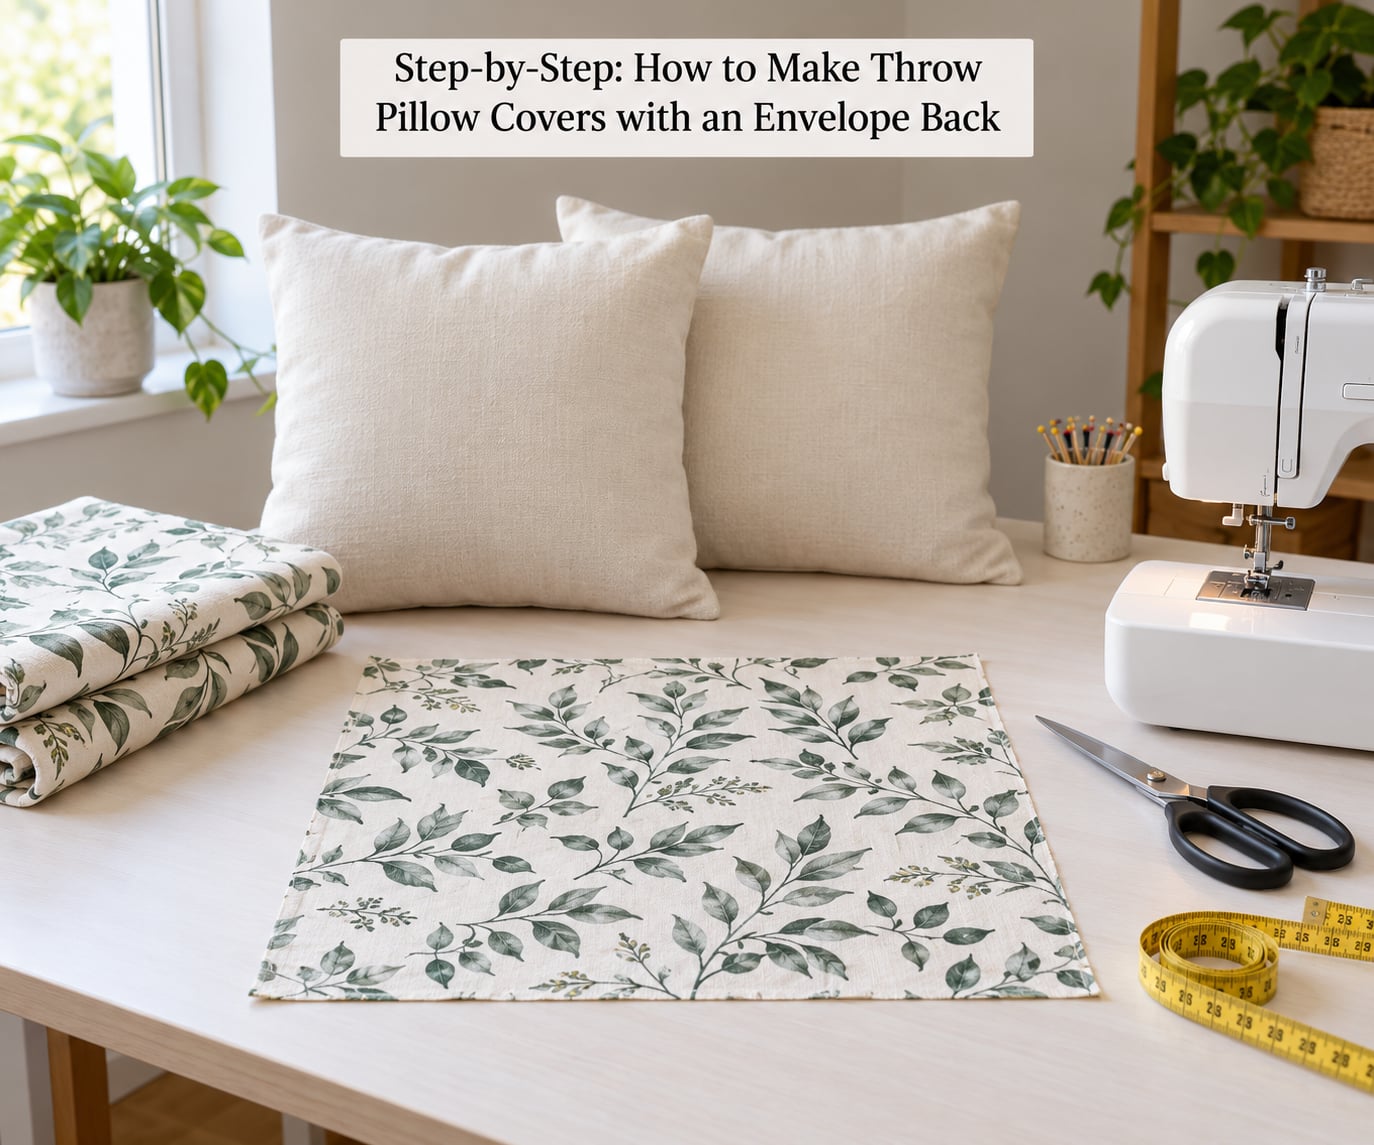
1. Choose Your Fabric and Measure the Pillow
Measure the insert flat and add 1 inch to get your finished cover size. An 18 inch insert becomes a 19 inch finished cover, and that extra inch of room is what makes the pillow look full instead of strained. A few sewists go further and use an insert one size up than the finished cover, which gives a very plump result, but the 1 inch method is the one to learn first.
Check the print direction before you commit. If the fabric has a border, stripes, or a motif that reads right side up, the front panel needs the design centered and the back panels need to match it. Hold the fabric up to the light and confirm the top of the print is at the top of the panel, not turned sideways.
2. Cut the Front and Back Fabric Panels
Cut the front panel to the insert size plus 2 inches, which is 1 inch of finished ease plus 1 inch of seam allowance. Cut the two back panels to the same length as the front, and give each one enough width that the two together span the finished width plus 6 inches of overlap, with extra room for a hem on the outer edge of each panel.
| Insert size | Finished cover | Front panel (cut) | Back panel (cut, each) |
|---|---|---|---|
| 14 inch | 15 inch | 16 by 16 inch | 11.5 by 16 inch |
| 16 inch | 17 inch | 18 by 18 inch | 12.5 by 18 inch |
| 18 inch | 19 inch | 20 by 20 inch | 13.5 by 20 inch |
| 20 inch | 21 inch | 22 by 22 inch | 14.5 by 22 inch |
| 22 inch | 23 inch | 24 by 24 inch | 15.5 by 24 inch |
| 24 inch | 25 inch | 26 by 26 inch | 16.5 by 26 inch |
To work out any size not in the chart, use this formula. Front panel cut size equals the insert size plus 2 inches in both directions. Each back panel is the front panel length, and the width is half the finished width plus half the overlap plus 1 inch for the hem. For a 22 inch insert that gives a 24 inch square front and 15.5 by 24 inch back panels.
If you want a quilted or layered front, sandwich a square of batting or fusible fleece between two fabric squares now, before anything is hemmed. Press the layers flat so they do not pucker later. Mark the quilting lines with a ruler and a pen, stitch them in rows, and trim the batting flush with the fabric edges.
3. Hem the Envelope Edges
Fold one long edge of each back panel to the wrong side by 1/2 inch, press it, then fold again by another 1/2 inch and press a second time. Stitch along the inner fold with a straight stitch and backstitch at both ends. A double-fold hem is stronger than a single fold and it will not fray after the cover has been through several washes.
Keep the two hemmed edges the same length. If one panel ends up half an inch off, trim the longer one to match rather than letting the finished cover sit crooked on the insert.
4. Sew the Side Seams
Lay the front panel right side up on your work surface. Place both back panels on it with their right sides facing up, hemmed edges meeting in the middle and overlapping by 6 inches at the center. The overlap is what holds the insert in, so do not reduce it to make the panel look neater.
Which panel goes on top does not matter visually, because both are the same size. What matters is that the top panel’s hemmed edge sits over the other panel’s hemmed edge and the top panel’s raw cut edge is the one that gets enclosed in the side seam. Clip everything in place around the perimeter, then stitch down each side and across the top with a 1/2 inch seam allowance.
Sew the side seams first, then the top, backstitching hard at each corner. Before you go to the iron, run your fingers along the two side seams to make sure the two back panels did not slip out of alignment and leave a gap. One wrong seam allowance there and the insert will bulge out of the envelope every time you sit down.
5. Turn, Shape, and Insert the Pillow
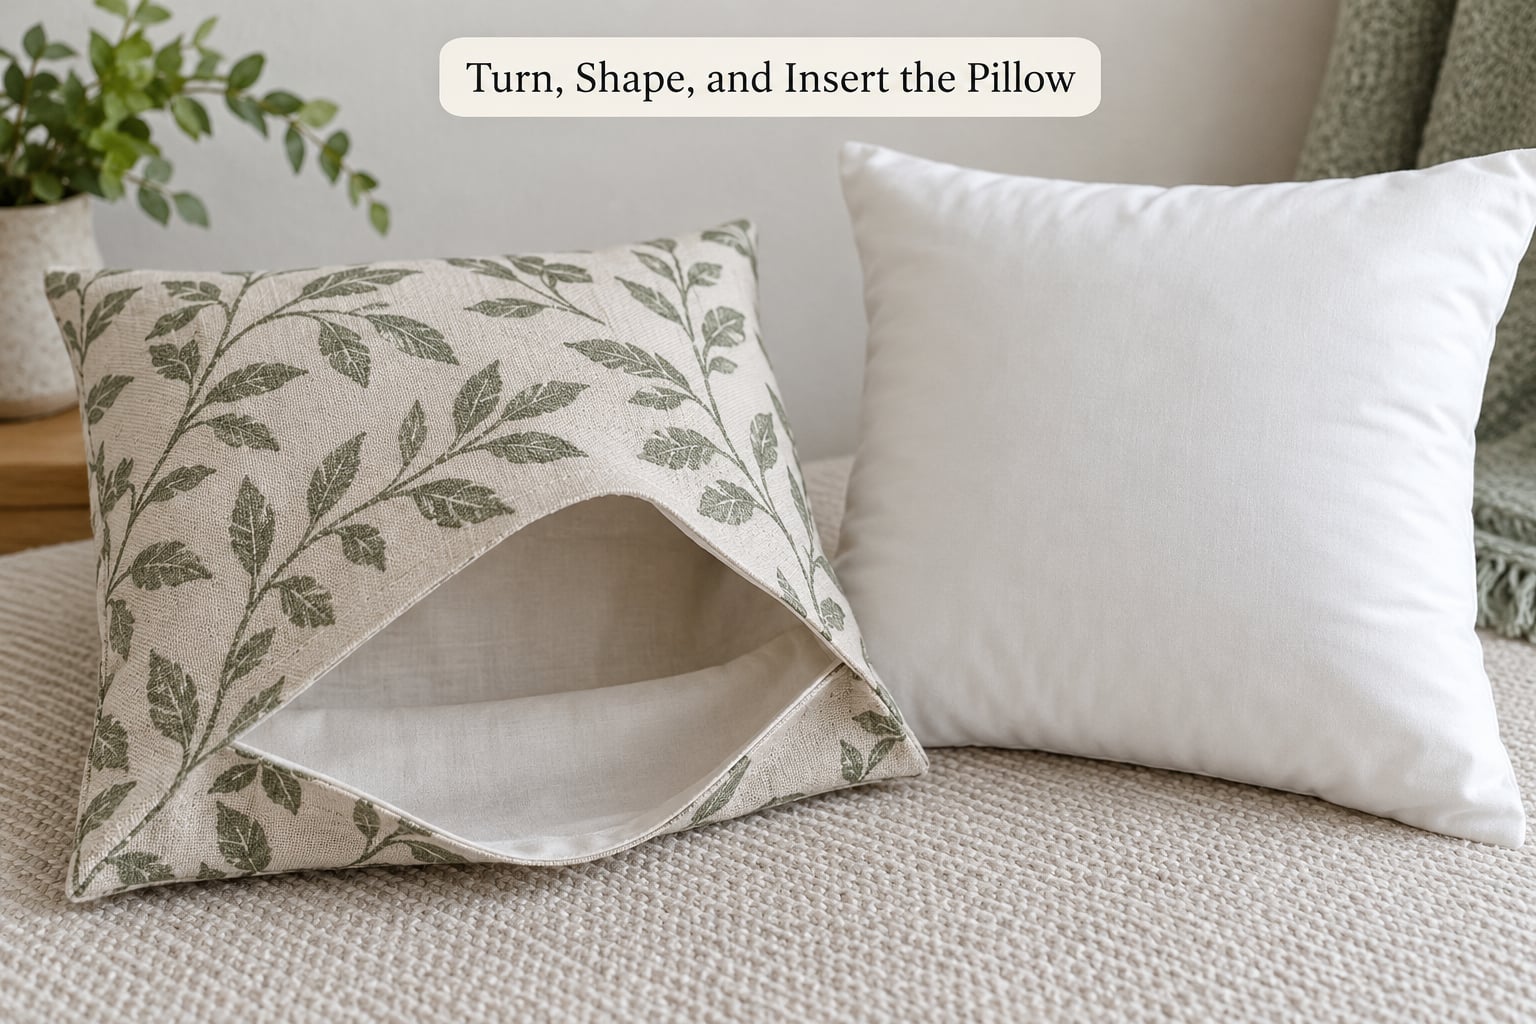
Trim the seam allowances down to about 1/4 inch along the corners, and clip a small notch across the seam at each corner without cutting through the stitch line. Clipping removes the bulk that causes corners to poke out as sharp little points. Turn the cover right side out through the envelope opening and push each corner out with your fingers until the point forms cleanly.
Press the seams flat, then press the flap edges so they sit neatly against the back. Start the insert into the corner farthest from the opening, feed the rest in slowly, and smooth the fabric as it travels so the insert does not bunch. Fluff the corners with small pushes from your palm until the pillow is square and full.
Once the flap is tucked under itself, the cover is done. If the envelope feels loose, add a small hand tack through the flap and the panel underneath, hidden well inside the opening, and the pillow will hold its shape through sitting and standing.
Common Mistakes and Easy Fixes
Uneven sizing is almost always caused by cutting while the fabric is still folded, which adds a hidden double layer on one edge. Cut every panel from a single layer of fabric, then use the seam lines as a check rather than the fabric edges. If the finished cover comes out noticeably tight and square, the insert is simply larger than the finished measurement, so work down a size rather than forcing it.
A narrow opening means you skimped on overlap. Six inches is the working minimum for an 18 inch cover, and smaller pillows can get away with four. If the opening is too wide, the insert works loose and you can correct it later with a hand tack, so err on the generous side at the cutting stage.
Corners that poke out as sharp points are a clipping problem, not a stitching problem. Trim the seam allowance to 1/4 inch, notch the corner, and push the point out with your fingers while the seam is still warm from the iron. Sharp corners also show up when the seam allowance is uneven, so check both layers of the corner before clipping.
Visible topstitching on the face of the pillow means your seam allowance wandered. If the seam sits lopsided, unpick with a seam ripper and sew again, using the edge of the foot as your guide rather than eyeballing the fabric.
Fraying along the opening points to a single-fold hem. Fold the raw edge twice so the cut edge is completely enclosed, then press and stitch. Lightweight fabric needs the double fold especially, because a single layer will not survive a wash.
An insert that pops out during a wash, or a cover that ends up scrunched, is usually a filling problem. Wash the insert on its own if it has a zip closure, zip it almost fully closed, and use a gentle cycle with cool water and mild detergent. Dry the cover on low heat and reshape the insert while it is still slightly damp, because a fully stuffed wet insert is heavy and hard to flatten.
Optional finishes are worth the extra time if you want them. Self-binding in 2.5 inch strips gives a crisp framed edge, piping cord around the perimeter gives a tailored look, and a quilted front turns a plain cover into the main event on the bed. Each one adds roughly 15 minutes.
Frequently Asked Questions
How much overlap should the two back panels have?
Aim for about 6 inches of total overlap on a standard 18 inch cover. Smaller covers can work with 4 inches, and anything beyond 8 inches adds bulk without helping. The overlap is what grips the insert, so keep the two hemmed edges meeting squarely in the middle of the back.
What fabric works best for an envelope pillow cover?
Medium-weight cotton or a cotton blend is the easiest choice. It presses flat, hides seam lines, and survives repeated machine washing. Avoid sheer satins that let the insert show through and very stiff interfacings that make the flap hard to open. Wash the fabric first so shrinkage does not distort the finished cover.
What size should the cover be for an 18 inch insert?
Make the finished cover 19 inches, which means cutting a 20 by 20 inch front panel and two 13.5 by 20 inch back panels with a 1/2 inch seam allowance and 6 inches of overlap. That extra inch of room is what gives the pillow a full, square shape instead of a strained one.
Is an envelope back hard for a beginner to sew?
It is one of the easier sewing projects there is, because it is only straight seams and hems with no zipper, no lining, and no curved edges. The two tricky moments are matching the side seam allowances so the flap closes, and clipping the corners. Allow about 30 to 45 minutes for your first one and 15 minutes for the next.
Can you wash an envelope pillow cover in the washing machine?
Yes, and that is the main reason to make your own. Wash the cover on a gentle cycle with cool water and mild detergent, and close any zipper on the insert almost all the way so it does not tear or absorb water. Dry the cover on low heat, reshape the corners, and give the insert a fluff once it is nearly dry.
What is the 2 2 1 throw pillow rule?
It is a simple styling guide for a bed or large sofa: two pillows placed slightly overlapping, two more placed directly in front of them, then one accent pillow in the center. The arrangement makes a bed look styled and layered without buying a matching bedding set, and it is a good way to use several covers you made yourself.
Conclusion
Start by measuring the insert you already own, then cut a front panel one inch larger than that measurement plus the seam allowance. Everything after that is straight stitching. Once you have the first cover down, the method scales to any size, works with two coordinating fabrics for a reversible look, and gives you a washable cover for a fraction of what a new one costs every time the season changes.