Roller marks on painted walls come off in three moves: let the paint cure for at least 24 hours, sand the raised ridges flat with 180 to 220 grit sandpaper, then roll one thin, evenly loaded coat over the entire area so the repair disappears into the wall. Most walls need a spot fix rather than a whole-room repaint, and once the paint is dry the work takes an afternoon.
The reason marks survive a coat of paint is simple. A roller mark is a physical ridge in the dried film, not a colour difference, so painting over it just makes the ridge taller. Flatten it first, then lay down fresh paint with the right sheen, and the wall goes flat and uniform.
Below I break the process into five steps, starting with working out which of four common defects you actually have. That diagnosis decides everything after it, because a raised ridge, a lap line and an orange-peel texture need different corrections.
Table of Contents
- What You Need
- Core supplies
- Optional, depending on your wall
- Step-by-Step: How to Fix Roller Marks on Painted Walls
- 1. Identify the Type of Roller Mark You Have
- 2. Clean and Lightly Prepare the Surface
- 3. Choose the Right Paint and Roller
- 4. Apply an Even First Coat
- 5. Blend the Repair and Let It Dry
- Common Mistakes That Make Roller Marks Worse
- Painting over a dirty wall
- Painting over the ridge instead of sanding it
- Using too much paint in one heavy coat
- Rolling back over paint that has begun to set
- Touching up with a brush
- Ignoring the sheen match
- Sanding too hard
- Rolling over a tacky or warm surface
- Expecting every mark to vanish
- Frequently Asked Questions
- Will a second coat of paint hide roller marks?
- Do roller marks disappear when the paint dries?
- Is it better to touch up paint with a brush or a roller?
- Why does my paint look patchy when I use a roller?
- How long should I wait before sanding roller marks?
- Can I fix roller marks without repainting the whole wall?
- Conclusion: Start by Naming the Mark
What You Need
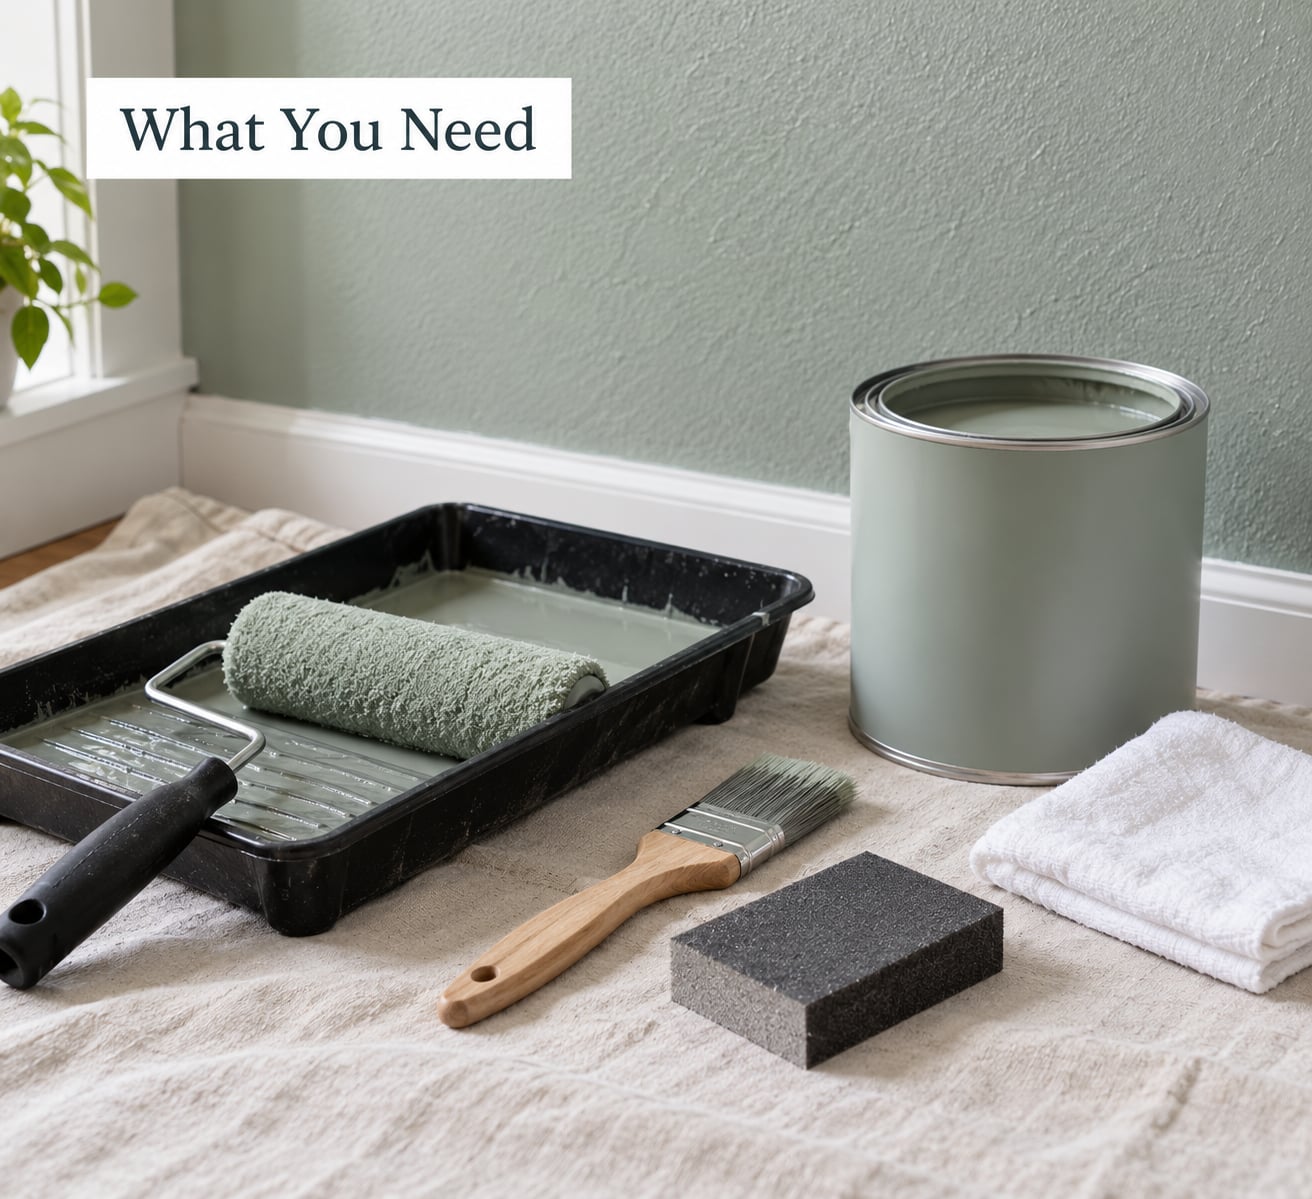
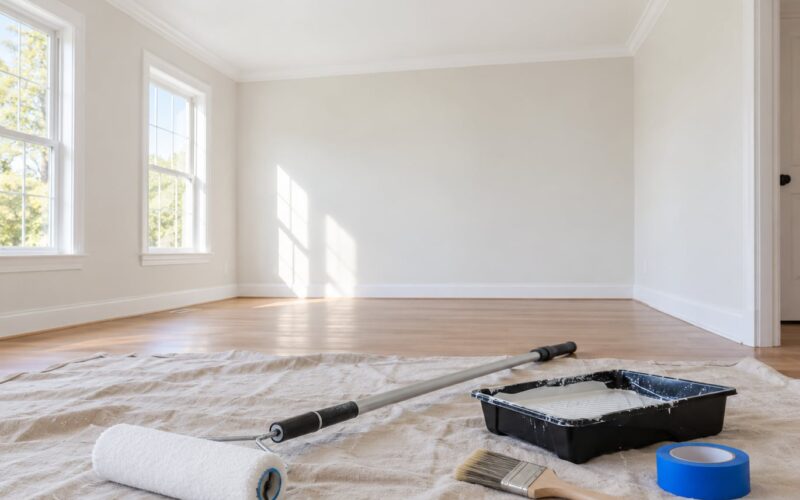
Gather everything before you start. Scrambling for a dust sheet after you have opened the paint can is how you end up with grit in the finish.
Core supplies
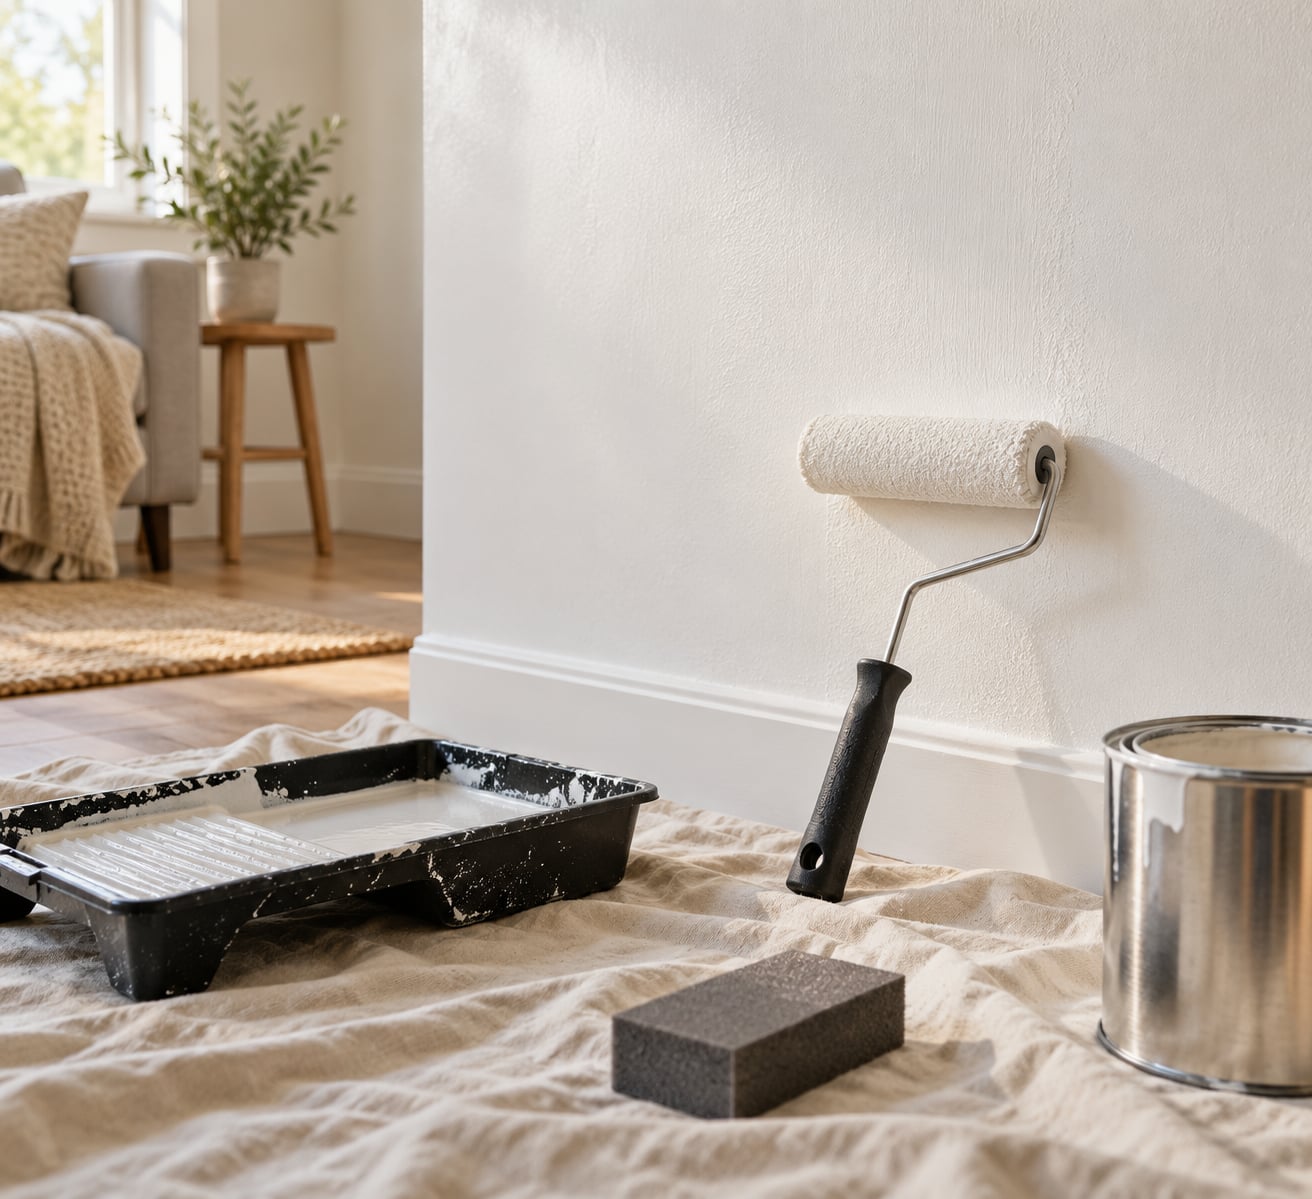
- 180 to 220 grit sandpaper and a sanding block, for knocking down raised ridges and levelling lap lines.
- A clean microfibre cloth and a bucket of warm water, for wiping dust and grease off the wall.
- A small filler or patching compound and a flexible putty knife, for filling chips and nail holes nearby.
- The same paint as the wall, ideally the leftover tin from the original job. Matching colour matters more than people expect.
- A short nap roller sleeve in a rigid frame, plus a paint tray or a scuttle.
- A clean brush for cutting in along edges and corners only.
- A dust sheet and masking tape to protect the floor, trim and fittings.
Optional, depending on your wall
- Spot primer or shellac-based stain blocker if you sand through to bare plaster or a stain-blocking primer. Without it, the new coat can flash pale and patchy.
- A sugar soap or TSP-style cleaner for walls with grease, especially in kitchens and bathrooms.
- An extension pole for ceilings, since rolling overhead with a short handle puts a lot of wrist into every stroke.
- A paint conditioner or floetrol-type additive for slow-drying rooms, cold weather or high humidity. It holds the wet edge open longer.
- A bright work light held at a low angle to the wall, so you can see the texture before you decide whether to keep painting.
If the wall is textured, push drywall, or old paint over patchy filler, add a stiff bristle roller to the kit rather than reaching for the smooth one. A short nap on a rough surface just skips the high spots.
Step-by-Step: How to Fix Roller Marks on Painted Walls
1. Identify the Type of Roller Mark You Have
Run your hand flat across the wall with your eyes shut. What you feel tells you which repair you need, and it takes about ten seconds. Raised ridges and thin areas feel completely different, and using the same fix on both makes things worse.
| What you see and feel | Why it happened | The fix |
|---|---|---|
| Raised vertical ridges, often called tramlines, feel hard under the palm | You pressed the frame down while rolling, squeezing paint out of the sides of the sleeve | Sand the ridge level with 180 grit, finish with 220 grit, then roll one thin coat |
| Darker or duller lines where one pass overlapped the last, called lap marks | The roller went back over paint that had begun to dry, so the second pass sat on top instead of merging | Scuff with 220 grit to break the edge, then roll wet into wet with 50% overlap |
| Even stippled texture across the whole surface, like orange peel | A dry roller, a worn sleeve, or a nap too short for the surface | Roll a fresh coat with a dampened, well-loaded sleeve in a longer nap |
| Shiny or flat patches where a brush touched rolled paint | Brush and roller apply paint differently, so the two finishes reflect light differently | Roll the whole section with the same paint and roller so the sheen matches |
| Thin, uneven coverage with the wall showing through | Over-thinned paint, a roller that was not reloaded often enough, or a porous surface | Spot prime bare or porous patches, then apply two thin coats instead of one heavy one |
Mark the defect with masking tape or a pencil before you start. On a big wall that helps you keep the repair consistent, and it stops you from sanding a good area by accident.
Check the lighting before you commit to a repair. Stand at one end of the room and look down the wall from a low angle, or switch off the overhead light and use a lamp near the ceiling. Marks that only show up in raking light are a different problem from marks you see from the doorway, and the second kind are worth fixing.
2. Clean and Lightly Prepare the Surface
Wash the area first with warm water and a drop of detergent, then go over it again with a clean damp cloth. New paint will not bond to dust, grease, or a chalky layer of old paint, and a dirty wall is the reason spot repairs peel within weeks.
Fill any chips, dents, or nail holes with a light filler, let it dry, and sand the filler smooth. Feather the filler into the surrounding paint with 180 grit so there is no ledge for the roller to catch on.
Now scuff the marked area itself. Use 180 grit for raised ridges and 220 grit for lap lines and sheen mismatch. Sand with the grain of the wall in long, light strokes on a sanding block, and stop as soon as the texture matches the surrounding area. You are aiming for a flat, matte surface, not for bare drywall.
If the paper feels like it is biting too hard, or you can see the white of the plaster, stop. Patch the exposed spot with primer so the bare area is sealed, and let it dry to the touch before you go any further. Rolling over raw plaster is one of the main causes of flashing and pale patches in the final coat.
Wipe everything down with a damp microfibre cloth once more and let the wall dry completely. Paint will not go on properly over a damp surface, and moisture traps under the film.
3. Choose the Right Paint and Roller
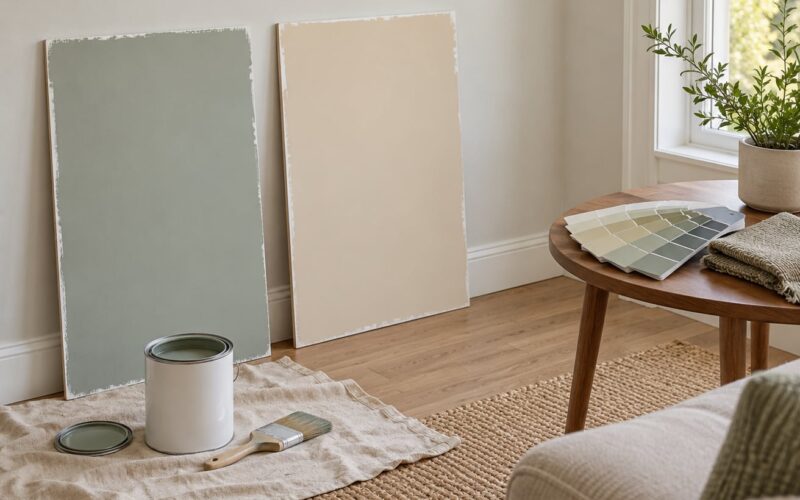
Matching the existing paint is what separates a repair that vanishes into the wall from one that looks like a patch job. Check the original tin for the product name and colour first, then check the sheen, because sheen is far more obvious than colour once the room is lit normally.
A can you saved is worth using. If the paint is gone, take a chip of the existing paint, or a 2 inch square of an inconspicuous spot, to the shop. Most staff will match it from a colour chip, though matching sheen needs a wet sample, not a dry one.
| Wall surface | Nap length | Result |
|---|---|---|
| Smooth drywall, freshly skimmed | 6 mm, about 1/4 inch | Fine finish, shows every wall defect clearly |
| Standard drywall with light texture | 10 to 13 mm, about 3/8 to 1/2 inch | The safest all-round choice for most walls |
| Stucco, brick, or heavy texture | 19 mm, about 3/4 inch | Reaches into the pits and covers evenly |
| Ceiling with fine texture | 10 to 13 mm, about 3/8 to 1/2 inch | Covers well and stays light overhead |
Wet the sleeve in warm water and spin it out before you load it, and rub a piece of masking tape through the pile to pull out loose fibres. A shedding sleeve leaves fuzzy lines that look exactly like roller marks, and no amount of careful technique will hide them.
Check the frame too. A cheap frame flexes under pressure, which puts a fat edge at the end of every stroke. If the frame twists when you push on it, replace it rather than trying to paint around the problem.
4. Apply an Even First Coat
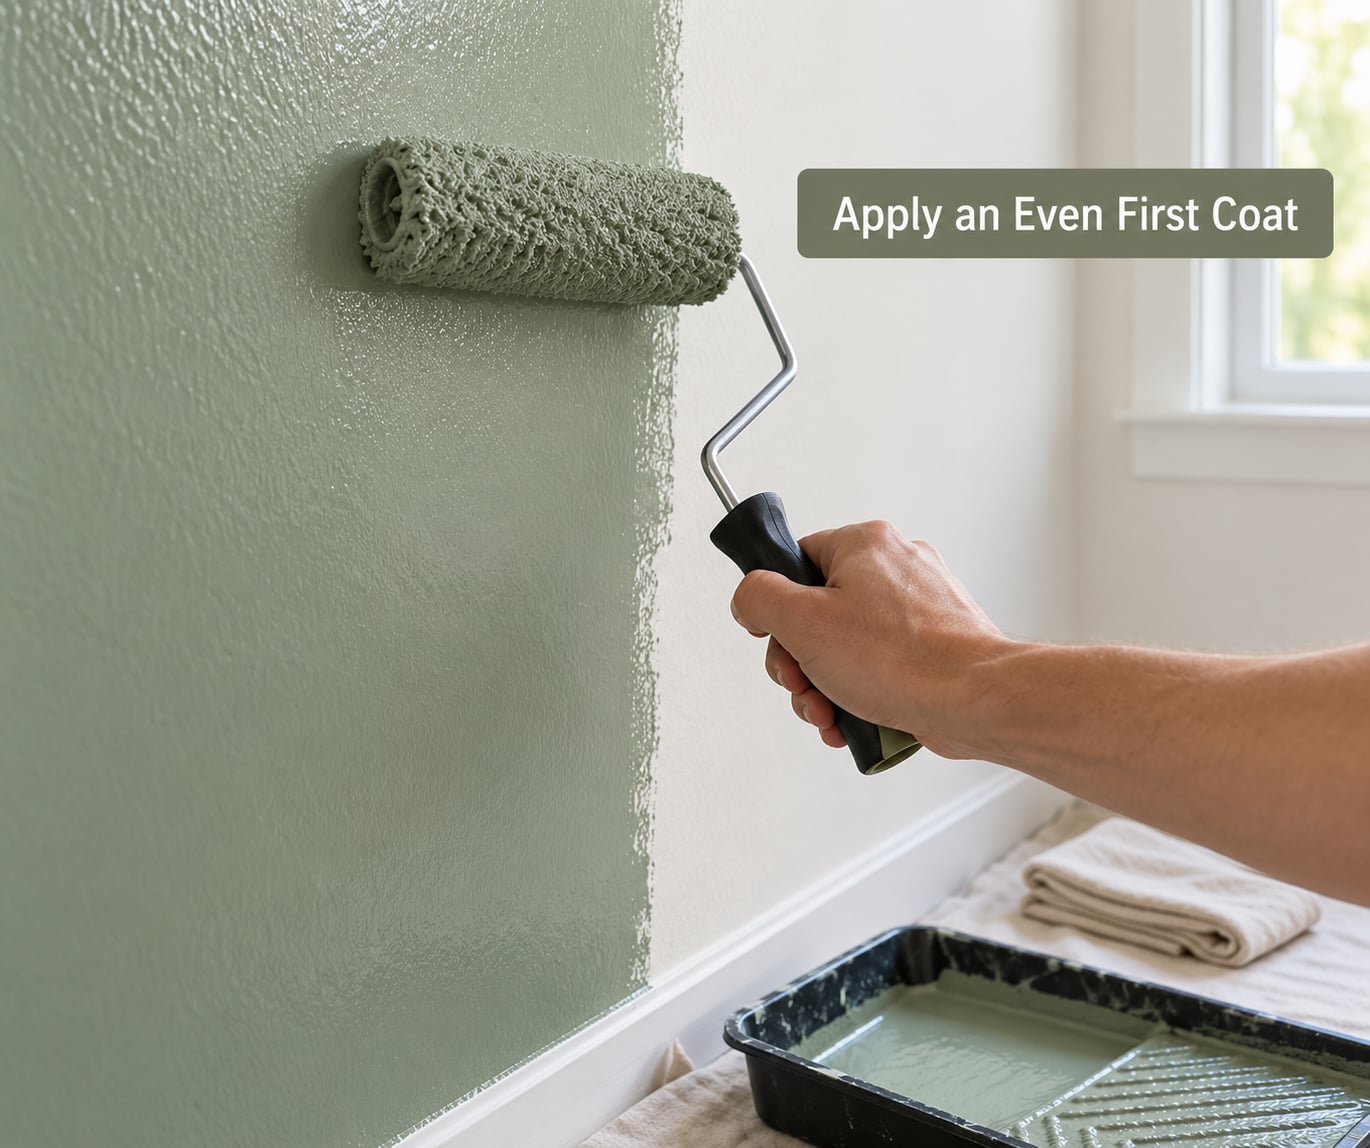
Load the roller by dipping it in the tray and rolling it back and forth across the ribs until the whole sleeve is evenly covered. Heavy stripes of paint on the nap leave drips and set as fat edges, so take the lumps off before you touch the wall.
Keep a wet edge, which means working in sections about 3 feet wide so the roller always runs into paint that is still wet. Rolling into paint that has started to set is what creates lap marks, so roll quickly enough to stay ahead of the drying edge but never so fast that you are pushing air.
Overlap each pass by about half its width, using a W pattern across the section and then vertical strokes to lay off the paint. The laying-off pass is the finishing stroke that levels the film: once you have spread the paint, go back over the same area with light pressure and no added paint.
Let the roller weight do the work. Pressing harder squeezes paint to the sides of the sleeve and builds a ridge that you will be sanding off next time. If the stroke feels like it is dragging, reload instead of pushing.
For ceilings, work in 3-foot sections from the far corner back toward the light. Use a pole with full-length vertical strokes for the lay-off, which is the single biggest upgrade most people can make to their finish.
5. Blend the Repair and Let It Dry
Extend the fresh coat beyond the marked area by about 50 mm on every side, feathering the edge out rather than stopping on a hard line. A visible border is what gives away a spot repair, and feathering is what removes it.
Do not touch the area again until it has firmed up, which usually takes a couple of hours at normal room temperature. Then assess it honestly: if the marks still read at a raking angle, apply a second thin coat rather than a heavy one, letting it dry fully between coats.
Two light coats almost always beat one heavy coat. Build-up sits on top of a ridge rather than levelling it, which is why repeatedly painting over marks makes them worse instead of hiding them.
Leave the wall alone for at least 24 hours before you judge the result. Paint feels touch-dry in under an hour and continues to level and harden for days, and colour that looks mismatched while wet often settles into the wall afterwards.
Use the 15% rule to decide the scope of the job. If the marked or repaired area covers less than about 15% of a wall, spot fixing it is the right call. Past that, the patching starts to read as a patchwork, and a full top coat of that one wall is the cleaner answer.
For a whole-room job, treat the walls as one continuous surface rather than wall by wall. A visible break between a fresh wall and an untouched one is harder to hide than the original marks were.
Common Mistakes That Make Roller Marks Worse
Almost every disappointing touch-up traces back to one of these. They are all easy to avoid once you know them.
Painting over a dirty wall
Dust, grease, and chalky old paint stop the new coat bonding. The repair peels or flakes within weeks. Clean with warm water and detergent, rinse with a damp cloth, and dry fully before you roll anything.
Painting over the ridge instead of sanding it
This is the most common error. Fresh paint builds on the ridge and makes it taller, so the mark comes back after every coat. Sand level first, every time, even when the mark looks shallow.
Using too much paint in one heavy coat
One thick coat sits unevenly and dries with texture. Two thin coats level far better and are the standard advice from painters on DIY forums. Load the roller fully, then knock off the excess on the tray ribs.
Rolling back over paint that has begun to set
Once the surface has a slight tack, the roller drags and leaves a dull line. Work in 3-foot sections, keep a wet edge, and roll into paint that is still wet.
Touching up with a brush
Brushing over rolled paint is the single worst move, and it is the most repeated complaint in painting forums. A brush lays a thinner, differently textured film that catches the light as a shiny or flat patch. If you have the original paint, roll the repair; if you do not, roll the whole section.
Ignoring the sheen match
Matching the colour but not the gloss leaves a patch that shows from across the room. Sheen dulls slightly with age, so an exact match on a wall painted years ago may need a slightly different sheen than the label suggests. Wet a sample and check it in the room’s normal light.
Sanding too hard
Aggressive sanding cuts through to plaster or primer, and those bare patches drink paint differently from the rest of the wall, causing flashing and a pale halo. Sand lightly, check often, and spot prime bare areas immediately.
Rolling over a tacky or warm surface
Paint that has not fully cured grabs the roller fibres and tears. Turn off radiators and wait a couple of hours before you start, keep the room between roughly 40 and 50% humidity, and work when the surface temperature is comfortable to touch.
Expecting every mark to vanish
Deep ridges that have been built up over several coats, or a wall that was painted over patchy filler with a thin paint, may not disappear completely. A matte or eggshell finish hides texture better than a high gloss, so moving up in sheen to make marks disappear usually backfires.
Frequently Asked Questions
Will a second coat of paint hide roller marks?
A second coat hides flat lap lines and patchiness well, but it will not hide a raised ridge. Painting over a ridge builds it taller instead of levelling it. Sand the ridge flat with 180 to 220 grit first, wipe the dust off, then apply a thin coat so the new paint fills the low areas evenly.
Do roller marks disappear when the paint dries?
Some do, and some do not. Uneven sheen and thin patches usually settle as the water evaporates, so give the wall at least 24 hours before you judge it. Raised ridges, lap lines and orange peel texture are physical in the dried film and stay visible no matter how long you wait.
Is it better to touch up paint with a brush or a roller?
Roll it, if you still have the original paint. A brush applies a thinner, differently textured film that reads as a shiny or flat patch on rolled paint, and that mismatch is the most complained-about touch-up problem in painting forums. Use a brush only for cutting in along edges and corners.
Why does my paint look patchy when I use a roller?
Patchiness usually means uneven paint thickness rather than a colour problem. Common causes are a roller that is too dry, an over-thinned paint, too much pressure on the frame, or a nap that is too short for the surface. Reload often, keep a wet edge, and match the nap to the texture of the wall.
How long should I wait before sanding roller marks?
Wait at least 24 hours, and longer in cool or humid conditions. Paint feels touch-dry long before it has hardened, and sanding too early pulls the film up instead of levelling it. If the wall is still slightly tacky under your palm, it is not ready. Full cure takes days, so handle it gently afterwards.
Can I fix roller marks without repainting the whole wall?
Usually yes. If the marked area is under about 15% of the wall, sand the ridges flat and roll one thin coat, feathering the edges out by 50 mm so no hard border shows. Past that, the patched areas start to read as a patchwork and a full top coat of that single wall is the cleaner option.
If the marks came from a painter you hired, photograph them under raking light before anything else. Roller lines and lap marks are finishing defects, and most contractors will come back and redo them. Keeping the original paint tin and the leftover can makes that conversation far easier.
Conclusion: Start by Naming the Mark
The first thing to do is put your hand on the wall and work out which defect you have, because sanding a lap line and levelling a raised ridge need slightly different grits, and orange peel needs a different roller altogether. Then clean the area, scuff the marks flat with 180 to 220 grit, spot prime anywhere you reached bare plaster, and roll one thin coat with matching paint and matching sheen.
Give it a full 24 hours, check the wall under a low light, and only then decide whether a second coat is needed. Keep the wet edge, overlap by half, and stop pressing on the frame, and you will not have to deal with the marks again.