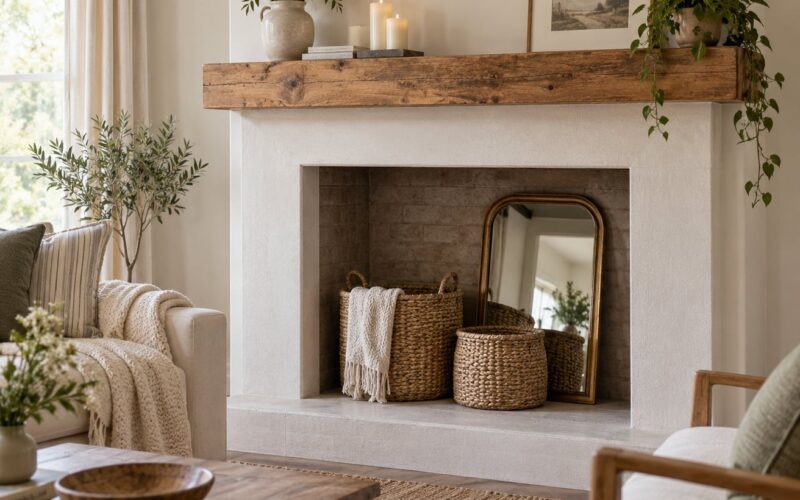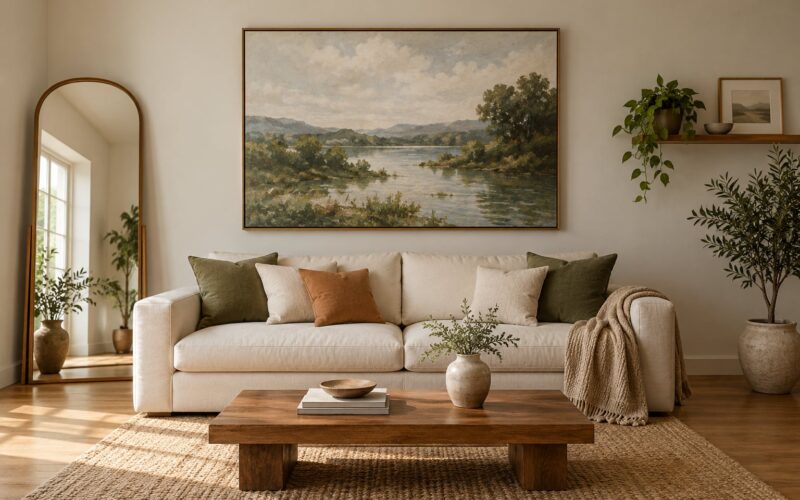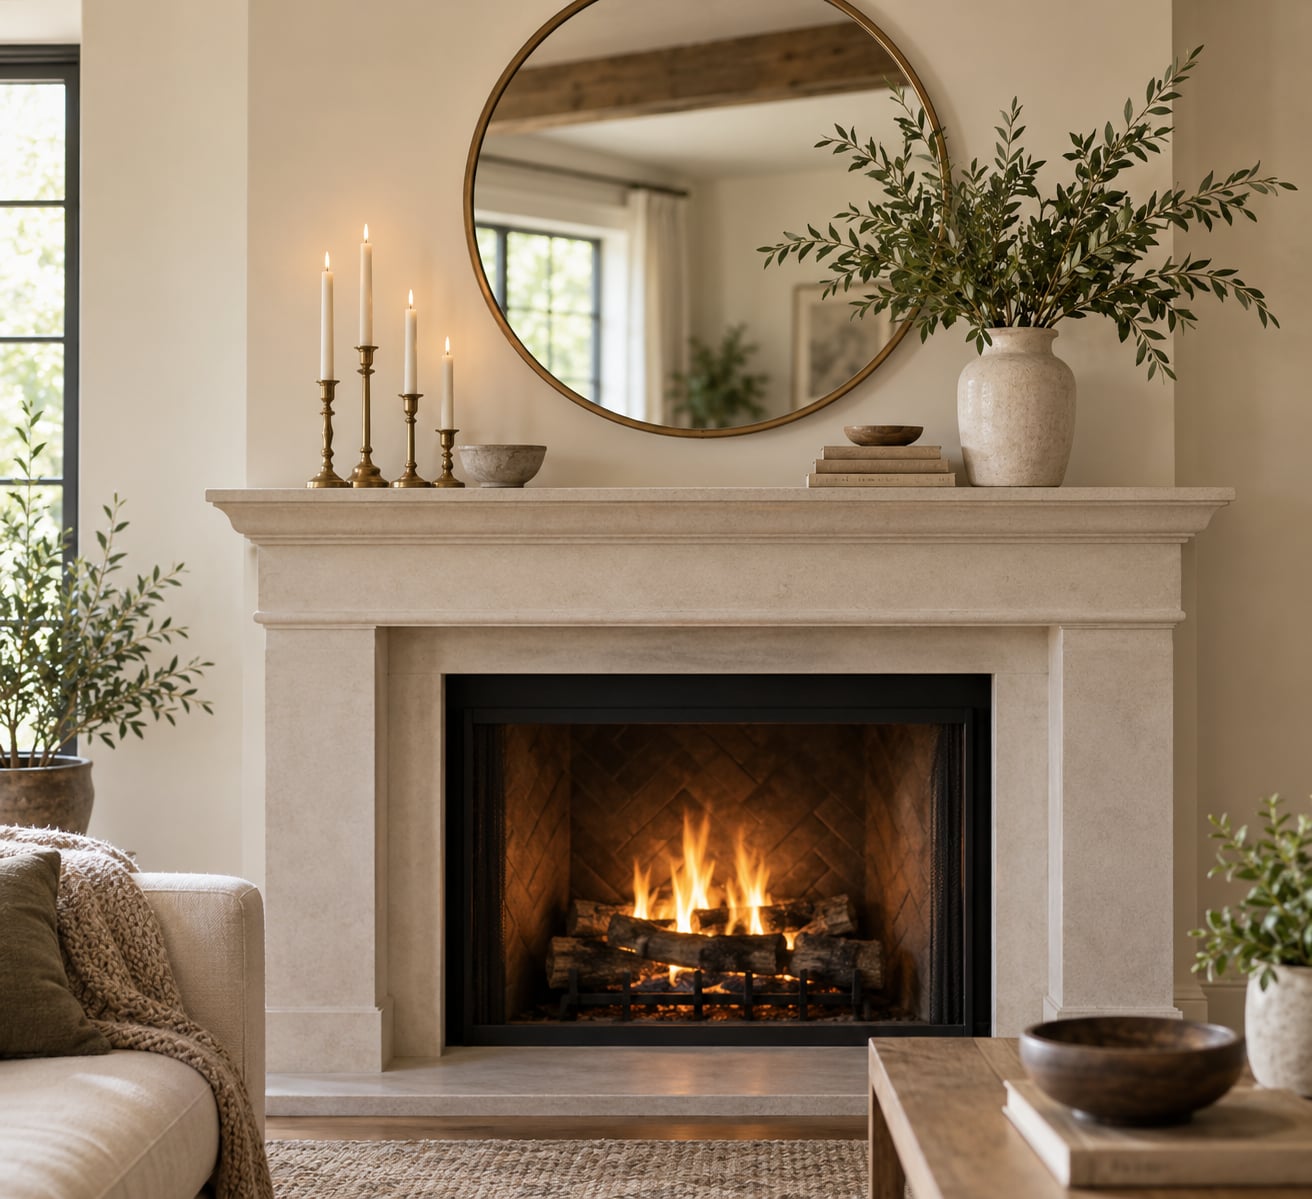
How to style a fireplace mantel comes down to three things: one anchor piece on the wall, a small grouping of objects in varying heights on the shelf, and enough bare surface that the shelf still reads as a mantel. Most mantels look off because the scale is wrong, not because the objects are ugly — the mirror above is too small, or six good things are fighting for the same 48 inches of shelf.
Measure first, pick one focal point that is roughly half to two-thirds the width of the mantel, then group the rest in threes with heights stepping down toward the middle. That whole method takes about an hour, costs nothing if you work with what you already own, and it fixes the number-one complaint I hear from readers: it still looks off balance and I cannot tell why.
Table of Contents
- What You Need
- Step-by-Step: How to Style a Fireplace Mantel
- Step 1: Clear and Measure the Mantel
- Step 2: Choose a Focal Point
- Step 3: Build a Layered Backdrop
- Step 4: Arrange Objects in Groups of Three
- Step 5: Add Texture and Finish the Display
- Common Mistakes
- Frequently Asked Questions
- Do I need a mirror above a fireplace mantel?
- What should I put on a mantel if I do not have a chimney breast?
- How do I style a narrow fireplace mantel without making it look crowded?
- What colors work best for a fireplace mantel?
- How can I change my mantel decor for the seasons?
- How do I keep objects safe and stable above a working fireplace?
- Conclusion
What You Need
Before you buy or move anything, spend ten minutes looking at the fireplace as part of the room. A mantel that looks right in a photo often fails in person because it fights the wall color, the ceiling height, or the furniture sitting six feet away.
Assess these four things:
- The shelf itself. Measure usable width from end to end and depth from front edge to wall. Note whether the shelf is level — a lot of older mantels sag in the middle, and uneven bases are why groupings wobble.
- The fireplace opening. Measure the width between the jambs, the vertical sides of the opening. Your anchor piece should be narrower than this.
- The wall above. Measure from the top of the mantel to the ceiling, and note anything fixed there: a TV bracket, a light switch, a window, wall sconces, or the outline of where an old TV used to hang.
- The room. Look at the dominant color, the wood tones already in the furniture, and the style you actually live in. If the sofa is grey and the rug is wool, that is the palette your mantel draws from.
Then gather your styling materials. None of these have to be new, and most thrift stores and estate sales produce better mantel objects than big-box decor aisles do:
- A tape measure, a level, and a roll of painter’s tape for testing layout on the wall
- One anchor piece — a mirror, a large framed artwork, or a pair of leaning canvases
- Two or three small groups of shelf objects: candlesticks, a vase or cachepot, a small sculpture, a stack of books, a framed photo
- Something organic — a potted plant, a branch in a jar, a trailing stem, or dried grasses
- A few odd objects at different heights: a low bowl, a tall bottle, a stack of two or three books laid flat
- Hooks or a picture-hanging rail for anything going on the wall
Step-by-Step: How to Style a Fireplace Mantel
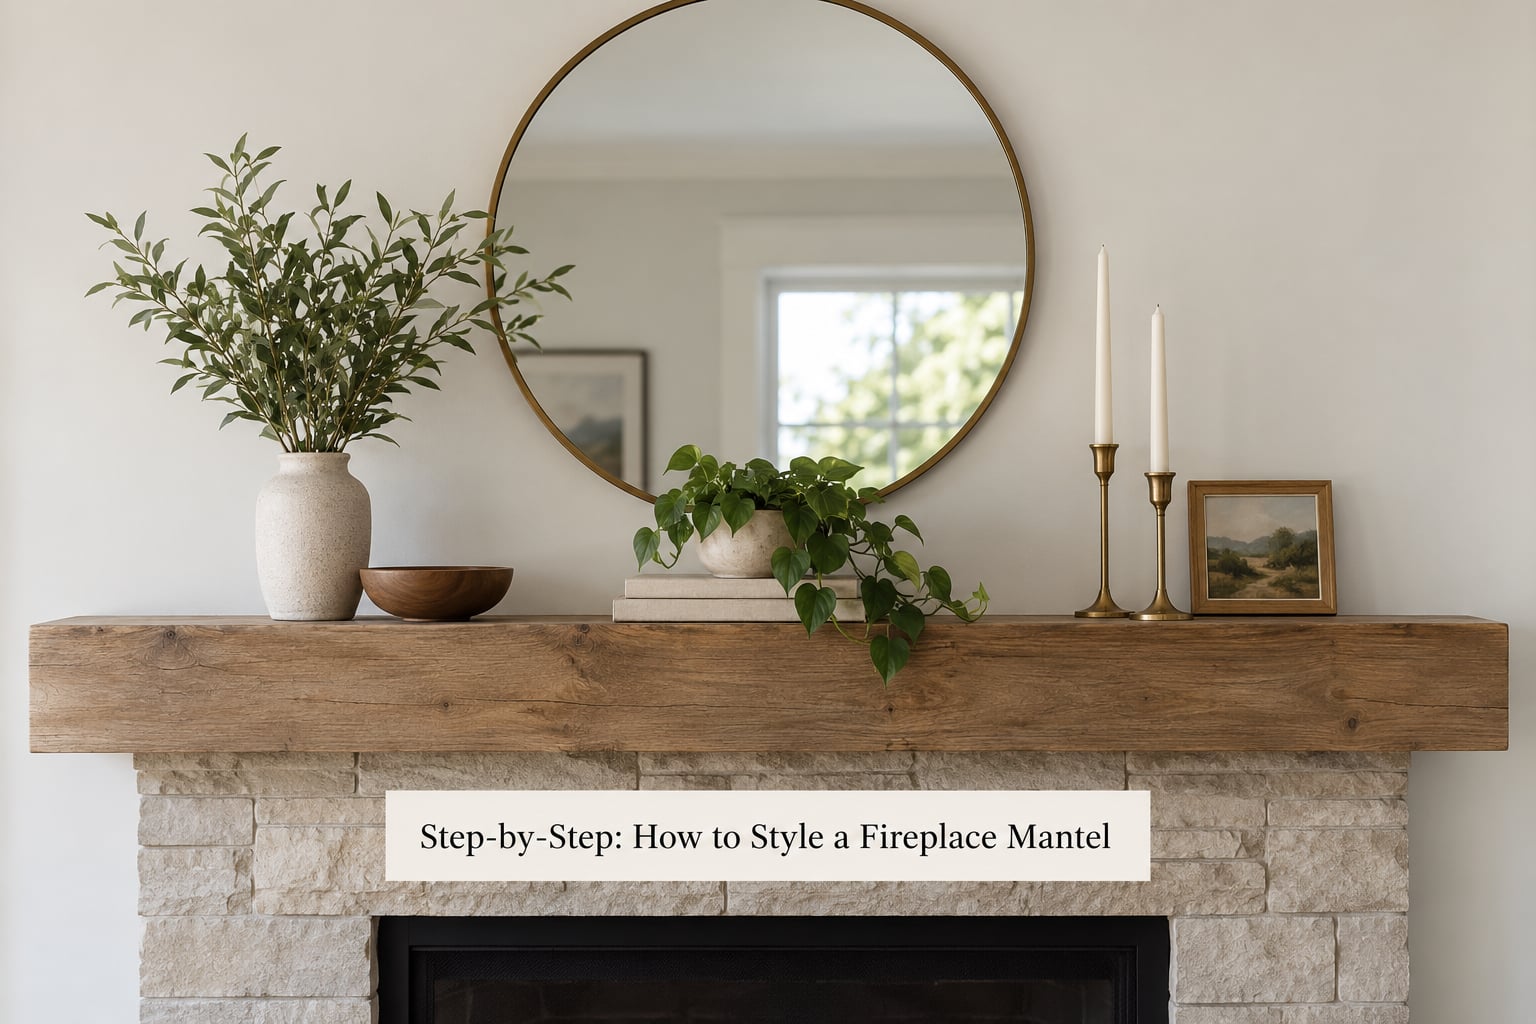
Step 1: Clear and Measure the Mantel
Take everything off the shelf. All of it, including the pieces you feel attached to, and set them on the floor or a table nearby so you can see what you are actually working with. People are surprised every time by how small the displayable surface is once the crowded objects are gone.
Mark your zone with painter’s tape on the shelf if it helps — a strip from one inch in on each end gives you the real width you are styling. Then decide how much visual weight the display can support: a mantel narrower than about 36 inches wants one group plus the anchor, while a 60-inch shelf or wider can carry two groups comfortably.
The measurements that trip people up are hang height and anchor width, and both have well-worn rules of thumb. Use these as a starting point rather than a law, then adjust for your ceiling height:
| Rule | Measurement | Why it works |
|---|---|---|
| Anchor piece width | About half to two-thirds of the mantel width | Big enough to hold the wall, small enough that the shelf is not crowded by contrast |
| Anchor vs. fireplace opening | Narrower than the distance between the jambs | Keeps the eye on the opening instead of the wall |
| Bottom of hung art to mantel | 6 to 12 inches | Links the art to the shelf and fills the gap that makes a mantel feel bare |
| Bottom of hung art to ceiling | 8 to 10 inches | Stops the arrangement from looking pinned to the ceiling |
| Group size | Three, or five if the shelf is very wide | Odd numbers read as collected rather than arranged |
| Empty space per group | 6 to 12 inches between groups | Gives each cluster room to breathe on the shelf |
How you tell it worked: stand across the room. The shelf should have a clear beginning and end, with the busiest area in the middle or in two calm ends, and no object touching the edge.
Step 2: Choose a Focal Point
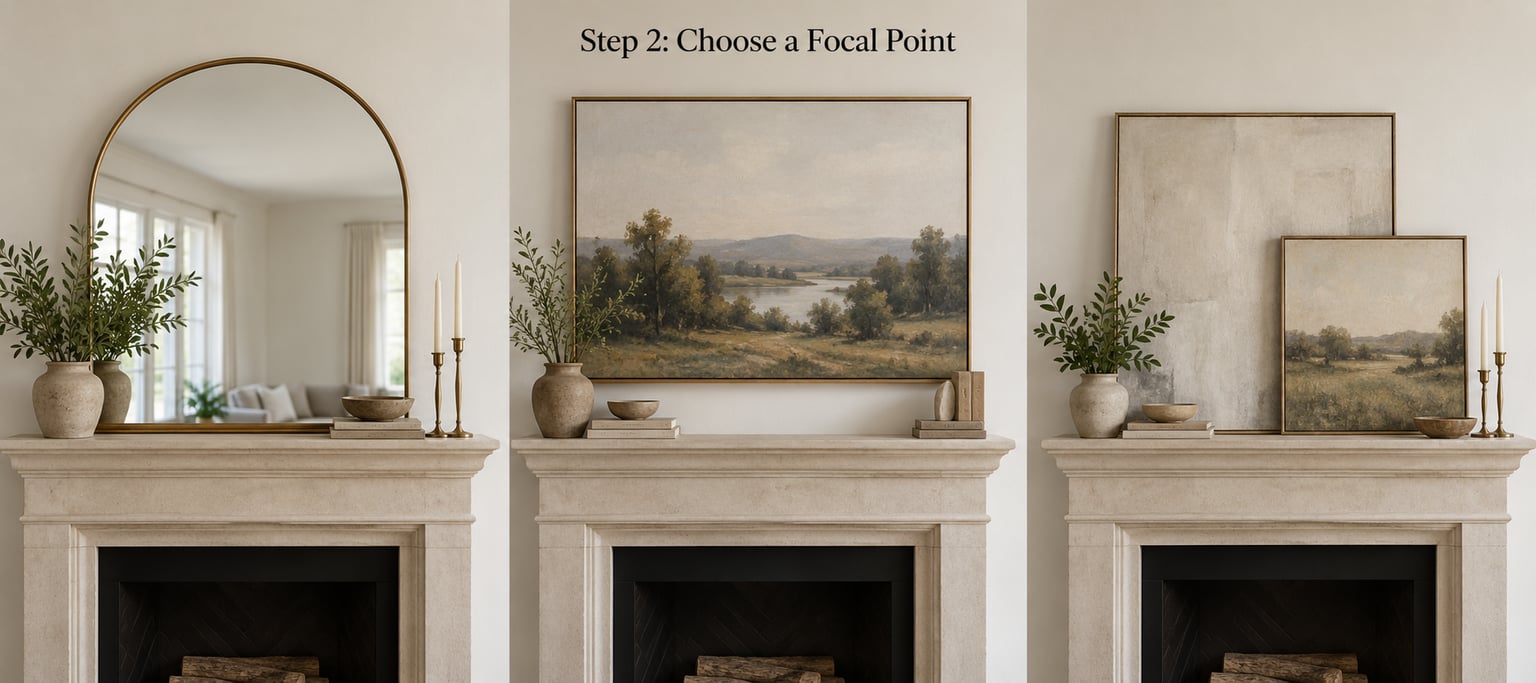
Your focal point is the one element that carries the arrangement — usually on the wall above the mantel, sometimes a large sculptural object standing on the shelf itself. Pick one and commit. Two anchors compete, and the room ends up with a middle rather than a center.
| Anchor option | Best for | Watch out for |
|---|---|---|
| Wall mirror | Small mantels, low ceilings, symmetrical layouts, rooms that need light bounced back | A round or ornate mirror in a plain room looks borrowed; hardware too thin for the width |
| Large framed artwork | Colorful or busy mantels that need a calm counterweight | Busy art plus busy shelf reads cluttered; detailed pieces lose detail at mantel distance |
| Leaning canvases or frames | Renters, no-hang walls, anyone who wants a casual look without drilling | Lean pieces need a lip or a secure stand so they cannot slide; dust collects behind them |
| Oversized object on the shelf | Mantels with no usable wall above, or a low ceiling | Takes horizontal room; scale it up or it looks like a leftover |
Scale check before you commit: hold the anchor against the wall with painter’s tape outlined around it, then step back ten feet. If it looks timid, go up one size. Undersized focal pieces are the most common reason a mantel reads as unfinished.
Step 3: Build a Layered Backdrop
Layering means depth, not piling up. With the anchor hung or leaning in place, add at most one more layer behind or beside it: a pair of small frames propped in front of the wall, a shallow framed piece overlapping a larger one, or a second smaller mirror angled slightly in front of the first. Overlapping frames in the same or similar wood tones read as depth; overlapping frames in wildly different finishes read as clutter.
Keep the backdrop visually calm behind the small objects. If you have chosen a patterned anchor, hold the shelf objects to solid colors and simple shapes. If the anchor is plain, the shelf can carry more texture.
Fill the gap between the top of the mantel and the bottom of the anchor. That band is why so many mantels look thin, and it is fixed with height, not more stuff: a taller object placed at the shelf line, a leaning canvas, or artwork hung a little lower than you first thought.
Step 4: Arrange Objects in Groups of Three
Grouping in threes is the most transferable rule in mantel styling. Build one cluster of three objects, or two clusters of three on a wider shelf, and stop. Within each group vary three things at once: height (something tall, something medium, something low and wide), texture (a smooth vessel, a rough piece of wood, a soft textile or greenery), and shape (round, square, irregular).
Place the tallest items toward the outer edges and step down toward the focal point — the arrangement people call the smile. The reverse also works: tall in the middle rising toward the anchor, shorter at the ends, which draws the eye upward to the art. Either way, vary heights deliberately rather than by accident.
Symmetrical or asymmetrical? Symmetrical means matched pairs flanking a center — two candlesticks, two vases, two framed photos. It suits traditional, formal, or narrow mantels, and it is forgiving because the layout is self-checking. Asymmetrical means one heavy object balanced by a cluster of two or three lighter ones on the other side. It suits modern, casual, and collected rooms, and it looks more relaxed.
The test for asymmetrical balance is stepping back: the heaviest visual weight should sit on one side, and the group opposite it should read as equally heavy through either size or number. If one side is louder, move something rather than adding something.
How you tell it worked: squint until you see only shapes. You should see one big shape, one medium, one small — with clear gaps you could fit a hand through. If the shapes blur together, spread them apart.
Step 5: Add Texture and Finish the Display
Texture is what makes a display feel finished rather than arranged. Add two or three tactile accents: greenery or a branch, a candle or a pair of candlesticks, a ceramic or stoneware piece with a matte glaze, a raw wood slice or block, or a folded stack of linen. Reflective and matte together — a glass hurricane, a brass candlestick, a rough terracotta pot — give the eye something to move between.
Scale matters more than count on small mantels. If everything on a 40-inch shelf is small, the whole display looks sparse no matter how carefully it is arranged. Scaling all the objects up together does more than adding a fifth piece.
Common Mistakes
Overcrowding is the first one, and it is the least forgiving. If the shelf has no visible bare wood, remove the smallest object. You can always put it back, and the mantel will read better.
An undersized focal piece is the second. A 20-inch mirror on a 60-inch mantel looks like a sample. Go up one size, or hang it lower than feels comfortable to close the gap.
Perfect mirror-image symmetry on every element makes a mantel look staged. Keep the pairs matched in shape and finish, then let one or two objects break the pattern — a leaning frame, a trailing stem.
Too many colors is next. Pick two to three colors and repeat them. If the brick is red, the mantel wood is warm brown, and the rug is blue, choosing blues and greens in the objects pulls the room together instead of adding a fourth and fifth note.
Placing objects too close to a working fireplace is a real, not aesthetic, problem. On a wood-burning or gas insert, heat rises directly off the opening, and wax, paper, dried grasses, and real flames do not belong anywhere near that column. Keep decor off the shelf above an active firebox or use battery candles, and check the insert’s manual for its required clearance above and in front of the opening.
Ignoring the room’s existing style is the last one. A minimalist mantel crammed with collected objects in a very traditional house does not read as layering. If you are not sure, stand back and ask what the room is mostly saying, then pick objects that could have come from the same house.
Frequently Asked Questions
Do I need a mirror above a fireplace mantel?
No. A mirror is one option among several, and it is a good one for small mantels, low ceilings, and symmetrical layouts because it bounces light back into the room. Large framed artwork, a pair of leaning canvases, or one oversized sculptural object all work as the focal point instead. Choose based on the wall you have: busy art suits a plain shelf, a plain mirror suits a busy one.
What should I put on a mantel if I do not have a chimney breast?
A mantel shelf does not need a working fireplace behind it — many are purely decorative, and plenty of houses have a mantel with no firebox at all. Style it exactly the way you would a working one: measure the shelf, choose one focal piece at about half to two-thirds of the shelf width, and group smaller objects in threes. If there is no opening below, you can lean larger pieces against the wall for more height.
How do I style a narrow fireplace mantel without making it look crowded?
Use one group of three instead of two, and scale it up rather than adding more pieces. Keep the tallest object on one end so the arrangement has a clear start, leave at least six inches of bare shelf at the other end, and skip anything under four inches tall in the middle. A single narrow mirror or small framed piece on the wall above does more for a narrow mantel than three objects competing on the shelf.
What colors work best for a fireplace mantel?
Repeat two or three colors that already appear elsewhere in the room. Neutral mantels take warm metallics, wood tones, and soft greens easily. Brick fireplaces want colors that either contrast cleanly, like white, cream, or deep charcoal, or pick up a brick tone so the surround stays part of the display. Avoid a fourth or fifth new color — that is what makes a mantel look cluttered rather than layered.
How can I change my mantel decor for the seasons?
Keep a base layer that stays put all year — the mirror or artwork on the wall, one tall object, and two mid-height pieces — then swap three or four small objects four times a year. Spring brings light greenery and pale ceramics, summer a glass vase with fresh-cut stems, fall amber glass and dried grasses, winter greenery, wood, and a warmer palette. Storing the base layer means each swap takes under thirty minutes.
How do I keep objects safe and stable above a working fireplace?
Keep anything flammable off a mantel above an active firebox, since heat rises straight up off the opening — that rules out wax candles, paper, cardboard, and dried grasses near a wood-burning or gas insert, and battery candles are a safe swap. Check your insert manual for required clearance above and in front of the opening, keep the room’s smoke and CO alarms working, and add felt pads under objects so nothing scratches or slides.
Conclusion
How to style a fireplace mantel well starts with the two numbers nobody measures: the usable width of your shelf and the height of the wall above it. Pick one focal piece at roughly half to two-thirds of the mantel width, hang it 6 to 12 inches above the shelf if it is going on the wall, then build one group of three with heights stepping down toward the middle and enough bare wood left over to see the shelf.
Everything after that is texture and season, and you can keep most of it in a bin. If the result still feels off, the fix is almost always scale, not quantity — and 2026 is a fine year to fix it with things you already own.