A big blank wall gets fixed with one piece scaled to it. Hang art or a mirror that spans about 60-75% of the wall’s width, with the center of it 57-60 inches off the floor, and the wall stops reading as dead space.
Most of the work is measuring and deciding, not hanging. Budget an afternoon for the planning, another hour or two to get things on the wall, and allow a week of living with the empty wall before you buy anything.
Below is the process I use: measure, pick one focal point, plan the layout on paper first, then add color, texture and light. It works in a rental because most of it is reversible.
Table of Contents
- What You Need
- How to Decorate a Big Blank Wall, Step-by-Step
- Measure the wall and decide what the space needs
- Choose a focal point that suits the room
- Plan the layout before you buy or hang anything
- Add color, texture, and practical lighting
- Install the pieces and style the finished wall
- Common Mistakes
- Frequently Asked Questions
- How high should I hang art on a big wall?
- How big should wall art be above a couch?
- Is one big picture better than a gallery wall?
- How do I decorate a blank wall without drilling?
- What if my art collection is too small for the wall?
- How do I hang a gallery wall so it actually hangs straight?
- Conclusion
What You Need
You do not need a decorator’s kit. For most walls, a tape measure and a pencil get you 80% of the way there.
- Tape measure — a 25-foot tape handles wide walls and high ceilings without an extension ladder.
- Pencil and a scrap of paper — for recording measurements and sketching the wall’s proportions.
- Phone — a photo of your bare wall tells you more than standing in the room squinting at it.
- Spirit level — a 9-inch torpedo level is enough for frames; a longer one is better for shelves and ledges.
- Stud finder — needed for anything heavier than a light frame on drywall.
- Painter’s tape — for paper templates and marking the wall without marking the wall permanently.
- Hanging hardware — D-rings and wire for light pieces, a French cleat for heavy ones, adhesive hooks if you cannot drill.
- A second pair of hands — free, and the difference between level and not for anything over about 20 pounds.
Renters can cross out the stud finder and the drill. Leaning art, tension rods, peel-and-stick wallpaper and light adhesive hooks cover most of the ideas below without touching the drywall.
How to Decorate a Big Blank Wall, Step-by-Step
Measure the wall and decide what the space needs
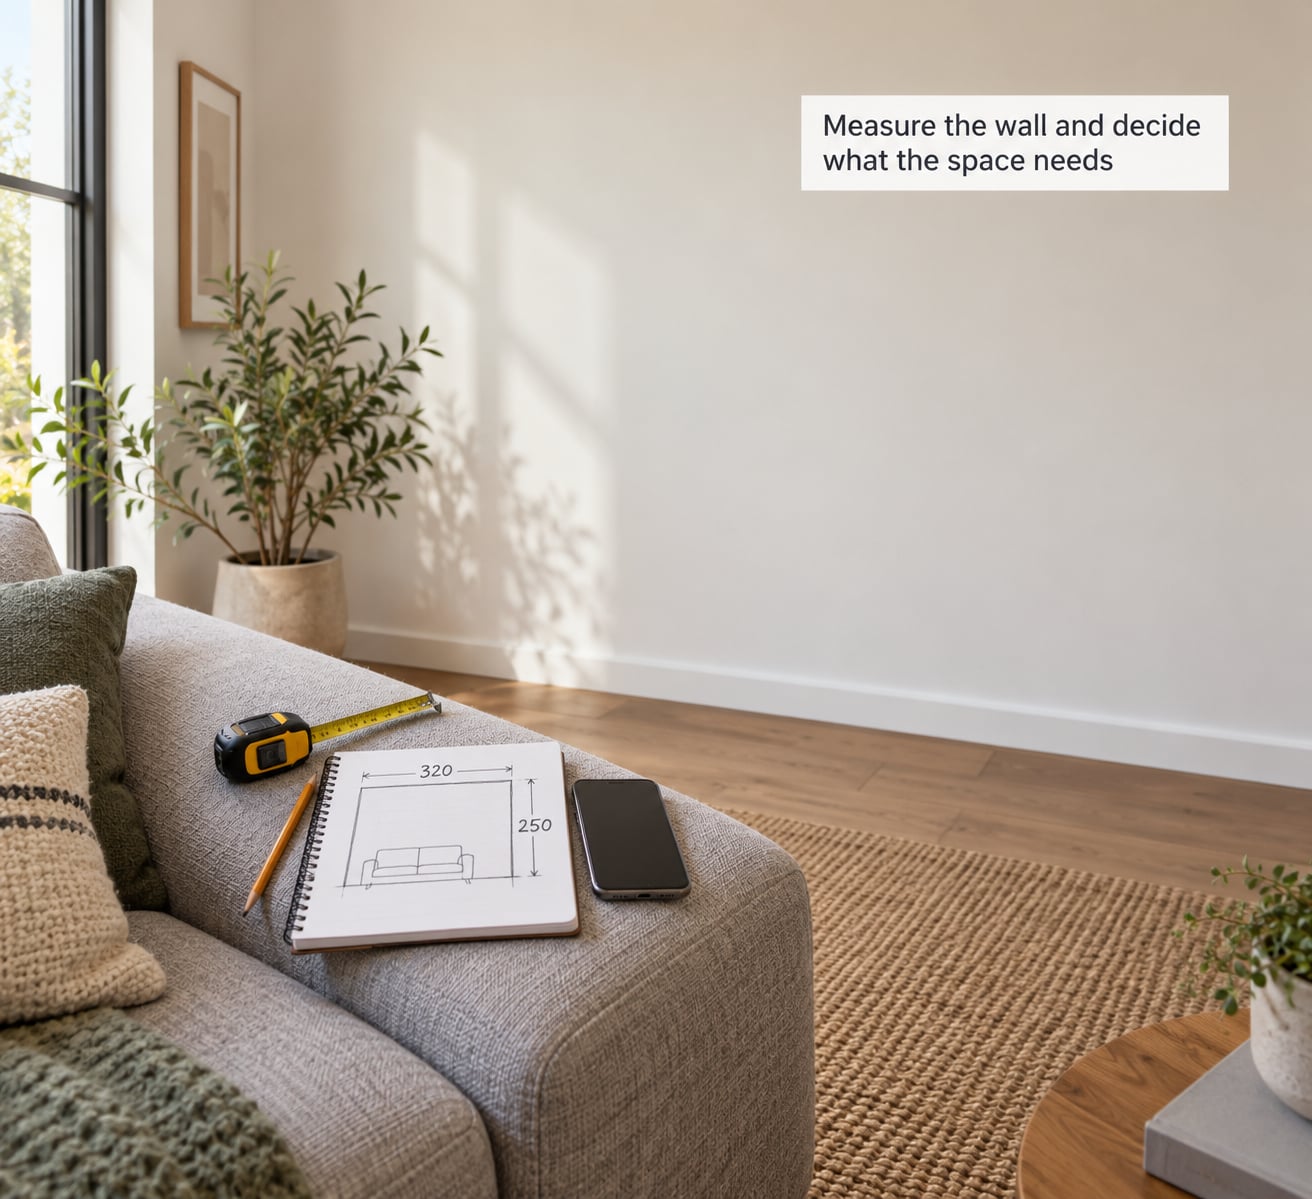
Write down three numbers before you look at a single picture: the wall’s width at its widest point, the wall’s height from floor to ceiling, and the width and height of the furniture in front of it.
Measure the wall at about waist height rather than at the baseboard, so a skirting board or an uneven ceiling does not throw the number off. Measure the furniture at its widest point too, arms included.
Then decide which of three shapes the wall needs. A wall over roughly 6 feet wide usually needs one large feature. A wall with a strong architectural feature, like a fireplace or a window, works better as a series of zones. A wall in a narrow hallway takes a vertical stack.
The number most people get wrong is furniture width. Art over a sofa usually wants to be about two-thirds the width of the sofa, which is often narrower than people assume.
Choose a focal point that suits the room
One focal point per wall. Once you have it, everything else on that wall supports it instead of competing with it.
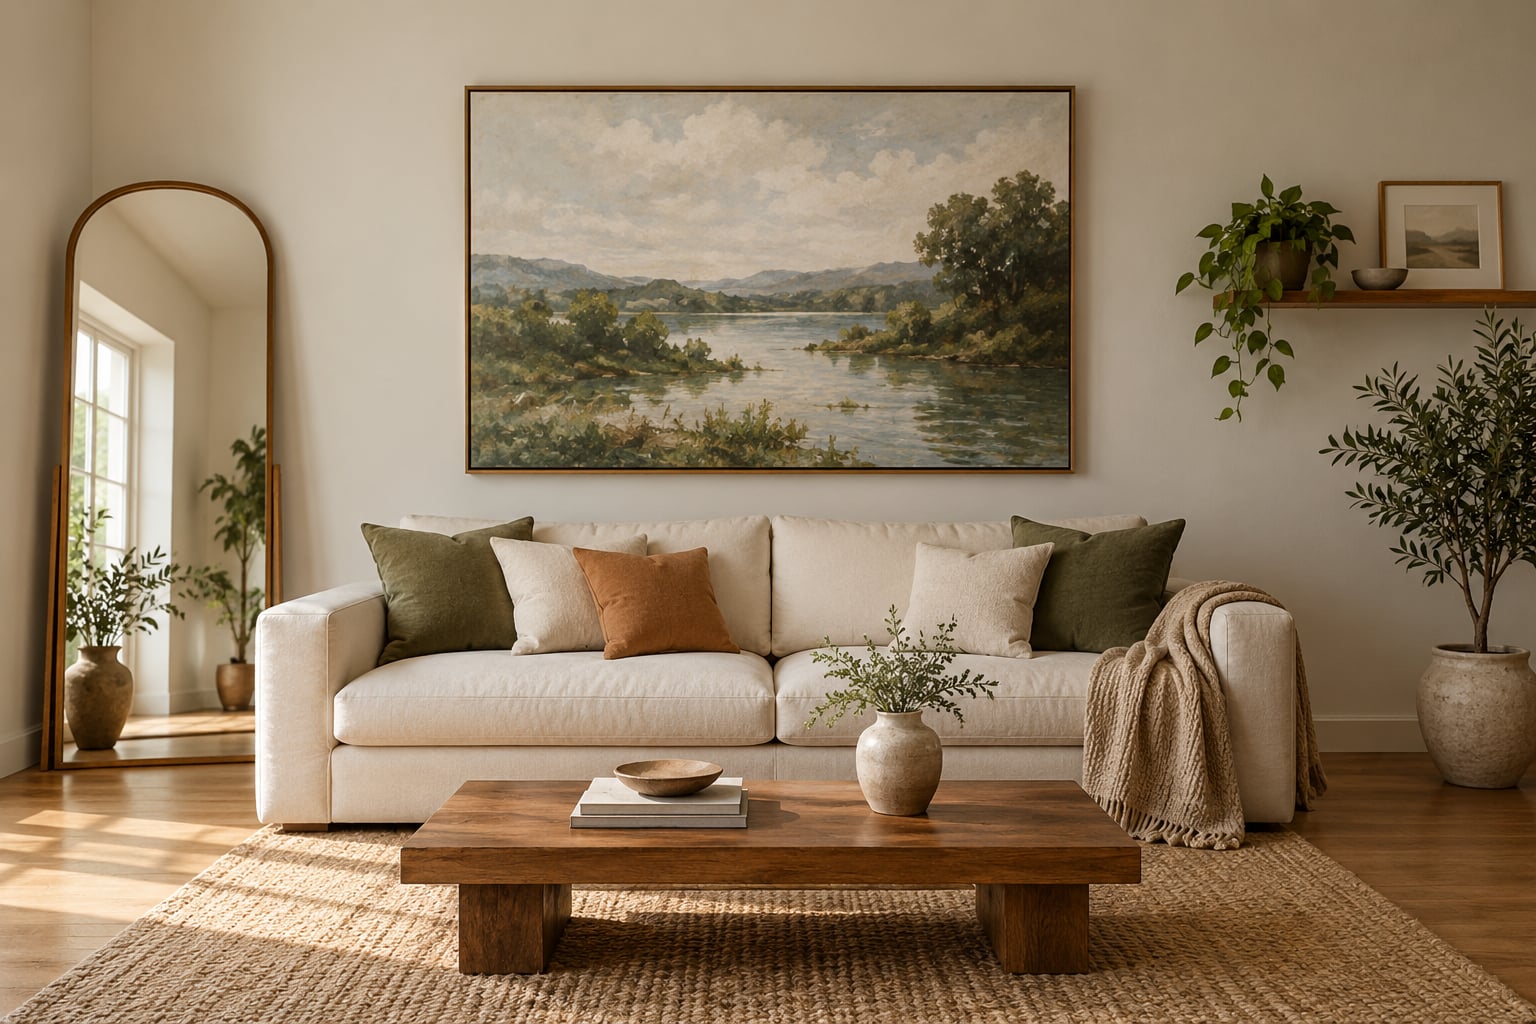
Oversized art is the default because it solves the scale problem outright. A canvas between roughly 30×40 and 40×60 inches fills most large walls, and printable art means you can get that size cheaply and frame it yourself.
A leaning mirror is the fastest budget fix. A tall mirror propped against the wall reflects light back into the room and makes the space read wider. It also needs nothing but a floor and a soft pad underneath.
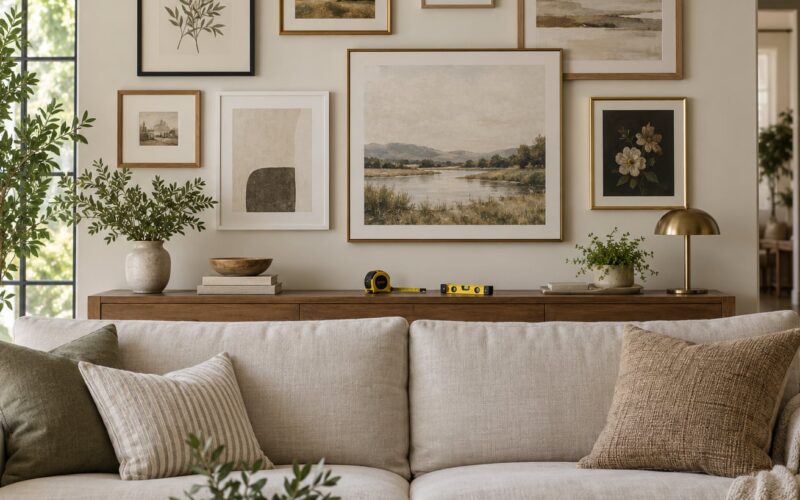
A gallery wall works when you have a collection, or want one. Grouping many small frames is only successful when the whole arrangement is treated as a single large piece, which is a technique worth learning on its own.
Shelves or picture ledges fill a wall with objects and let you rotate what is on display without touching the wall again.
A television is a focal point whether you planned it or not, so style around the screen rather than pretending it is not there.
A DIY feature wall — board and batten, a color-blocked paint treatment, limewash, or peel-and-stick wallpaper — changes the wall itself instead of covering it.
Match the choice to the room’s job. A living room wants something wide and calm above the sofa. A bedroom does well with one piece or a textile, hung with its bottom edge 6-8 inches above the headboard. An office takes shelves. A hallway takes a vertical run of small frames so the eye travels as people walk.
Plan the layout before you buy or hang anything
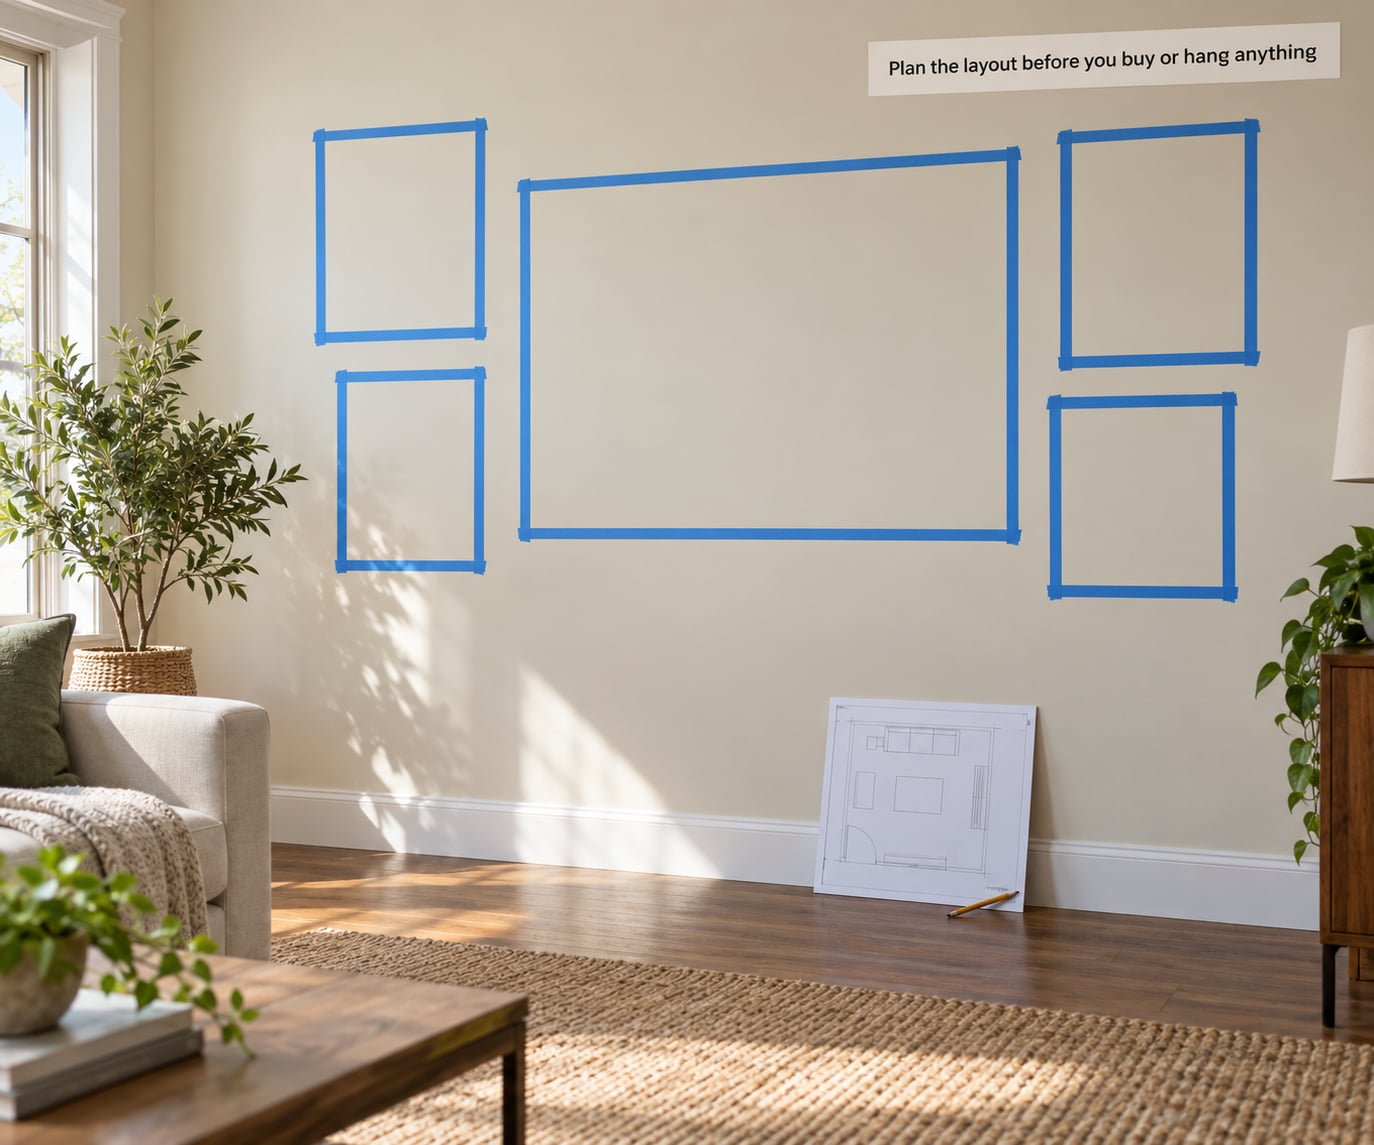
Sketch the wall to scale on scrap paper. Draw the wall’s outline, then the sofa or bed in its actual position, then your focal piece at the size you plan to buy. Two minutes here saves a badly hung afternoon.
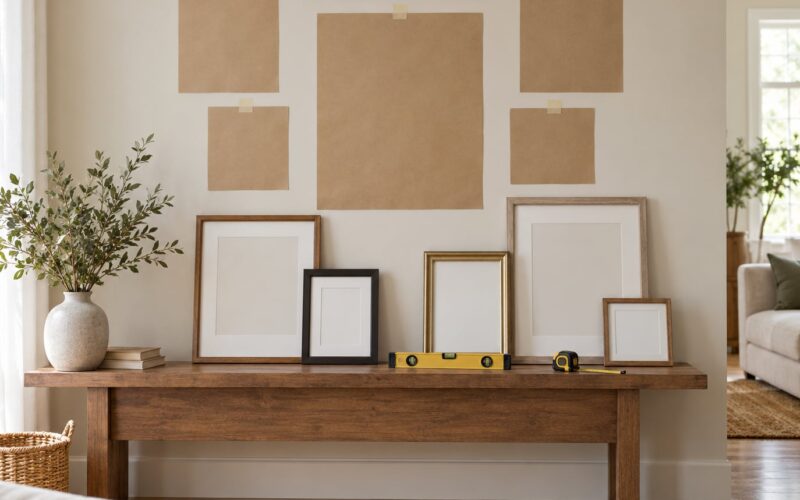
For a gallery wall, make paper templates. Tape a sheet of paper over each frame, trace the outline, cut it out, and number the back. Arrange the templates on the floor, photograph the layout from above, then transfer it to the wall.
Alternatively, tape the outline of your planned arrangement directly on the wall and step back. Painter’s tape comes off cleanly and tells you in thirty seconds whether the proportions feel right.
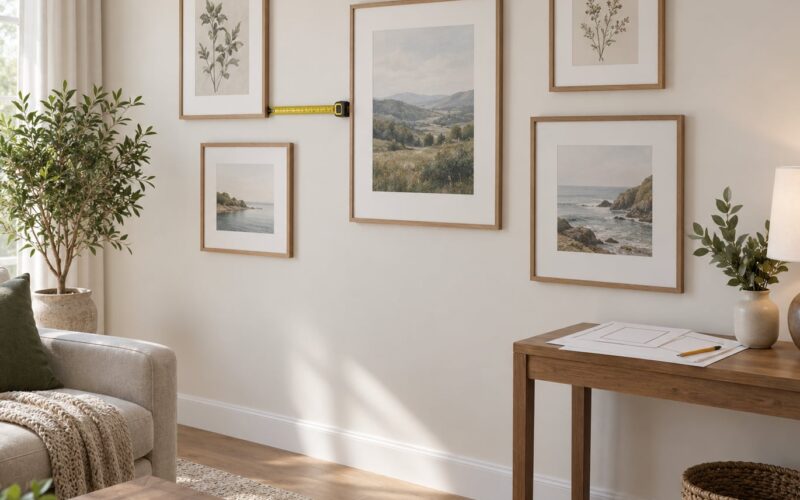
Leave breathing room in every plan. A common spacing is 2-3 inches between frames, or use one consistent gap throughout. Negative space is what stops a big wall from looking busy — aim to leave roughly a quarter of the surface empty even on a packed wall.
Balance by visual weight, not by object count. Three large frames in a row can balance one big piece with two small ones, as long as the mass sits at the same height.
Hang the visual center of the whole arrangement at 57-60 inches from the floor, measured to the middle of the composition rather than the middle frame. In a hallway, average that height across several frames so the group feels level when people walk past.
Add color, texture, and practical lighting
Color is the cheapest way to change a big wall. A single accent color, two-tone color blocking, or a limewash roll across a large surface gives you scale that no framed print can.
Texture does the same job differently. Hanging a quilt, blanket, rug or set of cane placemats adds depth and softness, and thrift stores and charity shops are full of them.
Lighting makes a wall work at night. Sconces flanking a mirror or a large piece of art even out the brightness on either side, and a floor lamp or table lamp angled at the wall bounces light upward and flattens the emptiness.
Plug-in sconces are the renter’s version, and they need one outlet. A picture light mounted above a frame does the job for a single piece.
Keep the palette tight. Pull two colors from the rug or the sofa, repeat those two elsewhere in the room, and you have color across the wall without buying anything new.
A tall plant at one end of the wall adds vertical interest without a single hole in the drywall. Cheap and removable.
Install the pieces and style the finished wall
Match the hardware to the weight. Wire and D-rings work for light frames. A French cleat carries anything heavy and lets you level the piece before you commit. Picture ledges and floating shelves carry small objects and take nails or studs depending on the load.
For drywall, put fasteners into studs wherever you can. If no stud lines up, use properly rated anchors rather than the plastic ones that come in a frame’s hardware packet.
For anything over roughly 20 pounds, get a second person. One holds the piece and checks the level while the other marks and fastens, and lifting a large canvas solo is how frames end up in cracked plaster.
If you cannot drill, use what the weight limits on adhesive hooks and strips actually allow, which for large strips is a light frame rather than a heavy canvas. Beyond that, lean the piece against the wall on a console, run a tension rod for fabric, or apply peel-and-stick wallpaper to change the wall itself. All three come off or move with you.
Style whatever sits below. Leave 6-8 inches between the bottom of the art and the top of the sofa, console or headboard, then add objects in odd numbers — a stack of books, a small plant, a bowl.
Finally, check the wall from where people actually sit and from the doorway. If something looks off from the sofa, it will look off from the sofa for years.
Common Mistakes
1. Too many small pieces. Five 8×10 frames on a 10-foot wall reads as clutter. Fix: fewer and bigger, or group the frames into one defined arrangement with a clear edge.
2. Undersized focal piece. If the art is narrower than two-thirds of the sofa, it looks like a sample. Fix: measure the furniture first, then shop to that number.
3. Hanging too high. Art hung with its center above eye level makes people look up at it. Fix: 57-60 inches from the floor to the center of the piece.
4. Crooked hanging. Fix: mark the center, check with a level before you drill, and use two anchors several inches apart on wide pieces so you can adjust rather than commit.
5. Ignoring the ceiling. A tall wall in a low-ceilinged basement does not want the same vertical treatment as a two-storey staircase. Fix: work with the room’s height rather than against it.
6. Mismatched frames and colors. Fix: repeat two or three frame materials and limit the palette to three colors, then let variety come from content rather than from the frames.
7. Buying it all at once. Fix: live with the wall a fortnight, add one thing, wait, then decide what is missing. Most walls need two pieces, not nine.
8. Hanging heavy items on drywall alone. Fix: find a stud or use a rated anchor, and get a second person for anything over 20 pounds.
One more worth naming: covering the whole wall. Empty space around a strong focal point is what makes it read as intentional.
Frequently Asked Questions
How high should I hang art on a big wall?
Hang the center of your piece 57-60 inches from the floor, which is roughly eye level for most adults. That number applies whether the art sits over a sofa, a console or a bed. Over furniture, also leave 6-8 inches between the bottom edge of the art and the top of the furniture so the two do not look stuck together.
How big should wall art be above a couch?
Aim for a piece about two-thirds the width of the sofa, measured across the arms. If your sofa is 84 inches wide, look for art around 54 to 60 inches wide. Going wider reads as intentional, going narrower reads as an afterthought. Measure the sofa before you shop, then take the tape measure with you.
Is one big picture better than a gallery wall?
One large piece usually is, especially on a wide wall. It is faster, cheaper and harder to get wrong. A gallery wall makes sense when you already own frames you like, or when you want something you can rotate through the year. Either way, treat the whole arrangement as a single piece and hang its visual center at 57-60 inches.
How do I decorate a blank wall without drilling?
Lean a large framed piece against the wall on a console or the floor, use peel-and-stick wallpaper for a whole-wall change, or run a tension rod for fabric. Adhesive hooks and strips work for light frames within their stated weight limits, and they are not meant for a heavy canvas. Plug-in sconces also add light without touching the wall.
What if my art collection is too small for the wall?
Pick one frame and blow it up. Printable art lets you buy the same image at a large size, or you can commission a canvas from a photo you already own. Galleries of plates, hats, baskets or a single hung textile solve the same problem with objects rather than art, and all of it can be bought secondhand.
How do I hang a gallery wall so it actually hangs straight?
Make paper templates first. Tape paper over each frame, trace the outline, cut it out and number the back. Arrange them on the floor, photograph the layout from above, then mark the wall with the same measurements. Use one consistent 2-3 inch gap between frames, hang the two top frames first, and level both before adding anything else.
Conclusion
Start with the tape measure, not the shopping cart. Write down the wall’s width, its height and the width of the furniture below, then choose one focal piece that spans 60-75% of that width with its center at 57-60 inches off the floor.
Everything after that is support: color, texture, light and the object below the piece. Build outward from the one strong thing, leave some wall showing, and give it a fortnight before you add anything else.