How to repair veneer chipping on an old dresser comes down to one choice: which route suits the damage you actually have. A chip smaller than a coin is a filler job, a lifted edge is a glue job, and a section bigger than a thumbnail wants a veneer patch.
The reason that matters is how thin veneer is. On most mid-century and later pieces it runs about 0.6 to 0.8mm, and even on older furniture it rarely passes 1 to 3mm. Sand a chip flush and you usually make it larger, not smaller, because there is almost nothing to sand away before you hit the core underneath.
Budget an afternoon for one chip, a full weekend if the whole top edge is lifting. Most people meeting the piece for the first time in 2026 are dealing with the same three problems I see: a chipped corner, a drawer front that has been knocked, or a seam that started to let go after a decade of being bumped.
Table of Contents
- What You Need
- Step-by-Step
- 1. Identify the Veneer and Assess the Damage
- 2. Clean and Loosen the Damaged Area
- 3. Glue Loose Veneer Back Into Place
- 4. Fill Small Chips and Gaps
- 5. Sand and Blend the Repair
- 6. Refinish or Seal the Repaired Area
- Common Mistakes
- Frequently Asked Questions
- Can a chipped veneer be repaired?
- Can I sand off veneer?
- Can I put new veneer over old veneer?
- My cabinet veneer is peeling. How can I fix it?
- How long does a veneer repair take?
- Conclusion
What You Need
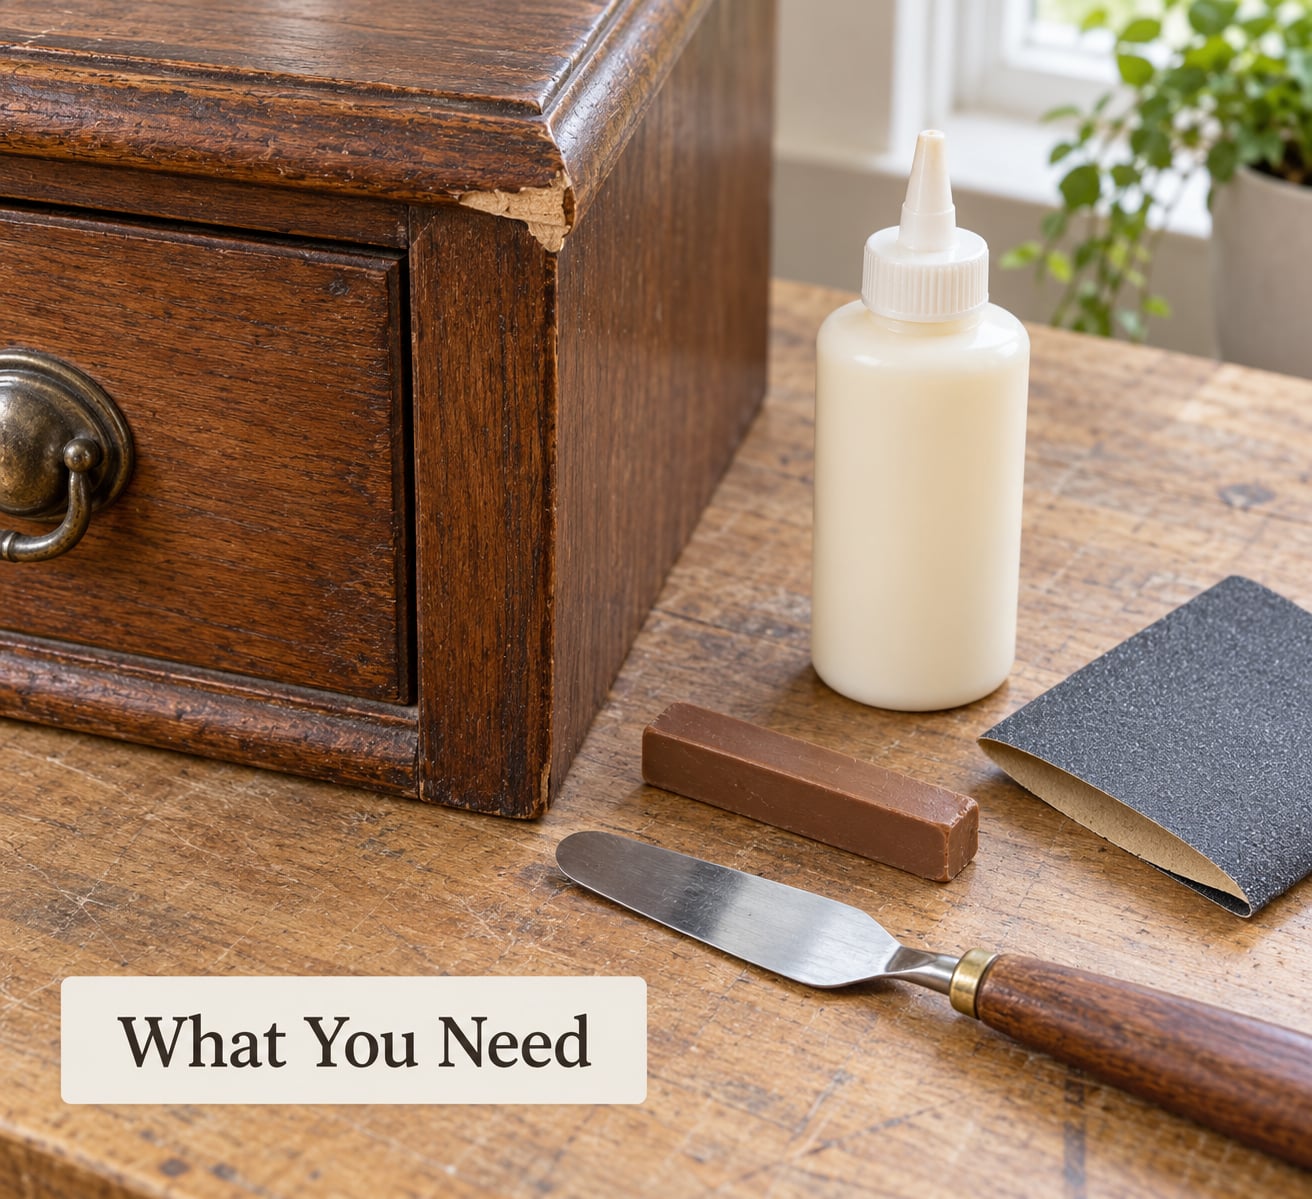
You can do this with a small kit and no power tools. Gather everything before you start, because interrupting a glue job to hunt for a clamp is how you end up with a seam that never sets.
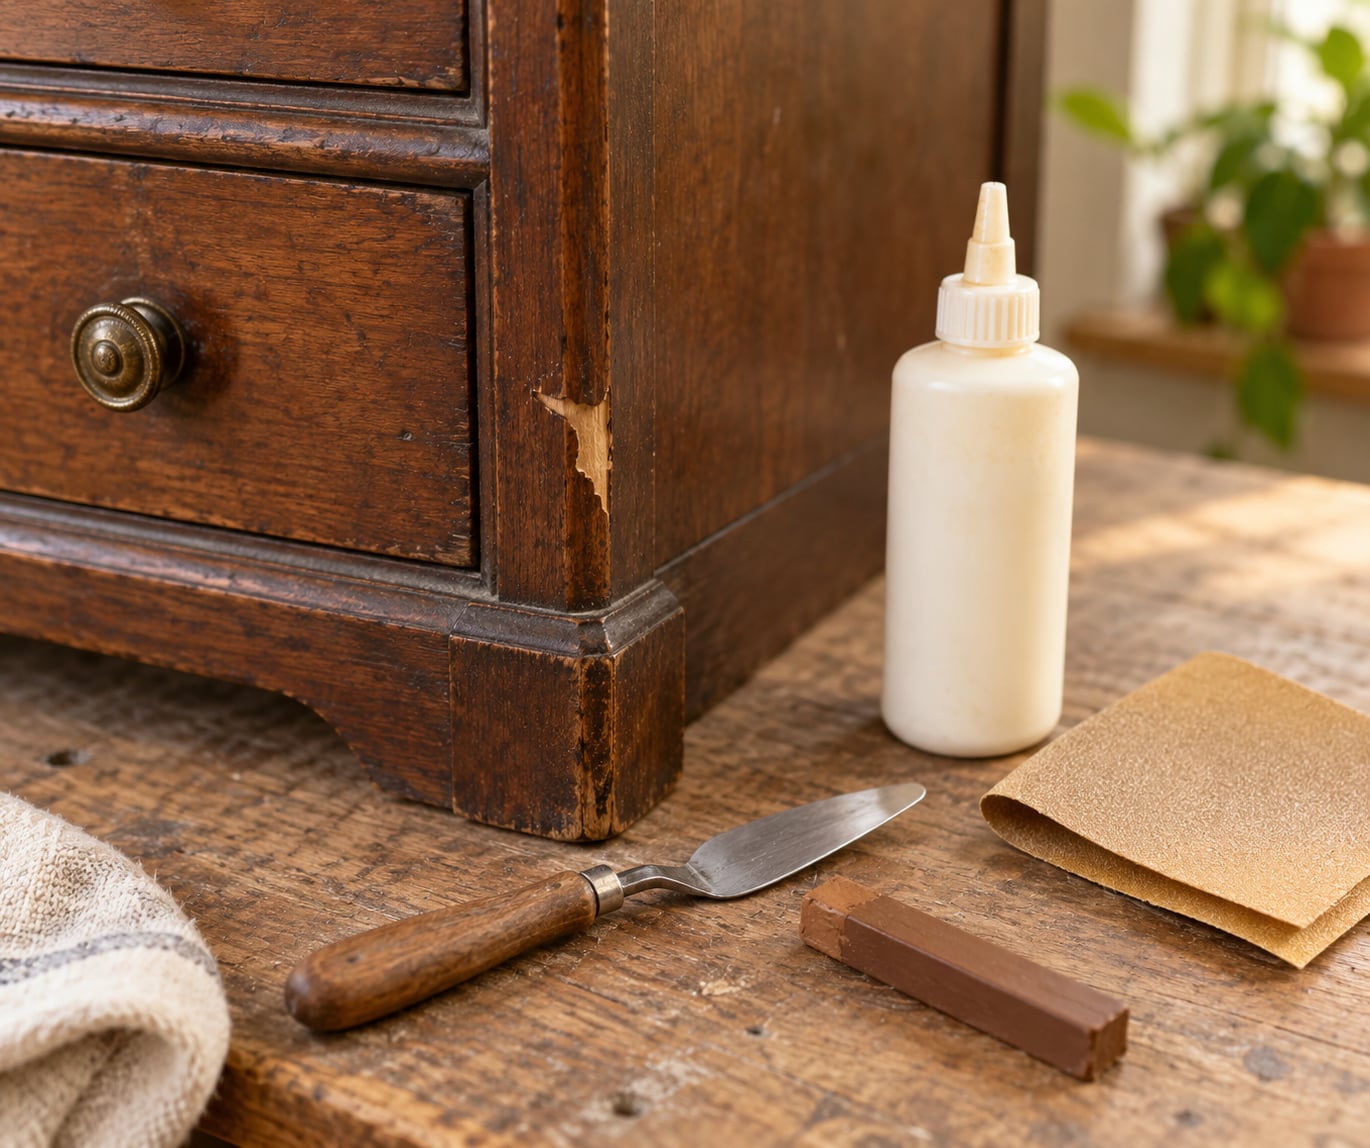
- Bright light or a magnifying glass — angled light across the surface shows every lifted fiber and crack, which a head-on view hides completely.
- Wood glue — PVA is fine for most repairs. Old hide glue can be reactivated instead, but you cannot do that with modern glue alone.
- Clamps or flat weights — a flat block of scrap wood and a couple of clamp bars, or a stack of books wrapped in cloth, works fine on a drawer front.
- Wax or release paper — laid between the veneer and your block so the glue does not weld itself to the clamp.
- Craft knife and palette knife — the craft knife trims loose fiber, the palette knife lifts an already-loose edge and spreads filler.
- Color-matched filler or touch-up marker — see the choice below.
- Fine sandpaper in 120, 180 and 320 grit — the jump from coarse to fine is what keeps the repair from looking like a dent.
- Clean, lint-free cloths and a small brush — for dust and for wiping squeeze-out before it cures.
- Matching finish, optional — a clear coat or the piece’s original finish, applied only once the repair is sanded and color-matched.
For the filler itself, three products cover almost everything:
- Stainable wood filler — cheap, easy to sand, and the right pick when you plan to paint or when the chip sits in a corner that nobody stares at. It shrinks a little as it dries, so build it up in thin layers.
- Two-part epoxy putty — sets in minutes, barely shrinks, and will not budge once hardened. It sands like hard plastic and will not take stain the way filler does, so it wants paint or a colored top coat.
- Hard wax burn-in stick — the closest match to real wood, and it sands flush with fine paper. Most restorers on r/furniturerestoration reach for this when the original stain needs to survive.
Step-by-Step
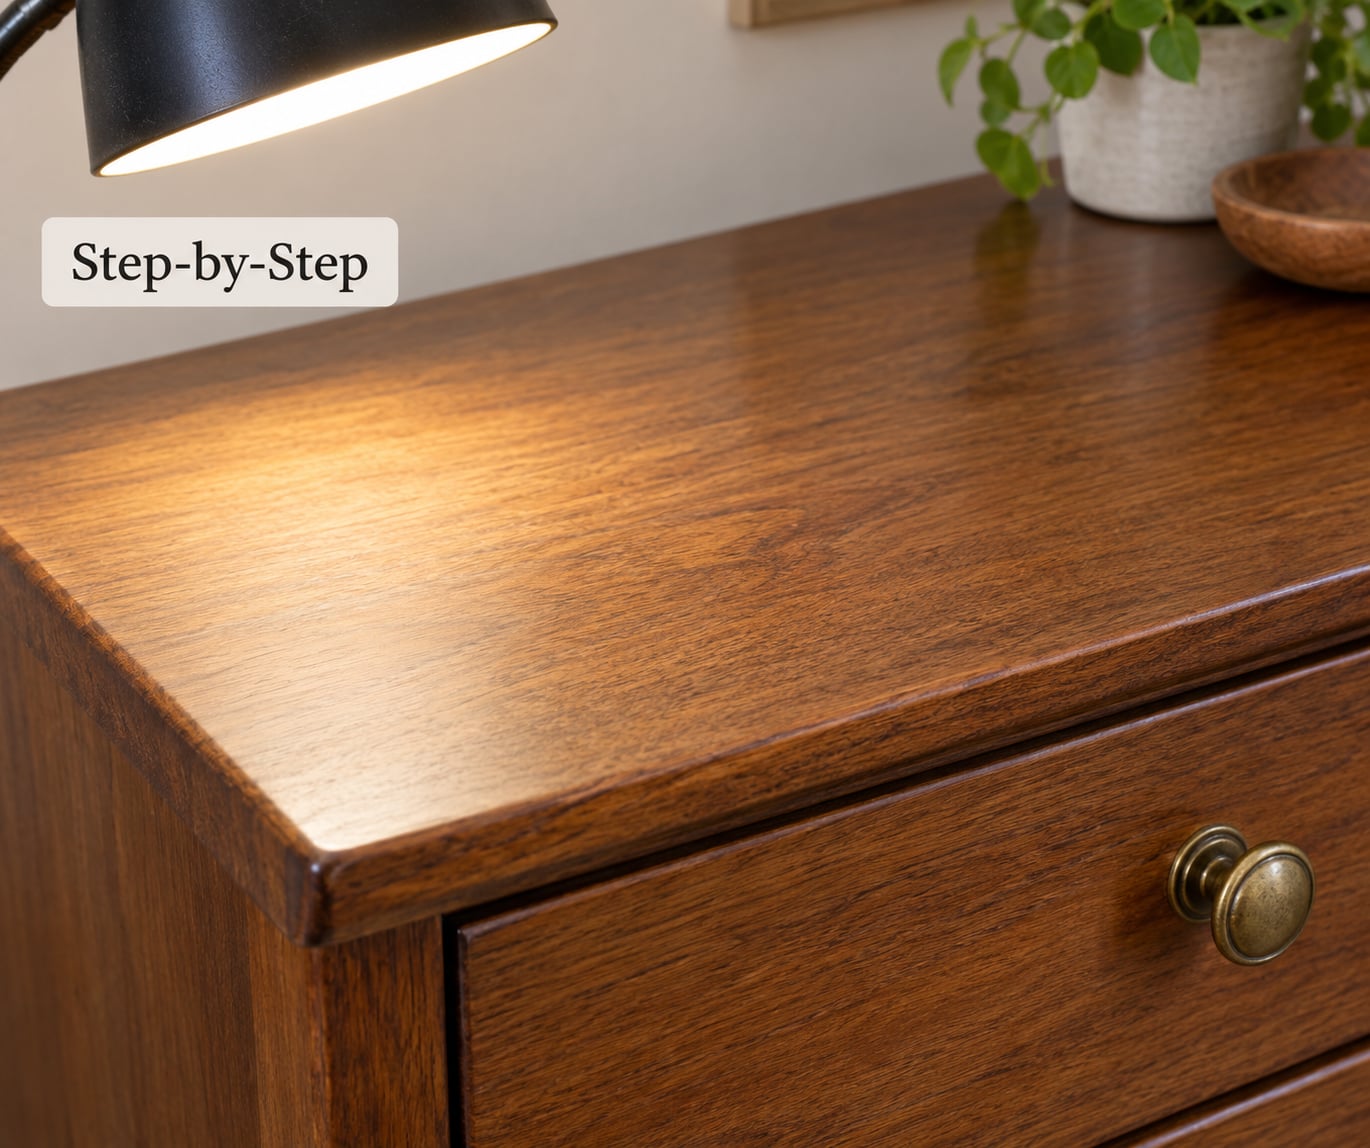
Work in this order every time. Skipping ahead to the finish is the single most common reason a repair pops back out a month later.
1. Identify the Veneer and Assess the Damage
Look at an exposed edge first. Solid wood shows end grain and a continuous surface; veneer shows a thin sliced layer, often with a paper or fabric backing and a darker glue line beneath it. Laminate is a printed plastic film and will not take stain at all, which changes your whole finish plan.
Now classify the damage. A surface-only chip is still attached and needs filling. A lifted edge has a seam you can slide a fingernail into. A missing section is bare core, pale and fibrous, with no grain at all.
Two or three surface chips on an otherwise sound dresser are a weekend job. Veneer that is delaminating across a whole panel, or a chip that exposes particle board or MDF across more than a couple of inches, is a patching or refinishing job rather than a filler job. Know which one you have before you buy anything.
2. Clean and Loosen the Damaged Area
Wipe the area with a barely damp cloth and a drop of dish soap, then dry it fully. Old wax, polish and dust sit right where your filler needs to grip, and a repair built on top of them lets go later.
For a lifted edge, slide the palette knife under only the part that is already loose. Work slowly from the free corner inward, and stop the moment the veneer resists. Prying a stuck edge is how you turn a repairable chip into a strip of missing veneer.
3. Glue Loose Veneer Back Into Place
Run a thin bead of wood glue along the seam with the palette knife or a plastic scraper. Thin is the operative word — a squeezed-out bead that cures into a hard ridge has to be sanded off later, and sometimes that means sanding veneer.
Lower the veneer, lay wax paper over it, set a flat scrap block on top, then clamp or weight it. Wipe the squeeze-out with a damp rag before it skins over.
Give it six hours minimum and up to 24 for a full cure. If the original adhesive was hide glue, restorers on r/woodworking report success with a warm iron over a damp cloth to reactivate the old glue, then the same flat block and clamp on top.
4. Fill Small Chips and Gaps
Pack the chip with color-matched filler using the palette knife, pressing it into the low spots first. Pull the blade across the surface at an angle so you leave it slightly proud of the surrounding veneer rather than slightly hollow.
Let each layer dry fully before adding the next. Filler shrinks as it cures, and the layer that looks level while wet will dip below the surface by the time it is dry.
For a chip on a lipped or curved drawer edge, work from the flat face around toward the curve and stop at the break in the surface. Trying to make one flat blade span both planes leaves you chasing a hollow you can never sand out.
5. Sand and Blend the Repair
Start at 120 grit and stay on the repair, working in the direction of the grain with light pressure. Move to 180, then 320 for the final pass. Your test is not the grit number but your fingertip: run a finger across the repair and the surrounding veneer, and keep going until you cannot feel the seam.
Wipe the dust off with a damp cloth and check the repair from several angles under your work light. Raking light shows a proud repair that a flat view hides completely.
If you see pale, raw particle or fiber color, stop immediately. You have gone through the veneer and into the core, and the fix is a patch, not more filler.
6. Refinish or Seal the Repaired Area
Match the existing finish rather than guessing: an old shellac or lacquer top is best locked with a thin coat of its own type, and a waxed or oiled surface only needs the same wax or oil buffed over it.
Apply light coats, keep a wet edge, and let each dry before the next. Heavy coats on a repair shrink and crack differently than the surrounding film, which is what makes a good filler job look bad after six months.
Once cured, treat the whole dresser the way you would any finished wood. Use coasters and felt pads, wipe spills quickly, and keep it out of prolonged direct sun.
Common Mistakes
Almost every failed veneer repair I have seen came down to one of five things, and all of them are avoidable.
Too much glue under a lifted edge. Squeeze-out cures harder than the veneer itself and becomes a ridge you either sand through or live with. Use a thin bead, and wipe the excess while it is still wet.
Sanding the whole panel instead of the repair. A uniform-feeling hand on an orbital sander will take an entire veneer skin in a few minutes. Sand the repair by hand, in grain direction, with the grit progression above.
Filling a large void instead of patching it. Filler can disguise a chip a half inch across. It will never replace a missing section and match grain. For anything larger, cut the damage out square and glue in a patch with matching veneer, bookmatching the grain so it runs the same direction.
Filling over dust or old finish. The repair looks fine for a week, then the filler releases along the invisible barrier underneath. Clean and dry the surface properly before the palette knife goes near it.
Staining filler that will not take stain. Standard filler absorbs stain unevenly and turns blotchy, and wax-based products barely take it at all. Test on a hidden area first, and if you want the original stain to survive, use a hard wax burn-in stick rather than a stainable filler.
One last tip: stabilize loose veneer before you strip, sand or fill anything else. Everything you do after that assumes a flat, sound surface, and filler applied over an unstable seam is the most expensive mistake in this whole project.
Frequently Asked Questions
Can a chipped veneer be repaired?
Yes, in most cases. If the veneer layer is still attached, the chip gets filled with color-matched filler or a burn-in stick and sanded flush. If a section is missing entirely, cut the damage out square and glue in a patch of matching veneer. A chip exposes a problem only when it runs deep enough to reach the particle board or MDF core underneath.
Can I sand off veneer?
You can sand a veneer surface, but you cannot sand off a chip. Modern veneer is roughly 0.6 to 0.8mm thick and older stock runs 1 to 3mm, so there is almost nothing between the chip and the core. Sanding the surrounding area flat is useful for a piece that will be painted. Sanding a chip just grows the hole.
Can I put new veneer over old veneer?
You can, but only as a full-surface project, not as a spot repair. New veneer needs a flat, even, fully finished surface to bond to, so sound veneer has to be sanded back or removed first. Trying to patch a chip by laying a small scrap of veneer over the top traps air, shows a seam, and rarely stays put.
My cabinet veneer is peeling. How can I fix it?
Lift only the edge that is already loose, thin out any old crystallized glue inside the seam, and run a thin bead of wood glue underneath. Lay wax paper over the veneer, set a flat block on top and clamp it, then wait six to 24 hours. If the glue was hide glue from the original build, a warm iron over a damp cloth reactivates it first.
How long does a veneer repair take?
A single small chip takes about two hours of active work, plus several hours before you can handle the surface. A lifted edge needs six to 24 hours of clamping. Expect a full weekend if you are filling several chips, blending color and applying a clear coat.
Conclusion
Start by identifying the veneer and classifying the damage, because every later step depends on it. Clean the chip, stabilize any loose edge, then fill the smallest route that will hold — filler for a small chip, a glue job for a lifted seam, a patch for a missing section. Finish by sanding flush, matching the color in a hidden spot, and sealing lightly.
That order is what keeps the repair invisible, and it is far less destructive than the sand-it-all-back-and-paint-it advice that circulates online.