To set a realistic decorating budget per room, decide one total you can comfortably afford, list what the room actually needs, and then buy in order: the big anchor piece first, then rugs and lighting, then textiles and decor last. The whole method takes about an hour per room and works for a rental refresh or an empty house. As of 2026, most overspending comes from shopping before writing the list.
I have done this exercise with my own rooms and with friends who were furnishing empty houses, and the failure is always the same. People walk into a store with a feeling instead of a number, buy the throw pillows because they are fun, and discover three months later that the money for the rug is gone. Writing the budget first feels fussy for about twenty minutes and then saves you hundreds.
One honest note up front: there is no single budget number that works for everyone. A 140-square-foot rental studio and a 400-square-foot family room are different problems, and the number that fits your neighbor’s situation may be nonsense in yours. What you can do is build a number of your own that survives contact with a real shopping cart. That is what this guide walks you through.
Table of Contents
- What You Need
- Step-by-Step: How to Set a Realistic Decorating Budget Per Room
- Set Your Total Decorating Limit
- Measure the Room and List What It Needs
- Prioritize Purchases by Room
- Allocate the Money by Category in the Decorating Budget Per Room
- Build a Thrifted and DIY-Friendly Plan
- Add a 10% Contingency and Review the Total
- Common Mistakes
- Frequently Asked Questions
- How much should I budget to decorate one room?
- What is the best way to split a room decorating budget?
- Should I include professional labor in my decorating budget?
- How do I decorate a room on a very tight budget?
- How much contingency money should I add to a decorating plan?
- Should I set a separate decorating budget for each room?
- Conclusion
What You Need
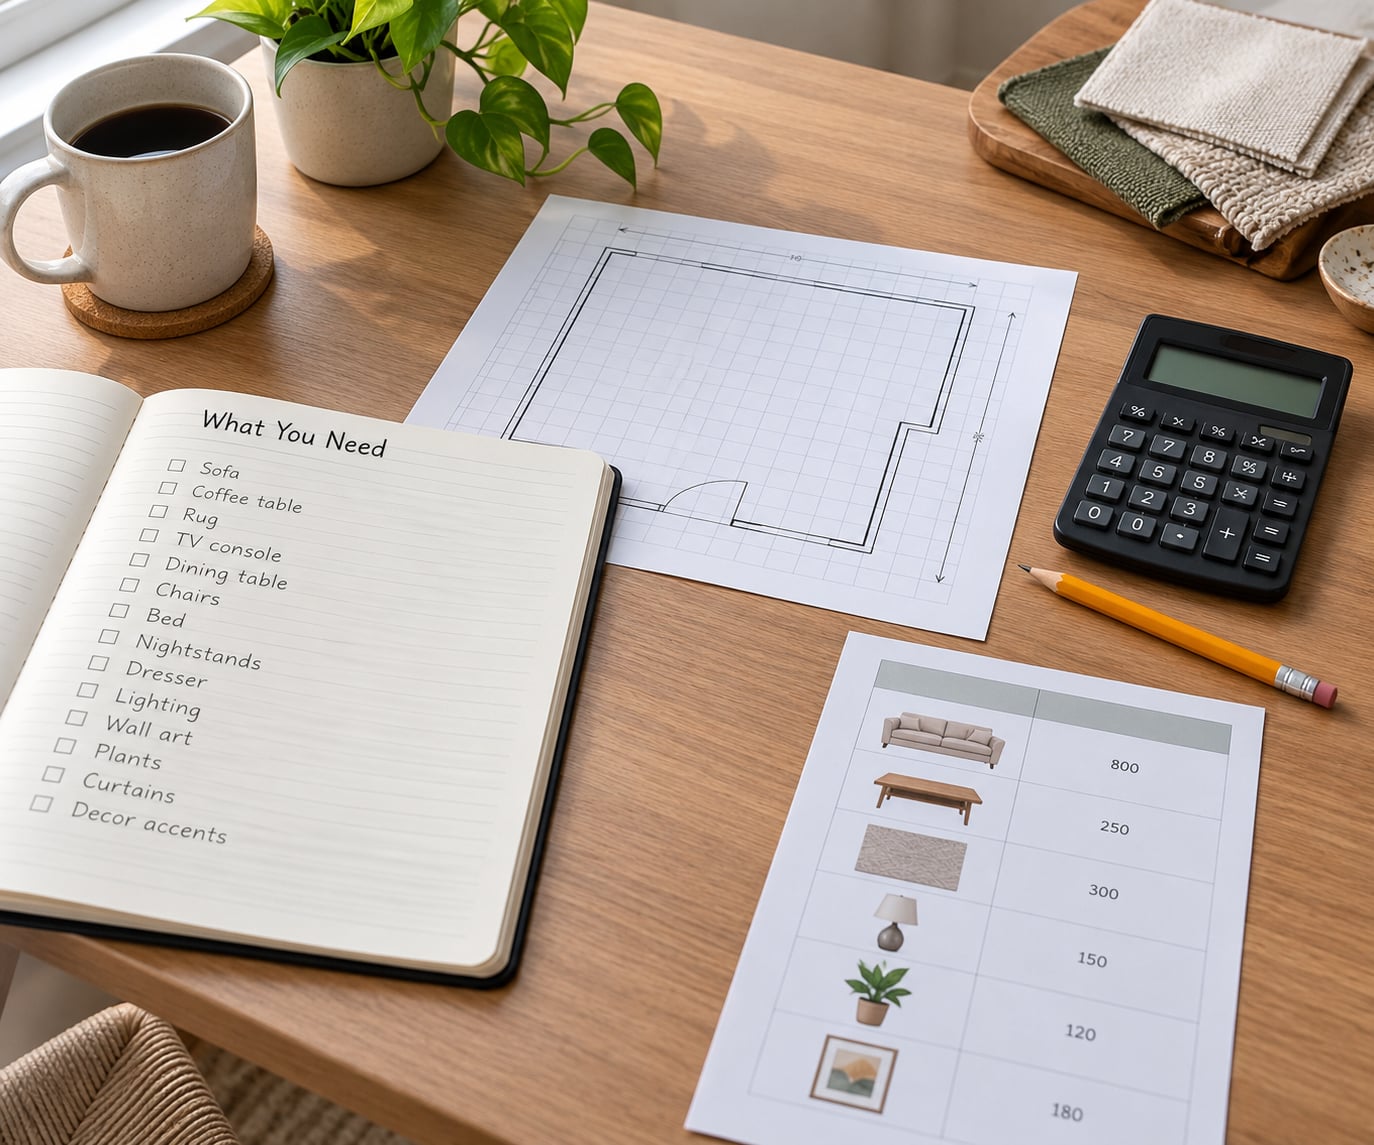
You need five things, and four of them are free. Gathering them takes about fifteen minutes and it is the step most people skip.
- A room inventory. Walk through the space and write down every usable piece you already own, including the rug you keep meaning to replace and the lamp that is currently in a closet.
- A current wish list. Anything you have been saving in a phone notes app for a year belongs here. Be generous with it. You will cut it later.
- Your available total. The real amount of money you can commit this year after bills, savings and anything already planned. Not a hopeful number.
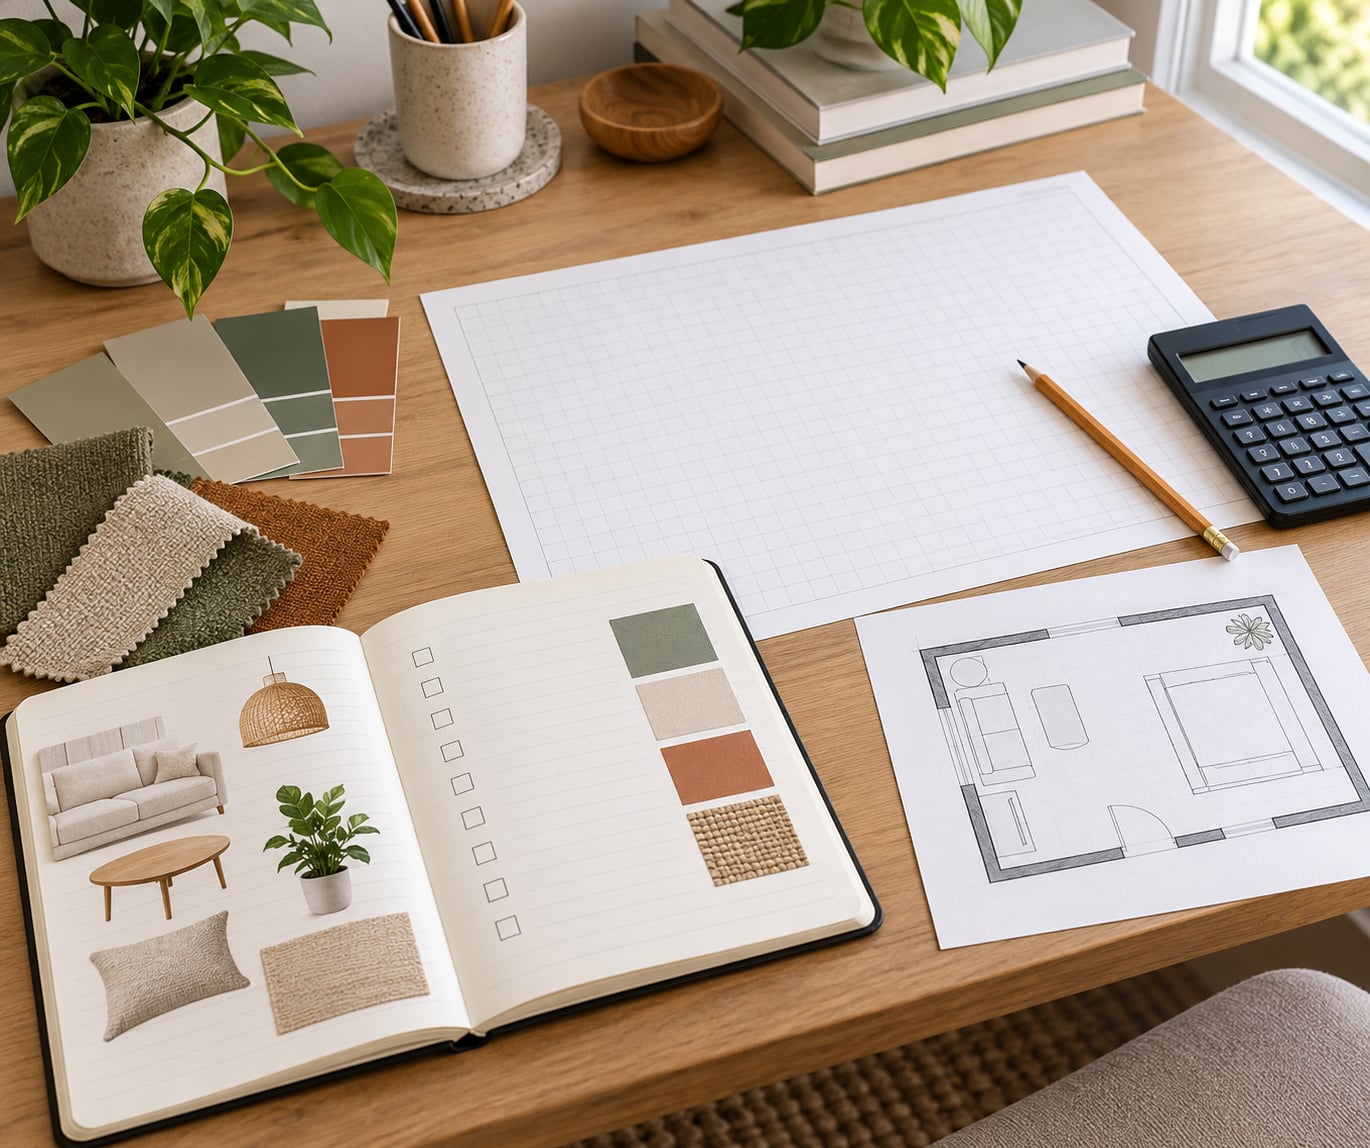
- Approximate measurements. Room dimensions, door and hallway widths, and window sizes. Sketches beat numbers here.
- A spreadsheet or notebook. One column for each item, one for what you expect to spend, one for what you actually spent.
Before a single figure goes on paper, sort the wish list into two piles: needs and wants. A need is something the room cannot function without or that fixes a genuine problem, such as a sofa with a torn seat or a window that lets in street noise. A want is a chair you like. Mixing them is how budgets quietly double.
Keep the wish list complete for now. Curbing it too early leaves you with a short list and no enthusiasm, and the moment you get tired of the spreadsheet you will start buying off the cuff.
Step-by-Step: How to Set a Realistic Decorating Budget Per Room
The process has six steps. Do them in order, because each one depends on the answer you produced in the last.
| Bucket | Share of the room total | What it covers |
|---|---|---|
| Anchor pieces | 40% | Sofa, bed, dining table, desk, the piece that sets the scale |
| Paint and floor work | 15% | Supplies, patch and prep materials, or a rental’s equivalent fix |
| Textiles and rugs | 20% | Rug with padding, window treatments, bedding, towels |
| Lighting | 10% | At least one layer beyond the ceiling fixture |
| Decor and accessories | 10% | Art, frames, mirror, plants, the finishing layer |
| Contingency | 5% to 10% | Delivery, assembly, hardware, the thing you did not predict |
Those percentages are a starting split, not a law. A room with two big windows will want more in textiles, a room that needs nothing painted keeps that share in the anchor bucket. Adjust once you have your line items written.
Set Your Total Decorating Limit
Your total is the only number that matters, and it comes from your finances rather than from an online average. Look at what you have left after essentials and existing commitments, then pick an amount you could lose without stress.
Three things pull that number down more often than not. Furniture you already own is not a cost, so subtract anything that stays. Unpaid bills and a planned expense in the same window come first, always. And decide now whether you are budgeting one room or the whole home, because the second version needs a much bigger cushion and a written allocation across rooms.
Write the total down and treat it as a hard ceiling, not a target. A target gets exceeded. A ceiling gets split.
Measure the Room and List What It Needs
Now document the space. Room dimensions, door and hallway widths, window sizes, ceiling height, and the position of things you cannot move, such as radiators and outlets.
This is the step that prevents the most expensive mistake in decorating, and it is one people learn about the hard way. A widely shared story from decorating forums involves a sofa ordered online that would not fit through the front door or in the elevator. The piece was fine, the room was fine, and the money was gone. Measure the delivery path, not just the wall.
Then list the functional problems: bad lighting, no storage, a paint color you hate, furniture blocking the walkway. Required fixes go in the needs pile. Optional upgrades go in the wants pile. Keeping those separate is what makes the budget honest.
Prioritize Purchases by Room
Sort the needs into three tiers, and let the tiers decide the spending order.
Must-have items are for function and safety. They include the anchor piece, a mattress, adequate lighting, working window treatments if you need privacy or warmth, and any storage you genuinely cannot live without.
Should-have items make the room comfortable: a rug that grounds the seating, better lighting layers, a proper mattress topper, hardware and hardware-adjacent details like hooks that actually hold weight.
Nice-to-have items are the finishing layer: art, plants, decorative objects, the second throw pillow, the bowl on the coffee table.
How the tiers land depends on the room. A living room needs a real seating plan and a rug sized for it, so that is where the money goes. A bedroom needs a mattress and bedding before anything else. A kitchen is mostly function, so hardware, lighting and hardware finishes matter more than accessories. A bathroom lives or dies on tile, plumbing fixtures and ventilation, and there is almost nothing to decorate. A home office is a chair, a desk, a light you can read by and cable management, and it can be done for a fraction of what a living room costs.
Buying in tier order is what stops the classic overrun. If you buy the nice-to-have layer first, the must-have layer is funded on whatever is left, and it is never enough.
Allocate the Money by Category in the Decorating Budget Per Room
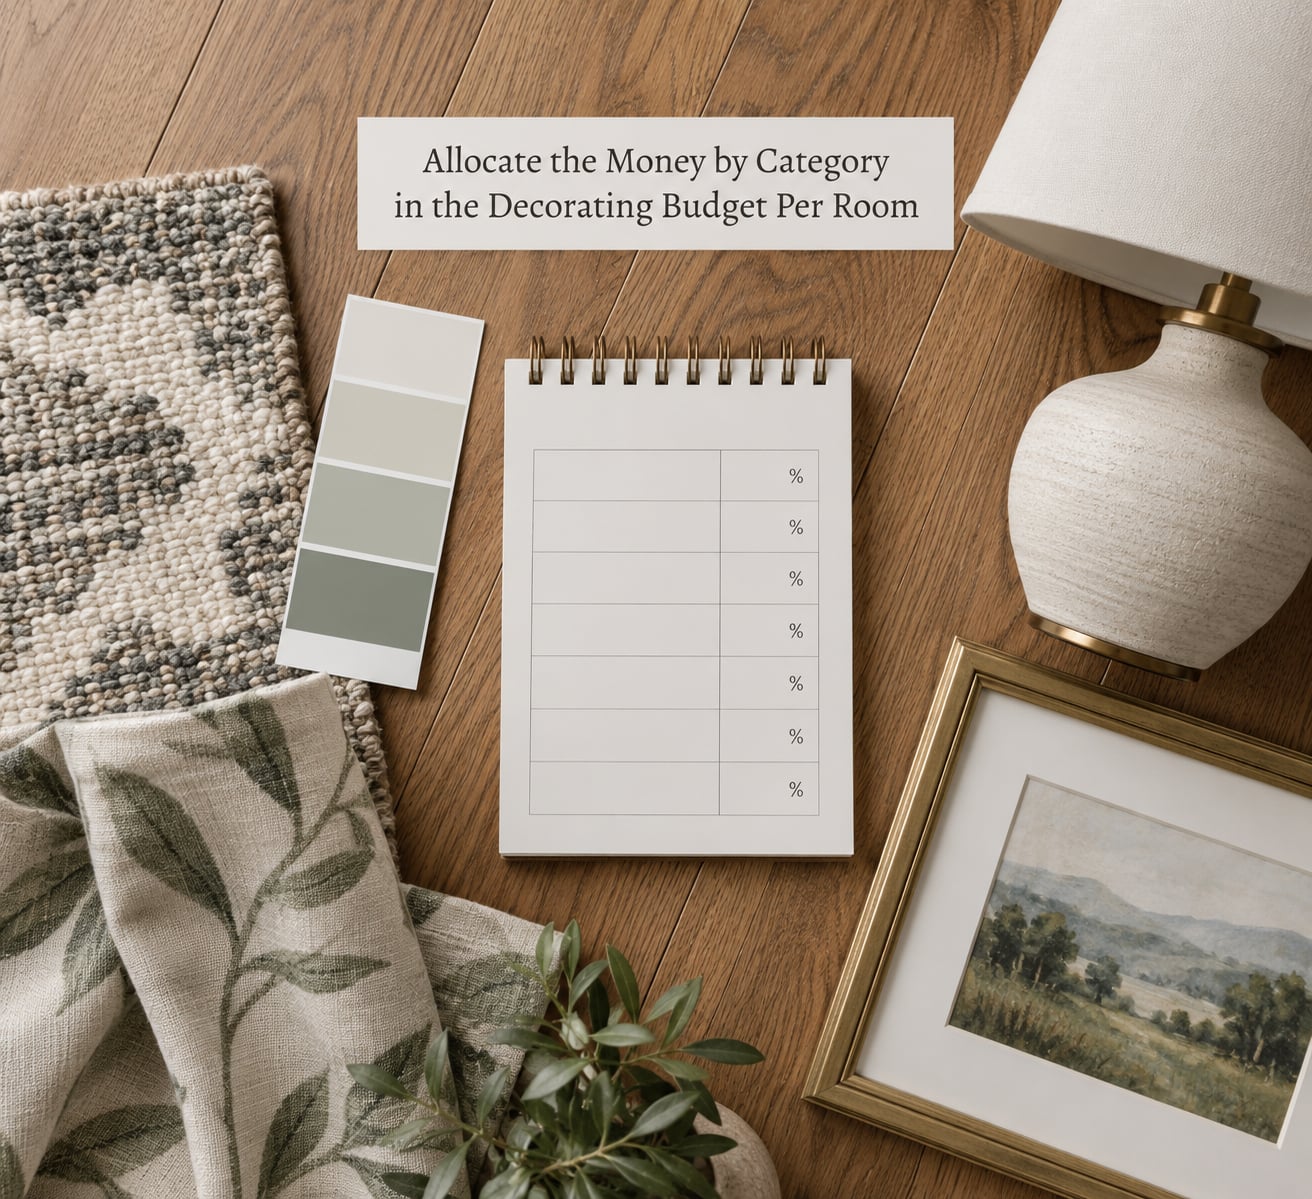
Take the total and assign a share to each category: paint and repairs, furniture, textiles and rugs, lighting, storage, art and framing. Then check that the sum equals your total. If it does not, the anchor piece is either too generous or too stingy, and that is the first thing to fix.
Adjust the split for your situation rather than defending the percentages. In a rental, paint and fixtures are off the table, so that share moves to removable storage, area rugs and lighting. In a house with a family, storage and durable textiles outrank decor. In a first-time home with empty rooms, furniture takes the largest share by far, and the fix is phasing rather than cutting the anchor piece.
For each line, write quantity times expected unit cost. Quantity times unit cost is the only format that survives a shopping trip, because it turns one vague intention into several concrete purchases you can check off.
Build a Thrifted and DIY-Friendly Plan
Most of the money you save comes from sourcing, not from spending less per item. Decorators on budget forums consistently name secondhand channels, floor models and furniture outlets as their biggest levers, with resale marketplaces and thrifts close behind.
A few tactics work reliably. Buy the floor sample or the last piece in a discontinued color at an outlet. Search for a promo code at checkout, which most people skip and which regularly changes the final number. Restyle a thrifted piece with paint and new hardware rather than replacing it. Rearrange what you own before you buy anything, because a room that is laid out badly reads as unfinished no matter how little money is in it.
Here is how that works in a line item. A dresser from a thrifted channel might take 5% of the room total, and a can of paint plus a set of knobs another 3%, so the whole piece lands at 8% of budget instead of 30% for a comparable new dresser. That difference goes straight into the rug or the lighting.
You can apply the same arithmetic to paint, where supplies and prep materials add roughly a quarter on top of the paint itself, or to a rug, where padding and a proper rug pad cut matter as much as the rug. Write those extras into the line item the first time and they stop being surprises.
Add a 10% Contingency and Review the Total
Add 10% to the finished total and stop there. That buffer covers price variation, delivery, assembly, hardware, paint supplies and the small repair nobody anticipated. Experienced decorators land in the same place, and many suggest 15% to 20% when the room involves structural work or custom window treatments.
Now compare the planned total with your limit from step one. If they match, you have a budget. If the plan exceeds the limit, cut from the bottom of the list, not the top. Trim nice-to-have decor first, then should-have comfort items, and protect the must-have layer and the anchor piece.
One more thing goes in the plan: the order of purchase. Anchor piece and rug first, because they set the scale of everything else. Lighting next, because a good room under bad light looks bad. Then textiles, then art, then accessories, which can wait months without hurting the room.
Common Mistakes
Most budget failures are simple and repeatable. Here are the five I see most, with the fix for each.
Budgeting a room before inventorying what is in it. People cost the room as if it were empty and then discover they already own a perfectly good dining table. Fix: walk the room with your phone and photograph everything before writing a single number. The list is usually kinder than you expect.
Forgetting labor, delivery and assembly. A piece that needs two people and a truck carries costs that never appeared in the line item. Fix: treat delivery and assembly as part of the item’s cost from the start, not as a surprise at checkout.
Shopping without a written list. This is the big one. Fix: carry the list, and give yourself a cooling-off rule, such as nothing bought on the first visit goes home that day unless it is on the must-have list.
Underestimating paint and hardware. Supplies, patching, primer and trim add meaningfully to a can of paint, and hardware is small enough to skip until the drawer will not close. Fix: budget roughly a quarter above the paint itself, and count the hardware on the shelf rather than in your head.
Spending the contingency on optional upgrades. The buffer exists for the unexpected. Once you raid it for a chair, you have no buffer and the next surprise has nowhere to go. Fix: keep the contingency in a separate envelope and do not count it as spending room.
Three habits keep the rest of it steady. Recheck the plan monthly, because a total that lives only in your head drifts. Photograph each purchase before it goes out the door, which takes seconds and settles arguments later. And when a room looks done, stop. Further spending past that point buys you almost nothing visible, which is a harder discipline than making a purchase.
Frequently Asked Questions
How much should I budget to decorate one room?
Base it on what you can afford, not on an online average. Take the amount left after bills and existing commitments, subtract the value of furniture you already own, then build a line-item budget for that room and add 10% for surprises. A realistic total is the one you can spend without touching savings.
What is the best way to split a room decorating budget?
Work down from the anchor piece. Give the sofa, bed or dining table about 40% of the total, textiles and rugs around 20%, lighting 10%, decor and accessories 10%, paint or repair work 15%, and hold 5% to 10% back as a contingency. Adjust the split for a rental, where paint and fixtures are off the table.
Should I include professional labor in my decorating budget?
Yes, whenever anyone else does the work. Delivery, assembly, painting, electrical and hanging are all real costs that belong in the line item, not in a surprise at checkout. If you are doing the work yourself, count the materials and the hardware you will need instead. Labor is the line most often left off.
How do I decorate a room on a very tight budget?
Change one thing at a time instead of redecorating all at once. Start with the highest-impact item, which is usually lighting or a correctly scaled rug, then rearrange the furniture you own, then add art from secondhand channels. Do the anchor piece first if it is worn out, and skip the accessory layer for now.
How much contingency money should I add to a decorating plan?
Add 10% to the finished line-item total for a straightforward room refresh. Go to 15% or 20% when structural work, custom window treatments or plumbing are involved. Keep that buffer separate from your spending money, because a contingency that gets spent on a chair stops being a contingency.
Should I set a separate decorating budget for each room?
Yes, once the total exists. Write one number for the whole home, then split it across rooms and give each room its own written line-item budget. Doing one room at a time keeps each plan honest and lets unspent money roll into the next room instead of disappearing into a general fund.
Conclusion
Start with the list, not the store. Photograph everything the room already holds, sort it into needs and wants, set a total you can afford without touching savings, and then spend that total in priority order: anchor piece and rug first, lighting next, textiles after that, accessories last.
Give every room its own written budget, add 10% for the things that always show up late, and hold the buffer. That is the whole method behind setting a realistic decorating budget per room, and it takes an hour per room instead of a year of regret.