If you want to know how to recover a lampshade with fabric, the short answer is yes: glue a fresh panel over the existing shade and skip the sewing machine entirely. Spray adhesive or a PVA craft medium such as Mod Podge holds fabric to paper, cloth or wire, and mid-weight cotton or linen is the easiest fabric to work with. A drum or empire shade takes about an hour of active time, then a day of drying.
Two things decide whether the result looks homemade or looks made. Measure carefully enough that you have real overlap at the back seam, and attach the fabric in small sections instead of trying to wrap the whole shade at once. Get those two right and the finish looks deliberate.
Table of Contents
- What You Need
- How to Recover a Lampshade with Fabric Step-by-Step
- Measure Your Lampshade and Plan the Fabric Layout
- Choose and Cut the Right Fabric
- Attach the Fabric Without Wrinkles
- Finish the Seams and Edges
- Let the Fabric Set and Check the Result
- Common Mistakes
- Measuring only once, and in the wrong place
- Not enough fabric for gathers
- Stretching the fabric while attaching it
- A seam that shows
- Glue shadows and bleed-through
- Treating heat as an afterthought
- Frequently Asked Questions
- What fabric is best for recovering a lampshade?
- Can I recover a tapered lampshade with fabric?
- How much fabric do I need for a lampshade?
- What is the best glue to use on a fabric lampshade?
- Will fabric on a lampshade become a fire hazard?
- Can I wash a lampshade after recovering it with fabric?
- Conclusion
What You Need
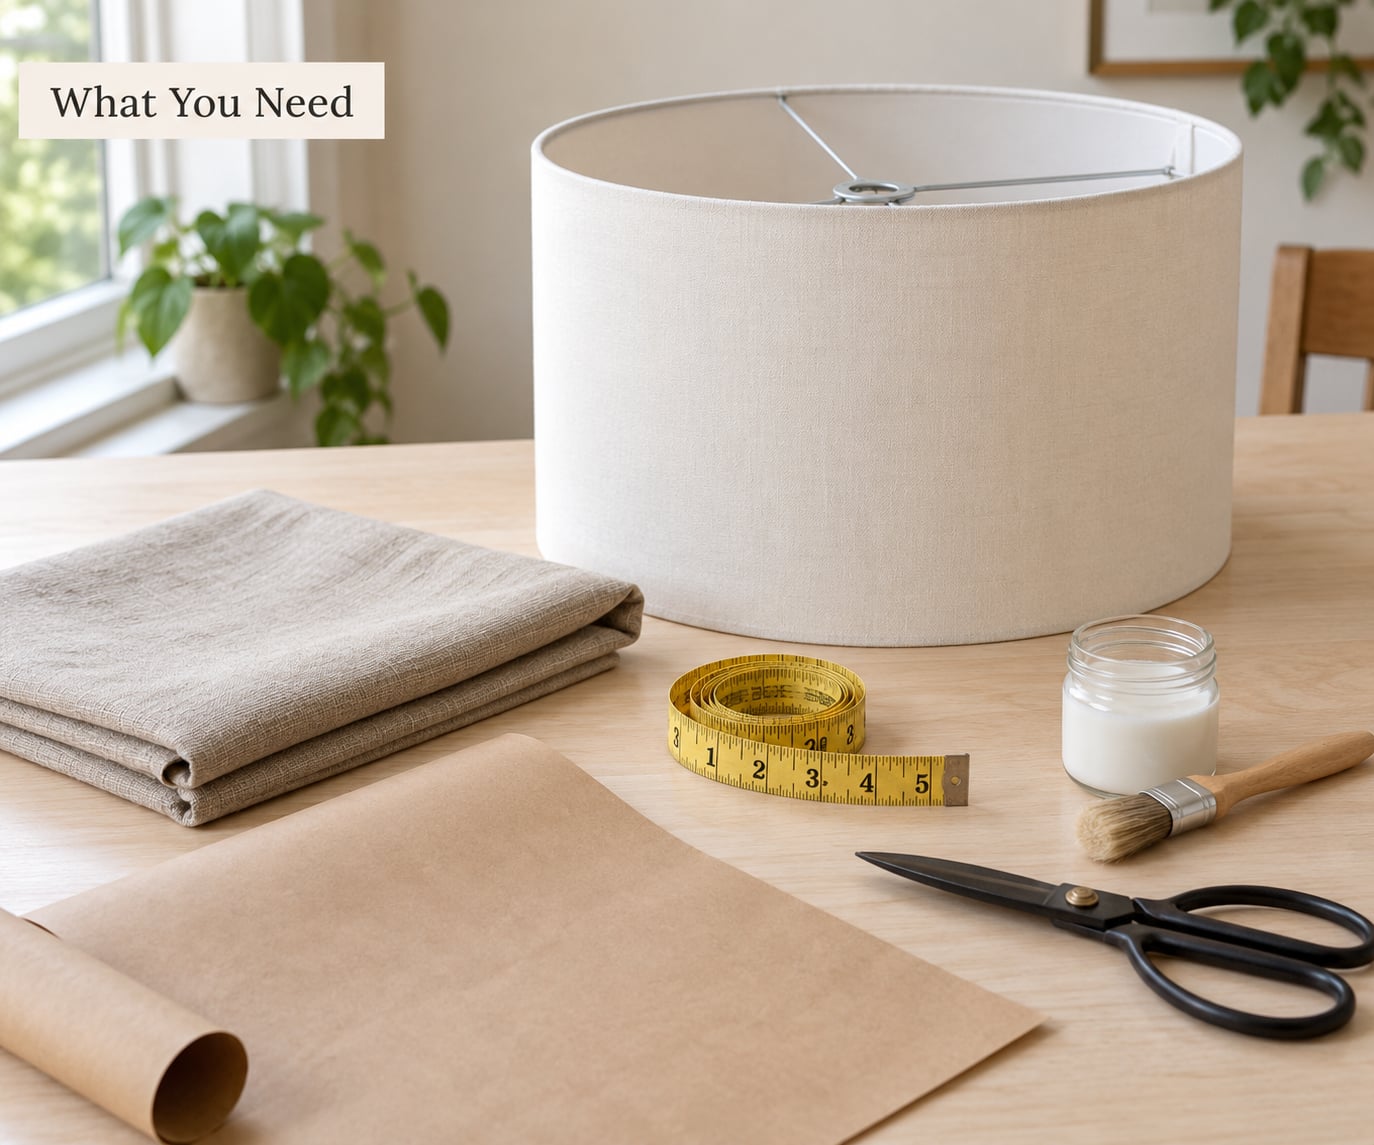
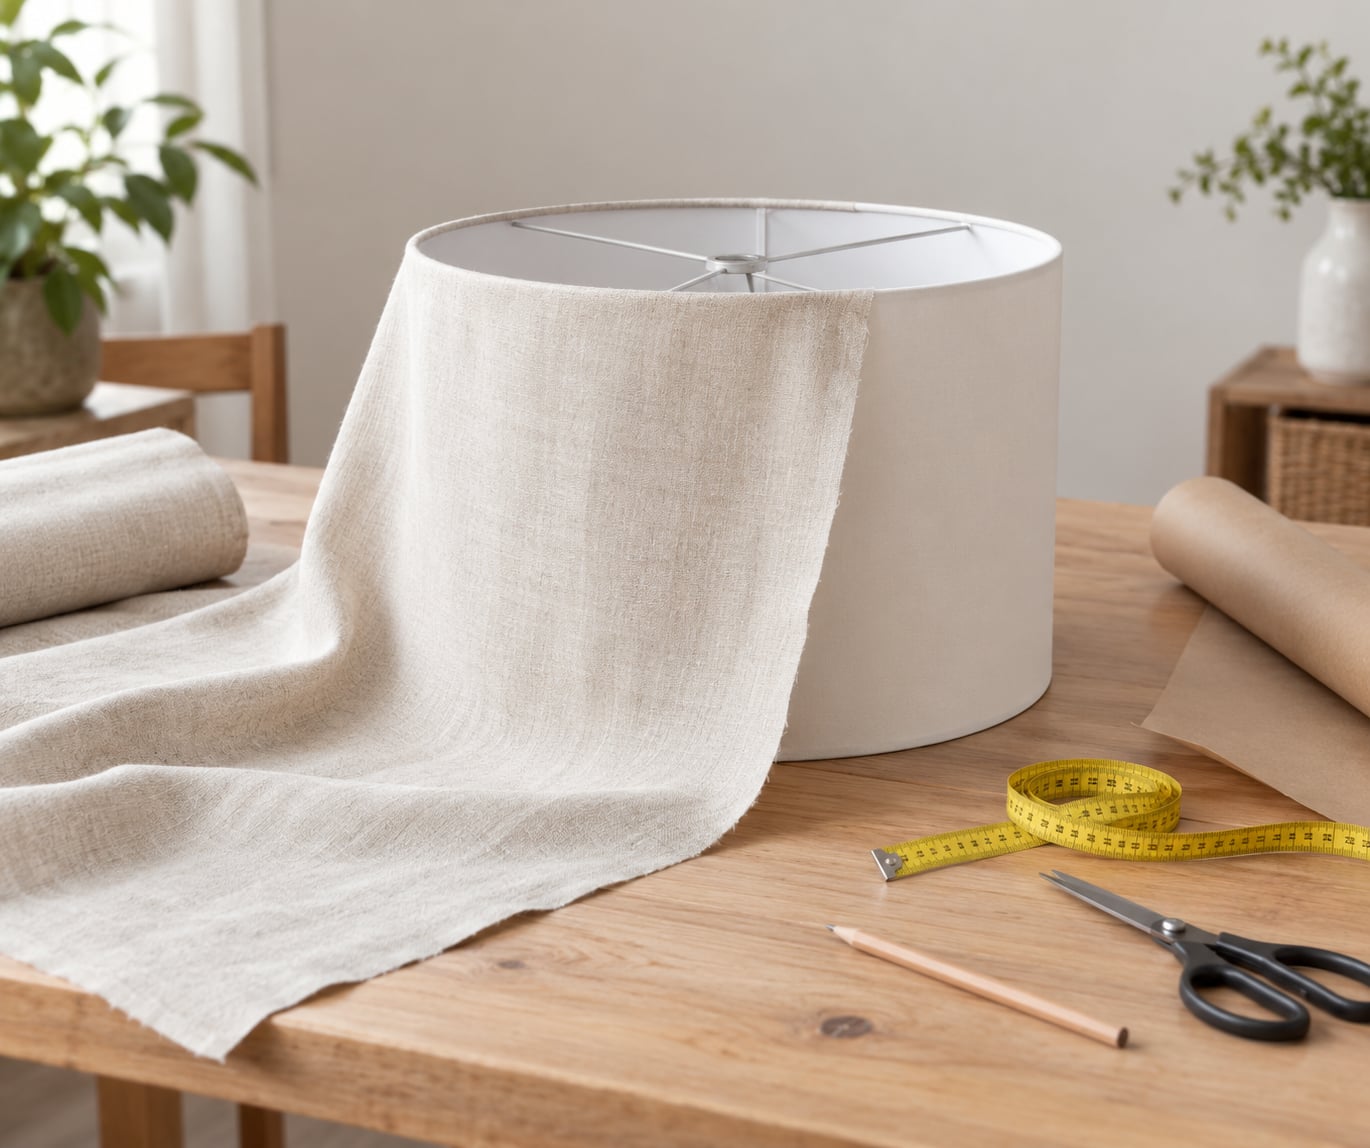
Six things cover the whole job, and most of them are already in a craft drawer. Gather them before you start so you are not hunting for a brush with glue on your fingers.
- The lampshade. Any shape works, though drum and empire styles are the most forgiving.
- Fabric. Mid-weight cotton or linen in a natural or blend. Buy about a quarter yard more than you think, because gathers eat fabric fast.
- Craft paper or newspaper for a template.
- Sharp scissors and a pencil for marking and cutting.
- Fabric Mod Podge, PVA craft glue or spray adhesive to bond the fabric.
- A hot glue gun and glue sticks (optional, but this is how you attach trim).
Add paper clips or clothespins to that list. They are the cheapest, most reliable clamps for holding gathered fabric while the adhesive sets, and regular clothespins in a thrift store are better than anything purpose-built.
How to Recover a Lampshade with Fabric Step-by-Step
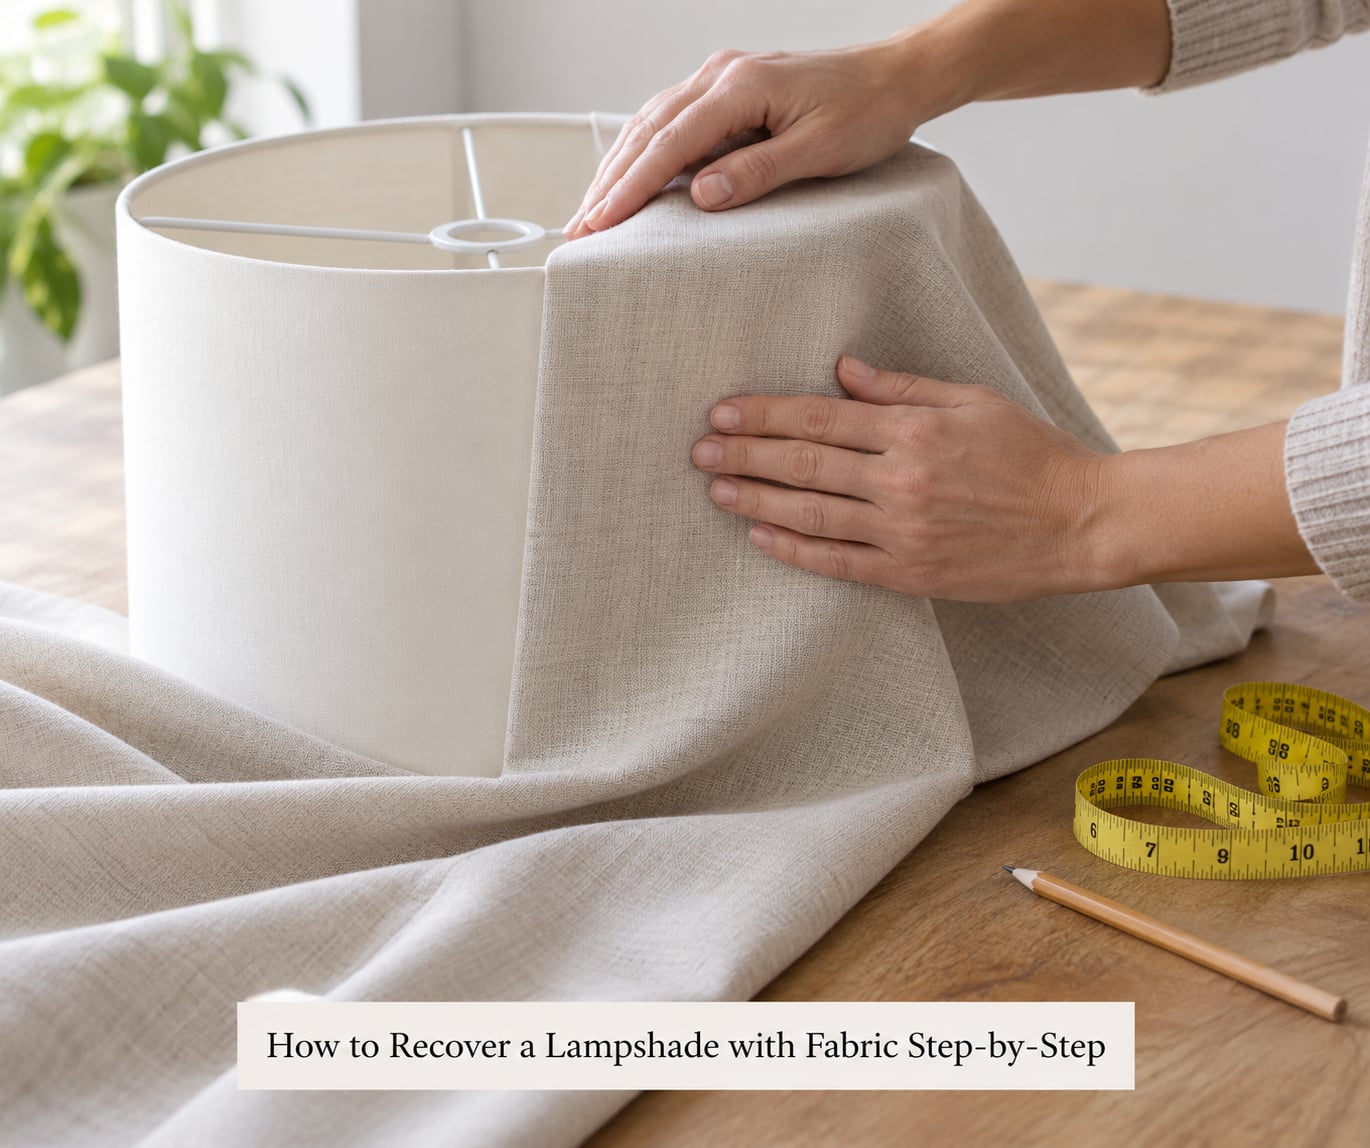
Unplug the lamp and let the shade cool completely before you touch it. Then work through the stages below in order, keeping the fabric taut but never stretched. Each stage takes a few minutes, and each one is easier to correct before you move to the next.
Measure Your Lampshade and Plan the Fabric Layout
Measure the widest circumference of the shade, which for most drum and empire shades is the bottom edge. A flexible tape is easiest, but a strip of paper wrapped around the shade and then straightened against a ruler gives the same number and avoids kinking the fabric later.
Add four to six inches to that circumference for the overlap seam, and always place the join at the back seam of the shade rather than the front. For the height, measure the shade top to bottom and add two inches so you have enough material to fold the raw edges to the inside.
Tapered shades need one extra measurement: the slant. Measure from the bottom edge up to the top edge along the outside of the shade, following its curve. Cut a paper template from those numbers, check it by holding it against the shade, and adjust before you touch fabric. A paper pattern is why tapered and bell shapes are not harder than drum shades.
Choose and Cut the Right Fabric
Fabric weight changes everything: it decides how easily the shade pleats, how much light passes through, and whether glue shows as dark shadows once the lamp is switched on.
| Fabric | Light transmission | Pleats easily | Best for |
|---|---|---|---|
| Sheer voile or organza | Highest | Yes | Airy shades; double the layer so the glue has something to hold |
| Cotton or linen, mid-weight | Good | Yes | Everyday lamps that still light a room |
| Quilting cotton | Good | Yes | Patterns that need to read clearly from a distance |
| Upholstery, canvas or burlap | Low | No | Bedside and mood lamps, not task lighting |
Cut your panel about three inches wider and three inches taller than the template if you plan to gather or pleat. A gathered cover needs roughly one and a half times the finished circumference, because pulling the fabric up into folds shortens it dramatically.
Cut on the straight grain where you can. Fabric cut off-grain will not sit flat around a curve, and that is the single biggest cause of ripples in a finished shade. Use the selvage, the self-finished woven edge, as one of the finished edges so you do not have to hem that side at all.
Attach the Fabric Without Wrinkles
Work in sections roughly eight to ten inches wide rather than wrapping the entire shade in one go. Starting at the back seam, lay the fabric against the shade, keep the bottom edge aligned with the bottom of the shade, and press it flat as you go.
For Mod Podge or PVA glue, dot the adhesive in a zigzag or W pattern across the back of the fabric instead of flooding it. A solid coat soaks through pale fabric and dries as a visible shadow. Spray adhesive grabs in seconds, so spray the fabric first, let it sit for the few seconds the can recommends, and lay it down while it is still tacky but not already dry.
Pull gently and evenly. Any time you stretch the fabric to make it fit, the cover relaxes once the glue dries and you get a baggy shade with folds nobody planned. Paper clips every couple of inches hold the layer while you move to the next section.
If you want gathers instead of a flat wrap, run a long loose gathering stitch by hand with doubled thread, pull it until the fabric matches the shade circumference, and clip the gathers closed before gluing. Keep the gathers even around the whole lamp, because uneven gathers read as lumpy from across the room.
Finish the Seams and Edges
Trim the overlap at the back seam to about an inch, fold the raw edge under, and glue it flat. That single placement decision is what separates a professional-looking shade from one with a seam running down the front.
Fold the top and bottom raw edges to the inside of the shade and glue or hot glue them in place. The result is invisible from the outside but it stops the fabric fraying and keeps glue off the frame hardware.
Once the base layer is secure, hot glue trim around the bottom edge: fringe, piping, ribbon or lace. Trim hides the folded edge, so it is worth adding even when the cover already looks finished.
Let the Fabric Set and Check the Result
Give the cover a full 24 to 48 hours before the shade goes back on the lamp. Glue that feels dry to the touch is often still soft underneath, and a shade clipped onto the harp too soon prints its shape onto the fabric and transfers glue residue to the metal hardware. Paper clips can stay on the whole time.
When it is dry, check the top and bottom edges with a gentle tug, then switch the lamp on. Small bubbles can be coaxed flat with a cool iron held over a thin cloth, or with steam from a kettle held at a distance. Never press hard directly on the glued surface.
For thread, trim and dust, a soft brush or a vacuum with an upholstery attachment is enough. Do not wet the fabric unless the cover came off cleanly.
Common Mistakes
Measuring only once, and in the wrong place
The most common error is measuring the top of a tapered shade and using that number for the whole panel. Measure the widest point and add generous overlap. Re-measuring before you cut costs a minute; a panel that is four inches short costs the whole project.
Not enough fabric for gathers
Flat glue-down needs only the overlap allowance. Gathered and pleated covers do not. Multiply the finished circumference by about one and a half for an even gather, then check the fit with paper clips before any glue goes down.
Stretching the fabric while attaching it
Stretching leaves a shade that sags once the tension releases. Fit the fabric snugly rather than tight, and reheat with a hair dryer on low from a distance if a section will not sit flat. Heat relaxes fibers without soaking glue through them.
A seam that shows
Every panel has a join, so put it at the back seam of the shade. If the old cover already has a visible seam, cover that one with your new join rather than crossing it at an angle.
Glue shadows and bleed-through
White and pale fabrics show glue as dark patches when the lamp is on. Use a PVA medium rather than solvent-based spray adhesive, apply it in dabs instead of a sheet, and keep it away from the center of each panel where the light is strongest. Doubling a sheer lining over the inside also hides shadows.
Treating heat as an afterthought
Fabric near a bulb is a real concern, and it is entirely manageable. Use an LED bulb, which runs far cooler than incandescent, keep the shade’s original clearance so the fabric hangs between the bulb and the outside world, and never wrap fabric over the socket or the harp. Unplug the lamp and let it cool before you start, and ventilate the room while you use spray adhesive.
Frequently Asked Questions
What fabric is best for recovering a lampshade?
Mid-weight cotton or linen is the easiest choice: it pleats without bulk, bonds reliably to most shade materials, and passes enough light to keep the lamp useful. Sheers and voile look lovely but need a doubled layer or a lining. Reserve upholstery-weight fabric for lamps that only need mood light.
Can I recover a tapered lampshade with fabric?
Yes, tapered shades such as empire and bell shapes are common and the same method works. Trace the shape onto craft paper by holding the paper against the slant, or wrap the shade and mark the seam line. Cut two matching pieces, add an inch of seam allowance, and glue them together with the join at the back.
How much fabric do I need for a lampshade?
Measure the widest circumference of the shade, add four to six inches for the overlap seam, then add the shade height plus two inches for the edges folded to the inside. Add a few more inches if you plan to gather or pleat the fabric, since a gathered cover needs about one and a half times the finished circumference.
What is the best glue to use on a fabric lampshade?
Fabric Mod Podge and other PVA craft glues are the safest all-round choice, drying clear and staying flexible over time. Spray adhesive grips larger panels faster but grabs before you can reposition, so test it on a scrap first. Use hot glue for trim and fringe only; its stiff bond can crack along a seam.
Will fabric on a lampshade become a fire hazard?
Not if the fabric stays clear of the bulb. Use an LED bulb, which runs cool, and keep the clearance the shade already had so the fabric hangs between the bulb and the outside of the shade. Never wrap fabric over the socket or harp, and never work on a lamp that is plugged in or still warm.
Can I wash a lampshade after recovering it with fabric?
Not if the fabric was glued on, because water loosens the adhesive and can stain the shade underneath. Vacuum the finished cover gently and blot spills with a barely damp cloth. If you made a removable cover that is clipped or sewn on rather than glued, take it off and hand wash it cool, then dry it flat.
Conclusion
Start by measuring the widest point of your shade and checking what kind of shade you actually have, because that single look decides whether you glue over the old cover or wrap a bare frame. From there the project is short: cut a paper template, cut the fabric a little generously, glue it on in small sections, and hide the join at the back.
Leave it a full day before rehanging, and switch the lamp on to check for glue shadows while you can still fix them. A recovered shade costs a fraction of a replacement and keeps a good lamp out of a skip.