Styling open kitchen shelves comes down to three moves: put your heaviest everyday dishes on the lowest shelf, group items in odd numbers, and hold the whole run to about three colors. Empty the shelves first, place your tallest piece near one end, then build outward in smaller scale. Most runs take about an hour once you have the pieces picked out, and no tools beyond a tape measure and a damp cloth.
People rarely struggle because they picked the wrong dishes. They struggle because every object landed on the same shelf at the same height, so the eye reads one flat line of clutter instead of a few deliberate groups. This guide walks through how to style open kitchen shelves from empty to finished, including the shelf-by-shelf plan and the habits that keep them from drifting back into a pile.
Table of Contents
- What You Need
- Step-by-Step
- Step 1: Measure and Map the Shelves
- Step 2: Choose a Practical Color and Material Palette
- Step 3: Group Items by Use and Shape
- Step 4: Create Visual Balance
- Step 5: Add Small Finishing Touches
- Common Mistakes
- Frequently Asked Questions
- How do I make open kitchen shelves look good?
- Are open shelves in kitchens still in style?
- What is the rule of three for shelves?
- What should I put on open kitchen shelves?
- How do I keep open kitchen shelves from looking cluttered?
- What should go on the top shelf when it is hard to reach?
- Conclusion
What You Need
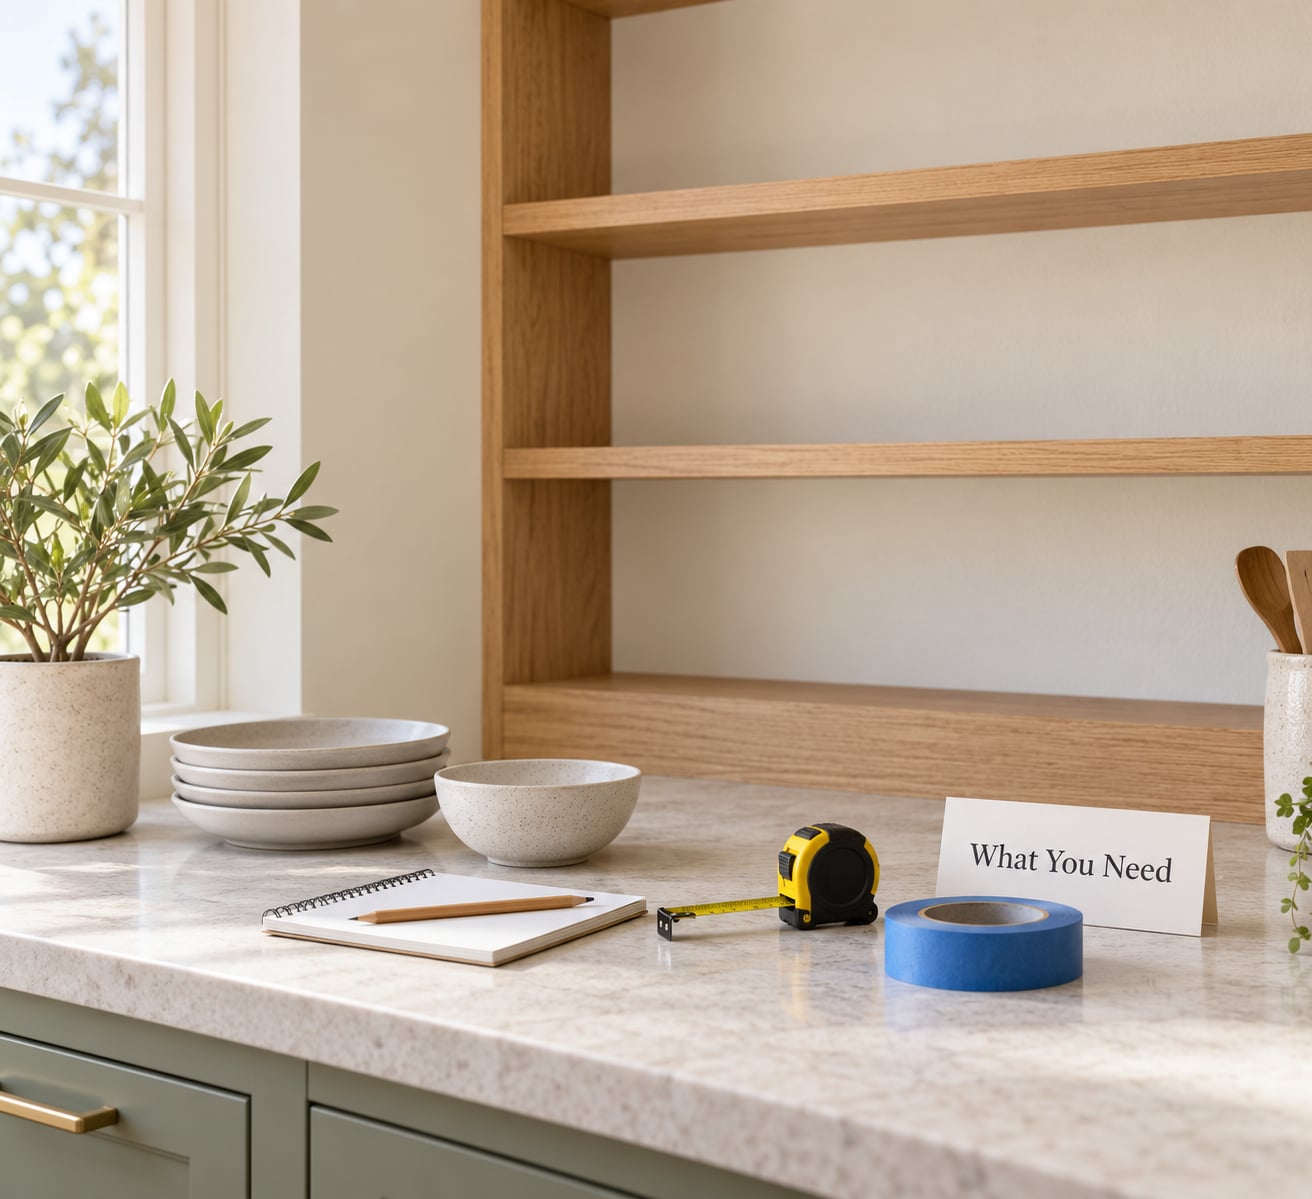
Gather the tools and the objects before you touch a shelf. Pulling a shelf bare and then discovering you are short a basket or two is the most common way this project stalls.
- Tape measure — for shelf length, depth, and the vertical gap from counter to the shelf above.
- Painter’s tape and a notepad — mark zones on the wall before anything goes up, so you can rearrange without unloading.
- Warm water, mild dish soap, microfiber cloth — shelves above the counter collect cooking film even when they look clean.
- Anchors or mounting hardware — only if your floating shelves need re-securing; a stocked shelf is heavy, so check the brackets into studs.
- Your everyday pieces — the plates, bowls, and mugs you actually reach for, plus cookbooks and glass jars you use weekly.
- Two to three containers — woven rattan baskets or glass canisters to hold the loose stuff that otherwise spreads.
- One living thing — a small potted herb or a trailing plant that suits the light near the shelf.
Skip the hardware aisle entirely if your shelves are already mounted and level. Styling is a rearrangement job, not a building job.
Step-by-Step
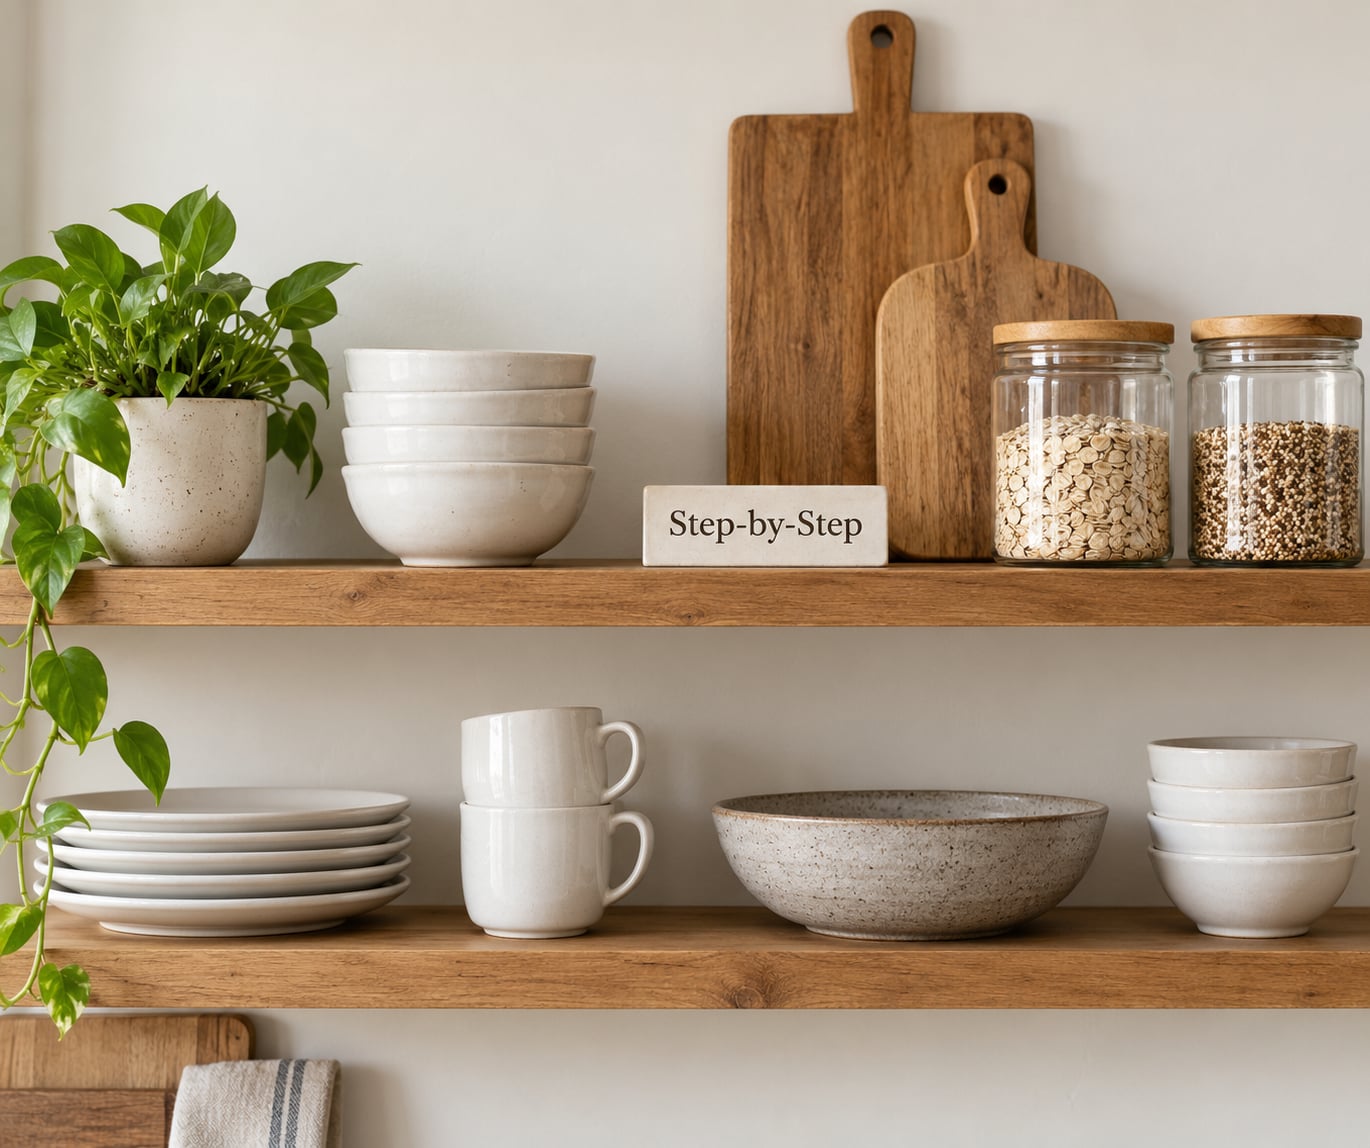
Here is how to style open kitchen shelves in five passes. Work in this order and each step makes the next one faster, because you are placing anchors before you fill gaps.
Step 1: Measure and Map the Shelves
Measure the length, depth and height of each board, plus the counter-to-shelf distance underneath the lowest one. A shelf sitting 8 inches above the counter can hold a small bowl; the same shelf at 20 inches can hold a pitcher. Record the numbers and sketch three zones per board before you load anything.
Mark the tall zone, the medium zone and the short zone in pencil on your notepad, then tape those rough positions onto the wall. If a shelf is deeper than 10 inches, treat the back half as a staging zone rather than display space — set tall pieces within a few inches of the wall so nothing tips.
Also check the ceiling. In a small or low-ceiling kitchen, skip top-of-cabinet styling entirely and keep two or three open shelves between counter and ceiling instead. That reads intentional, where a tall empty gap above reads unfinished.
Step 2: Choose a Practical Color and Material Palette
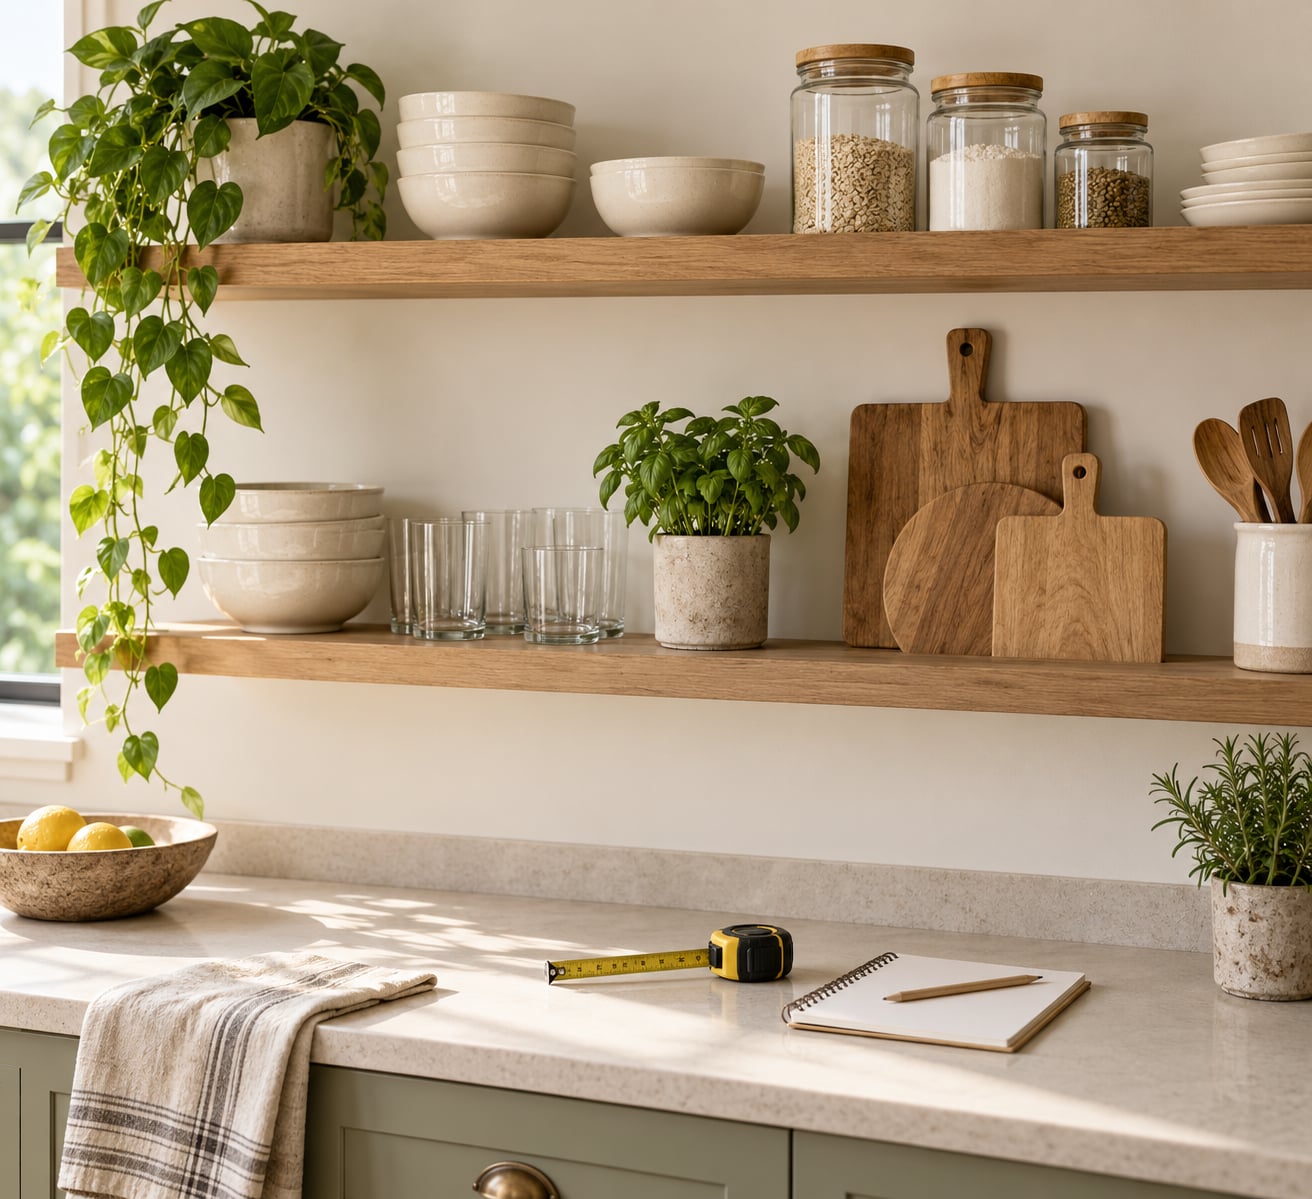
Pick two or three colors and two or three materials before you arrange anything, and take both from the room you already have — the cabinet finish, the wall, the countertop, the flooring. White oak shelves in a room with warm wood floors and shaker cabinets already have their palette; add cream stoneware, clear glass and one green note.
The three-color limit is what keeps a shelf from looking messy. White, wood and a single accent is a common combination. If your dishware is mismatched, decide deliberately: either hide the variety inside baskets and canisters, or embrace it by giving the shelf a monochromatic setting so the colors read as pattern rather than accident.
Mixing materials is what makes shelves feel expensive. Wood against glass against woven rattan gives depth that a single material cannot, because each surface catches light differently.
Step 3: Group Items by Use and Shape
Sort everything you own into three piles: daily, occasional, and never. Daily pieces are your plates, bowls, mugs and glasses. Occasional is serving dishes, a good platter, maybe a coffee setup. Never is the rest — and most of what people display lands in that third pile, which is exactly why their shelves feel crowded.
Then group within each pile by shape. All the mugs together, all the bowls stacked, all the glasses together, cookbooks stacked or stood spine-out as one block. Three or five items per group reads intentional. One or two reads bare, and a mixed six reads random.
A quick honesty check on capacity: open shelving comfortably replaces a cabinet’s worth of daily dishes and nothing more. Pans, appliances, bulk goods and anything you need twice a week still need a closed door. If you have run out of cabinet space, open shelves will not solve that — they will just make the shortfall visible.
Step 4: Create Visual Balance
Place your largest, tallest piece first — a tall glass jar, a stack of plates, a leaning cutting board — and put it near one end rather than dead center. Offset it by putting the second-largest piece at the far end, then fill the middle with smaller items. That triangle is what pulls the eye across the full length of the board instead of stopping at one corner.
Vary heights deliberately: one tall item, two medium, one short. Repeat a color or material you already used on the neighboring shelf so the run reads as one composition. Leave roughly a quarter to a third of each shelf empty — negative space is doing as much work as the objects, and it is the thing most first attempts get wrong.
Zone by weight. Plates, bowls and stoneware go on the lowest shelf, within arm’s reach of the counter. Glassware and canisters sit at eye level. Light decor, cookbooks and plants go on the highest shelf, where nothing heavy gets lifted overhead. If a board feels spongy when you load it, take weight off and move it lower.
Step 5: Add Small Finishing Touches
Finish with one or two accessories per shelf, no more: a small plant, a framed print, a small tray, a folded tea towel over a rail. Set them at the edge of an existing group rather than in open space, so they read as part of the arrangement.
Use hooks and rails under the shelf for mugs or measuring cups. It adds storage with zero shelf space, and it fills the empty band between counter and board that often looks awkward.
Then live with it for two weeks before you buy anything else. Users on home design forums describe the same pattern repeatedly — shelves look perfect on day one and drift into random objects by month two, and rotating one decorative layer is what keeps them honest. Anything you have not reached for in a month comes off the shelf and into a cabinet.
Common Mistakes
Nearly every disappointing open shelf has one of these problems, and each has a quick fix.
- Filling every inch. Leave a quarter of each board empty. Crowding is the single most self-identified styling error, and no amount of matching colors rescues a full shelf.
- Displaying everything you own. Edit down to the pieces you use. A shelf of eight objects looks better than a shelf of twenty, even if you own more.
- Too many colors at once. Cap the palette at three. When in doubt, pull the most saturated item off and see if the shelf improves.
- Fragile or daily items up high. Everyday glasses and plates belong within reach. Moving the things you use twice a week to the top shelf means living with a ladder.
- Ignoring the room around the shelves. If your cabinets are warm wood, cool white ceramics fight them. Pull the palette from the cabinets, backsplash and counters so the shelving looks built in.
- Treating open shelves as a storage upgrade. They are display plus a little everyday storage. Pans and small appliances need cabinets.
- Ignoring grease and dust. A commenter in r/kitchenremodel called open shelves a dirt and grease catcher, and permies regulars raise the same dust problem. Nothing else matters if the shelves look grimy, so wipe wood and metal with a damp cloth every week and give glass and tile a full clean monthly.
Two habits prevent most of the above. Style a single shelf first and live with it a month before committing to the full run, and keep one board deliberately sparse so the eye has somewhere to rest.
Frequently Asked Questions
How do I make open kitchen shelves look good?
Vary the heights of what you display, group pieces in threes or fives, and cap your color palette at three. Put your tallest item near one end of the board and your second tallest at the other, then fill the middle with smaller pieces. Leave about a quarter of each shelf empty, and keep the heaviest everyday dishes on the lowest shelf.
Are open shelves in kitchens still in style?
Yes. What has shifted is the amount on display — current kitchens show edited shelves with mixed materials and a repeated color, rather than a full wall of matching dishes. The practical complaint people raise in forums is dust and grease, so the shelves that stay attractive long term are the ones where only daily items are out and everything else is behind a cabinet door.
What is the rule of three for shelves?
It is a display rule, not a kitchen law: three objects, or five, look composed where four or six look accidental. Odd numbers give the eye a natural resting point because there is no even pairing to read as a set. The rule matters most for small shelves and for grouping mugs, canisters or cookbooks — large hero pieces rarely need a partner.
What should I put on open kitchen shelves?
Start with what you use daily: everyday plates and bowls on the lowest shelf, mugs and glassware at eye level, cookbooks and serving pieces within easy reach. Add two or three containers for loose items, one group of decor or greenery, and leave the rest closed away. Heavy cookware and small appliances do not belong on open shelving.
How do I keep open kitchen shelves from looking cluttered?
Limit each group to three or five pieces, keep one board noticeably sparser than the others, and repeat a color across shelves so the run reads as one arrangement. Remove anything you have not used in the last month. If a shelf still looks busy, take one item off rather than rearranging everything — overstuffing is the most common styling error.
What should go on the top shelf when it is hard to reach?
Keep it light and rarely needed: cookbooks, small plants, decorative pieces and empty baskets. Avoid glassware, plates and anything heavy, since lifting it overhead is awkward and risky. If the reach is genuinely uncomfortable, use that board for display only, and reserve a middle shelf for the items you actually need twice a week.
Conclusion
Start where the process actually starts: measure the shelves, pick out the pieces you reach for every day, and arrange three coordinated groups before you add anything decorative. Vary the heights, keep the palette to three colors, and let a quarter of each board sit empty. That sequence is how to style open kitchen shelves so they still look good after a month of real cooking, not just on the day you arranged them.