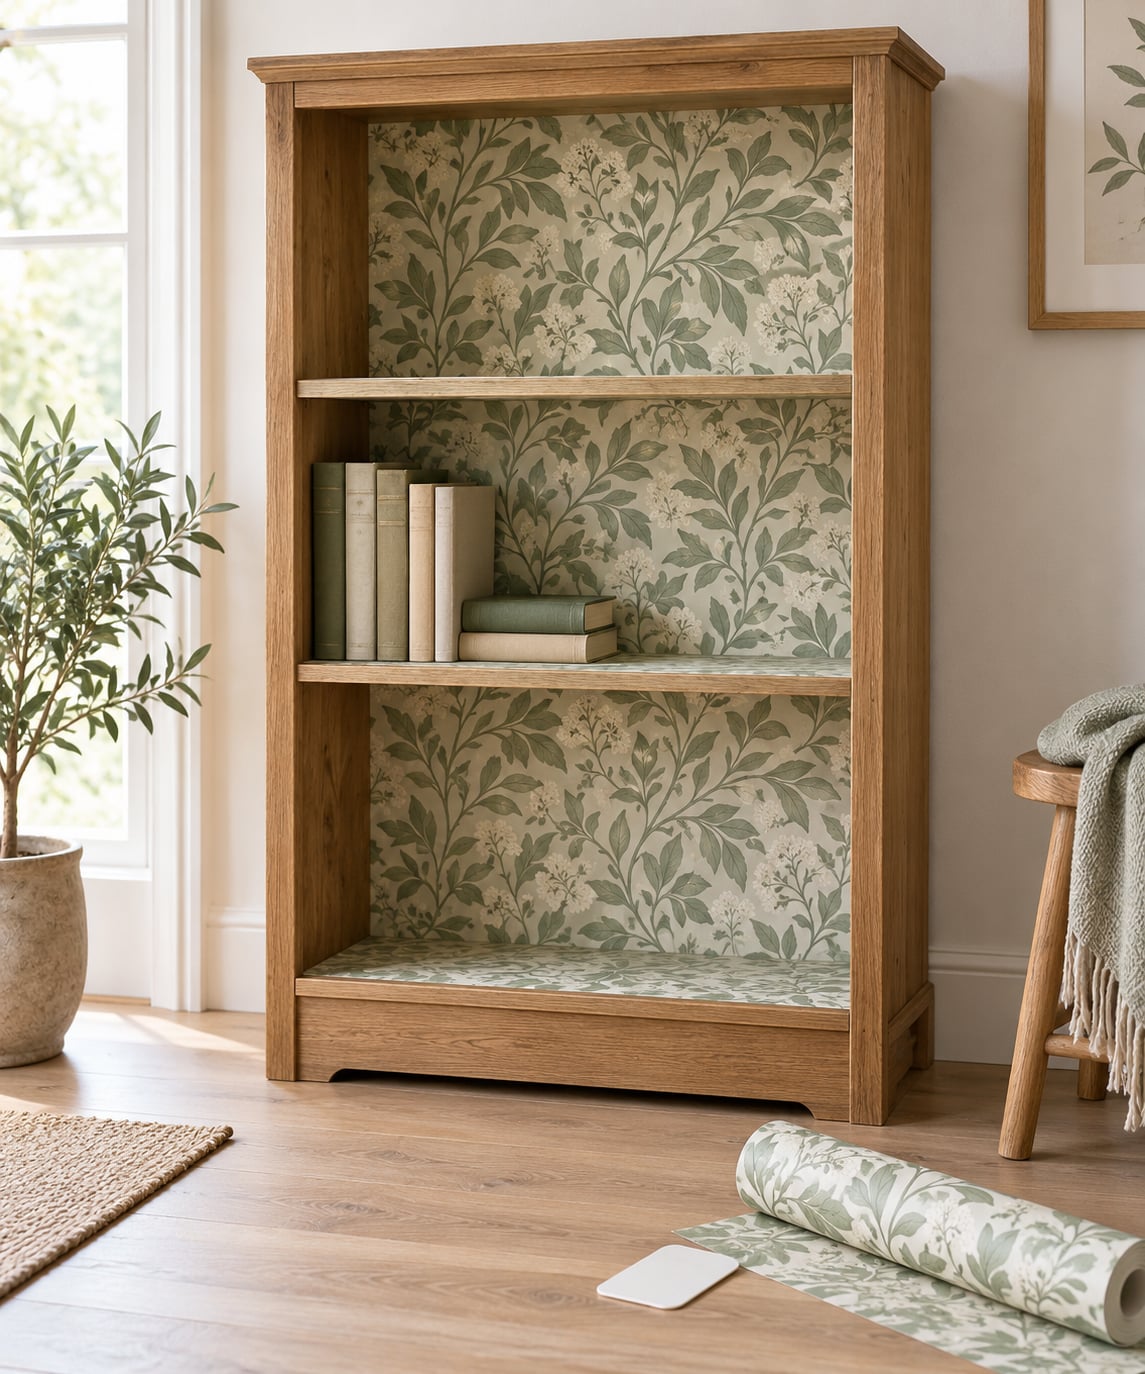
You can use wallpaper inside bookshelves by papering the interior with peel-and-stick wallpaper: empty the unit, clean the back panel and interior sides, measure each surface, cut panels a few inches oversize, then press the sheet down working from the centre outwards with a plastic card. Most bookcase backs take about an hour per unit.
The reason people bother is that the back panel is the biggest uninterrupted surface in the frame. A calm repeating pattern behind a messy stack of spines makes a thrifted bookcase read as styled, and it hides bare MDF, scuffed laminate, or a cardboard back that has started to bow.
I have lined three bookcases this way, one of them a second-hand IKEA Billy with a back so thin you could see daylight through the joins. If you know how to use wallpaper inside bookshelves, you can do the same job without removing the shelves, without a ladder, and without buying paint.
Table of Contents
- What You Need
- Step-by-Step
- Measure the Bookshelf and Choose the Wallpaper
- Clean and Prepare the Shelf Interior
- Cut the Wallpaper Into Manageable Pieces
- Apply the Wallpaper Without Wrinkles
- Trim, Seal, and Style the Finished Bookshelves
- Common Mistakes and Easy Fixes
- Frequently Asked Questions
- What type of wallpaper is best for lining bookshelves?
- Can I use regular wallpaper paste inside a bookshelf?
- Will wallpaper inside bookshelves damage the furniture?
- How do I line a bookshelf with removable wallpaper?
- How do I keep books from lifting or damaging the wallpaper?
- Can I use wallpaper instead of paint on bookshelf backs?
What You Need
Keep the kit small. Most of it is a sponge, a card, and something to cut with.
- Wallpaper: peel-and-stick or self-adhesive vinyl is the safest choice for furniture. Non-woven or textured vinyl grips laminate better than thin paper-backed strips. Buy roughly 10% more than your measurements need.
- Optional shelf liner: a roll of clear or frosted liner placed first gives a backing layer and hides seams between panels.
- Measuring tape and a pencil for marking shelf heights, plus a spirit level or straight edge.
- Utility knife with fresh blades, a ruler, and scissors for cutting curves and corners.
- Plastic card (a credit card, or a wallpaper smoothing tool) for pushing out air.
- Microfibre cloth, a bowl of warm water, a few drops of dish soap, and a soft brush or nylon scrub pad for the surface.
- Wallpaper paste and a small brush, only if you are using traditional pasted paper or want extra hold on a stubborn surface.
- Optional finish: a clear matte protective sealant, painter’s tape, and a hair dryer for re-seating lifted edges.
Step-by-Step
Measure the Bookshelf and Choose the Wallpaper
Measure width and height of the back panel, then each interior side and each shelf surface separately. Write every dimension on masking tape stuck to the shelf itself so you stop losing numbers halfway through.
Add 2 to 3 inches of allowance to every measurement. You trim the excess off at the end, and the extra gives you something to grip while you position the sheet.
Check the pattern repeat before you buy. If the design repeats every 20 inches, you cannot simply butt two panels side by side and expect the pattern to line up; you have to drop the second panel by one full repeat. A seamless single-panel print is much easier for narrow bookcases.
Clean and Prepare the Shelf Interior
Take everything off the shelves, including dust, and vacuum the interior first. Wash the back panel and sides with warm soapy water, then go over them again with a damp cloth until the surface is completely clean and dry.
Melamine and laminate are non-porous, and that is the real reason wallpaper fails here. Any film of dust, grease, or furniture polish will defeat the adhesive, and the sheet will peel off a week later. If the surface feels chalky, wipe it once more with a barely damp cloth.
Run an adhesion test before you commit a whole panel: stick a 2 inch square in a corner, press it hard, and wait a day. If it stays put, the surface is fine. If it curls back, you need wallpaper paste applied to the back of the wallpaper or a dedicated primer for furniture.
Cut the Wallpaper Into Manageable Pieces
Label each piece as you cut it: back, side, top shelf. Work in sections no wider than the shelf itself, because anything taller is harder to keep flat and harder to smooth.
Lay the pattern face down on a clean floor and cut straight lines with a fresh blade and a ruler. A dull blade drags and crushes the vinyl edge, which is how you end up with a wavy corner.
Keep the grain and pattern direction consistent across every piece. If the design runs diagonally, cut all your panels the same way, or the lines will clash once the books go back in.
Apply the Wallpaper Without Wrinkles
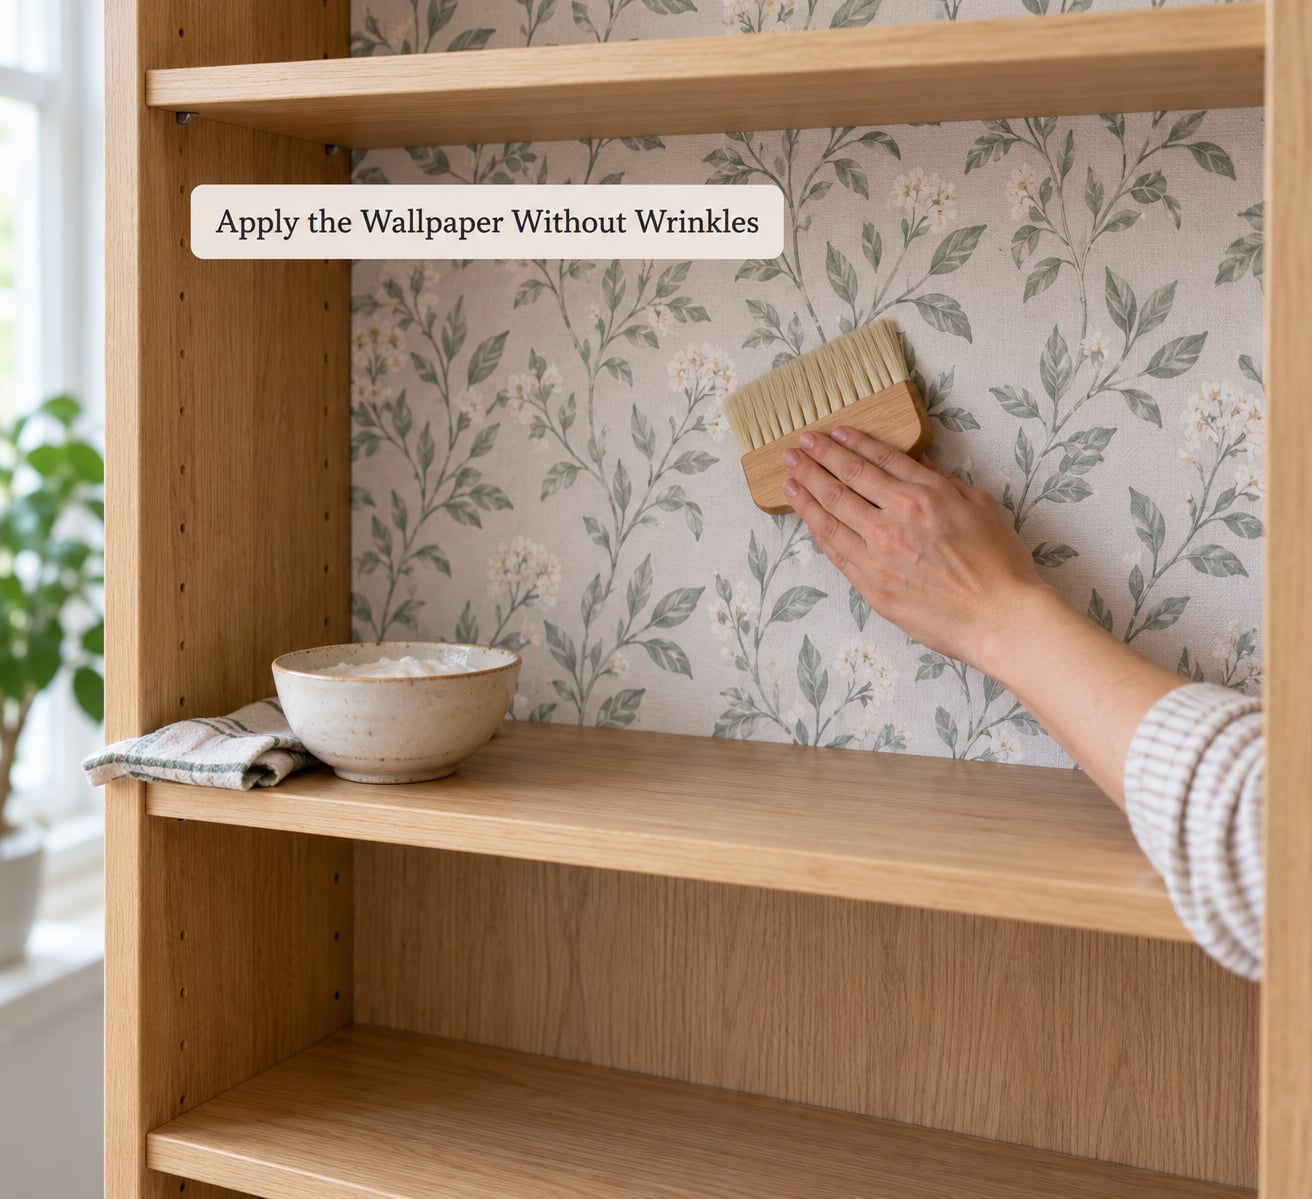
Start at the top of the back panel and peel the backing liner a few inches at a time. Do not peel the whole thing and then try to place the sheet; that is where folds come from.
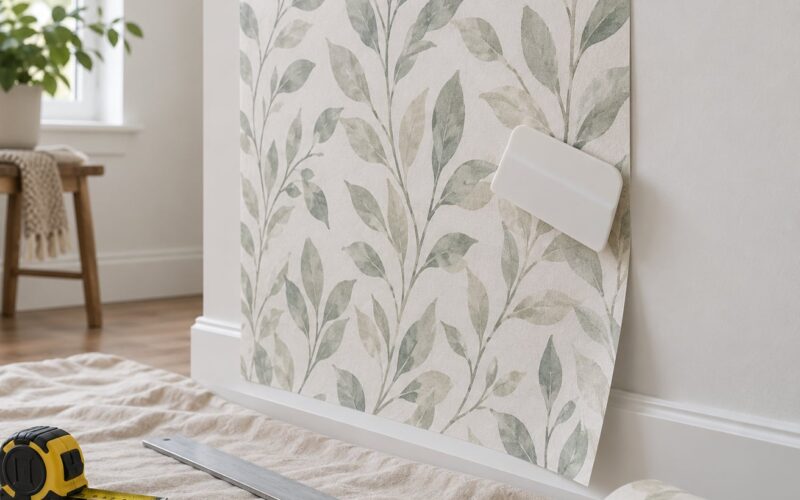
Press the exposed edge onto the surface, then work outward from that anchored edge with the plastic card, always moving the same direction. Push air toward the free edge instead of spreading it both ways.
Overlap each panel slightly onto the previous one rather than butting the edges. Once the whole surface is covered, go back over the seams with the card and press firmly. That extra pressure is what makes a seam disappear.
Trim, Seal, and Style the Finished Bookshelves
Let the adhesive set for a few hours before you load the shelves. Cut the overlap flush using a ruler and a fresh blade, holding the ruler firmly so you do not gouge the shelf underneath.
For interior sides and dividers, cut narrow strips, crease them firmly along every corner with a bone folder or the edge of a card, then press each face down separately. Creasing is what stops a corner from lifting later.
Add a light coat of clear matte sealant if the shelves take hard use or damp fingers. Once dry, load books heaviest at the bottom, lean nothing against the paper, and add frames or storage boxes with felt feet.
Common Mistakes and Easy Fixes
Sheets lifting at the corners. This is the number one failure. Press the lifted edge down, warm it with a hair dryer for a few seconds to reactivate the adhesive, and press again. For stubborn edges, slip a thin strip of double-sided tape underneath.
Visible seams. Overlap the panels by an inch rather than meeting edge to edge, and burnish the seam with the card. A backing layer of shelf liner underneath hides the joint completely.
Bubbles that will not flatten. Small bubbles press out from the centre towards the edge. Large ones need a pin prick at each end, then a firm press with the card.
The whole sheet peeling away later. That is almost always dust or waxiness on the surface. Lift the sheet, clean the back of the panel properly, and reapply using wallpaper paste on the paper back for a permanent bond.
A crooked first panel. Peel-and-stick forgives mistakes. Lift the sheet back to the starting edge, shift it, and press down again. Traditional pasted wallpaper does not forgive anything.
Frequently Asked Questions
What type of wallpaper is best for lining bookshelves?
Peel-and-stick vinyl is the best option for lining bookshelves. Its adhesive is pressure-sensitive, so a panel can be lifted and repositioned before it sets, and it grips laminate and melamine better than paper-backed strips. Non-woven or textured vinyl holds even better. Avoid flocked or heavy woven papers, which need paste and cannot be corrected once they wrinkle.
Can I use regular wallpaper paste inside a bookshelf?
Yes, and it is worth doing when peel-and-stick keeps lifting. Traditional wallpaper paste gives a much stronger, permanent bond, which suits shelves that take daily handling. The trade-off is that mistakes cannot be undone, so you will want to line the panel with plain shelf liner first, apply paste to the back of the paper, and let it soak before you position it.
Will wallpaper inside bookshelves damage the furniture?
Applied correctly, it will not. Peel-and-stick that keeps lifting can take a thin layer of paint or a sliver of laminate with it when pulled, which is why a corner adhesion test is worth doing first. Using a dedicated removable wallpaper and pulling slowly at a low angle reduces the risk. Paste-based wallpaper is permanent, so plan the layout before you brush it on.
How do I line a bookshelf with removable wallpaper?
Choose a removable peel-and-stick vinyl, measure and oversize each piece by 2 to 3 inches, and apply it to a clean, dry, dust-free back panel. Work in small sections, peeling the liner back a few inches at a time and smoothing with a plastic card. To remove it later, warm the sheet with a hair dryer and pull slowly at a low angle.
How do I keep books from lifting or damaging the wallpaper?
Let the adhesive set for a few hours before you restock anything, then place the heaviest books on the lowest shelves. Keep spines slightly proud of the front edge rather than pushing rows flush against the back panel. Use bookends with felt feet, and give frames and storage boxes the same treatment so nothing scrapes the paper when you move it.
Can I use wallpaper instead of paint on bookshelf backs?
Yes, and for a bookcase it is often the better option. Paint needs sanding, priming and two coats, and on a bare back panel it shows every old scuff. Wallpaper covers in an afternoon and gives you pattern and texture, which helps a calm background sit behind a chaotic mix of book spines. Paint is the better pick if the back panel is badly bowed or crumbling.
Start with the back panel on the easiest unit in the room. Strip it, wash it, run a corner adhesion test, and if the paper holds for a day you are good to go. Get that one panel right and the sides and dividers are the same job in smaller pieces.