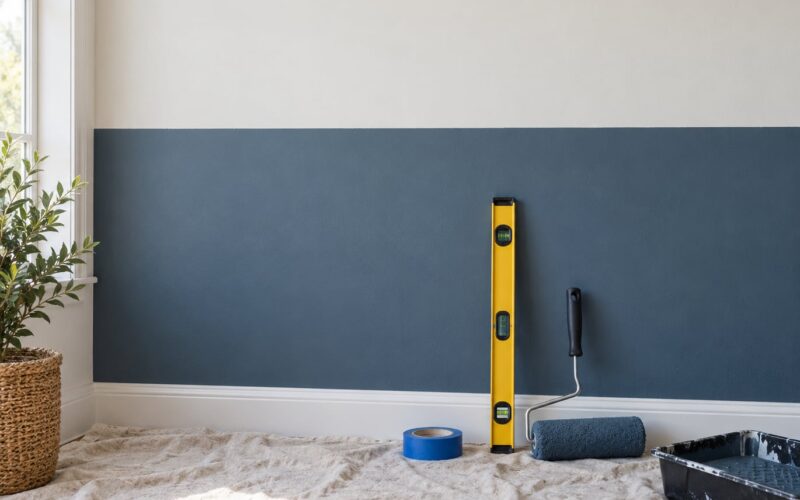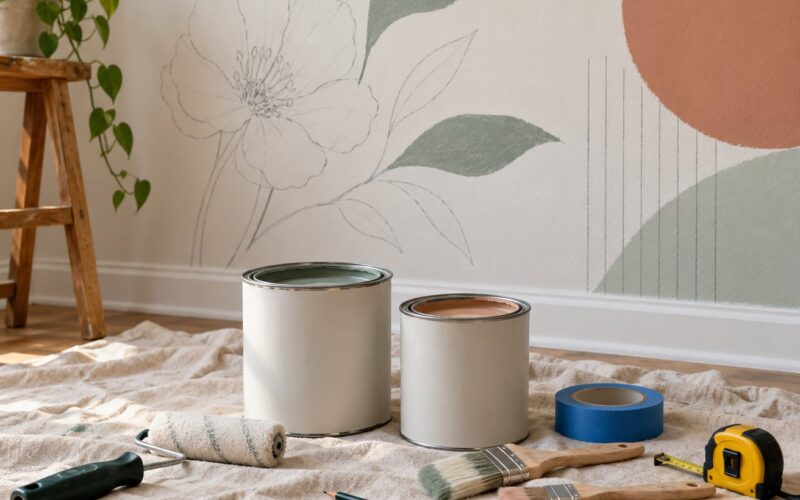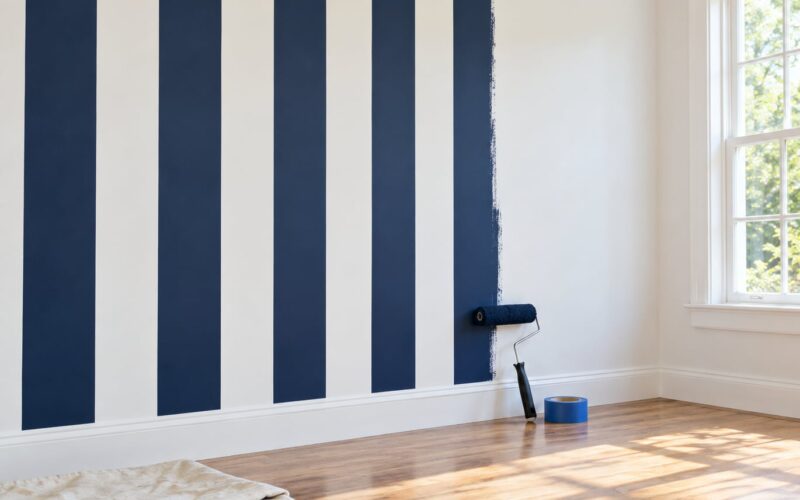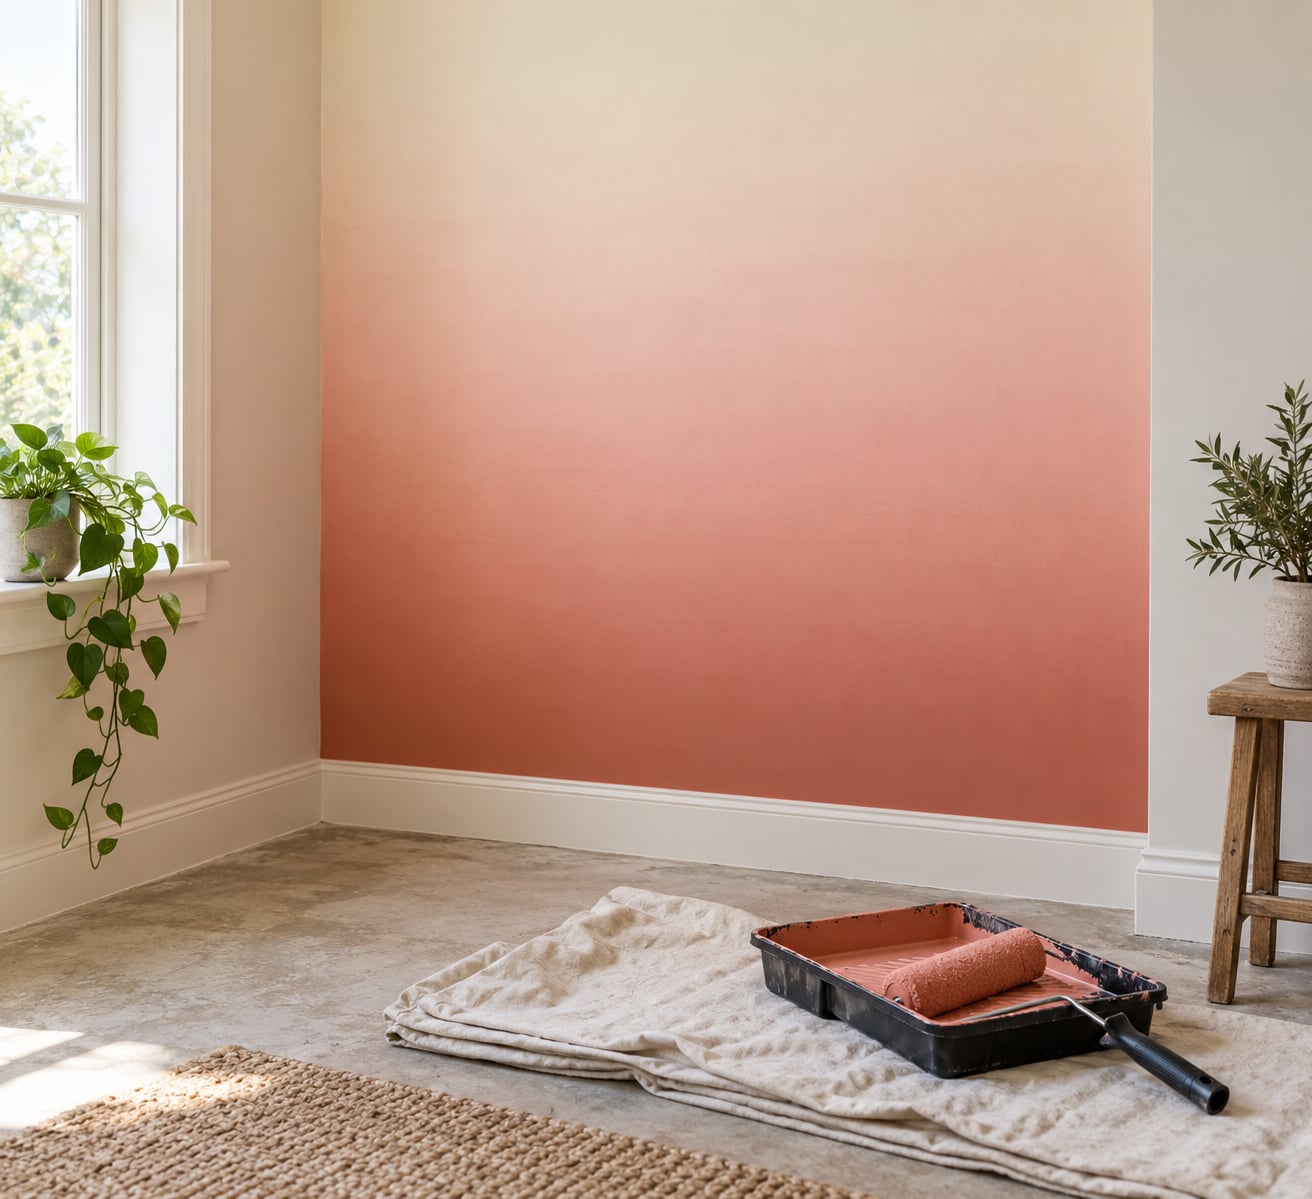
An ombre wall is a single wall painted with a smooth gradient that fades from one color to another, usually light at the top and dark at the bottom. If you have never attempted how to paint an ombre wall, the technique that matters most is wet-on-wet blending: pick three shades from one color family, roll them on in bands while the paint is still damp, then feather the edges together with a clean brush. Budget a full weekend, and know that the wall will look blotchy for a few hours before it dries into something lovely.
That blotchy stage is where most people give up. Paint dries much darker and more even than it looks wet, and wet dark paint in particular can look exactly like a dry mid-tone. Almost every painter who posts progress photos of an ombre project says the same thing: the middle of the project looks like a mistake, and the finished wall looks far better than the wet version.
Ombre accent walls are also less dated than they were a few years ago. The gradient has settled into a quieter lane, usually a soft vertical fade in one color family rather than a bold multi-color effect. A two or three-shade version in muted tones reads as a design choice rather than a trend.
Table of Contents
- What You Need
- Step-by-Step: How to Paint an Ombre Wall
- 1. Choose Your Ombre Colors
- 2. Prepare the Wall
- 3. Mark the Color Sections
- 4. Paint the Lightest Color
- 5. Blend Each Transition
- 6. Add the Darkest Color and Finish
- Common Mistakes
- Frequently Asked Questions
- Should an ombre wall go from dark to light or light to dark?
- What type of paint is best for an ombre wall?
- How many colors should I use for an ombre wall?
- How long does it take for an ombre wall to dry?
- Can I paint an ombre wall in a rental?
- Conclusion
What You Need
None of this is expensive, and most of it is reusable on the next wall in the house.
- Three shades of interior latex paint from one color family, ordered light to dark
- A sample pot or small swatch board for testing in the room’s own light
- One clean 3-inch synthetic paintbrush for cutting in and blending
- A short-nap roller, roughly 6 inches, plus a roller tray you can line with a plastic bag
- Painter’s tape for trim, adjoining walls, and ceiling lines
- A pencil or laser level for marking your transition bands
- A plastic drop cloth and a small misting bottle filled with clean water
- Spackle, a putty knife, fine sanding block, and primer for bare or patched spots
- Rags or paper towels, and a trash bag for the paint trays
Tape your brush handles with a strip of tape and write the color name on each one. Five minutes of labeling saves you from dragging a dark-loaded brush through the middle of your lightest band, which is the single most common way this project goes wrong.
Step-by-Step: How to Paint an Ombre Wall
1. Choose Your Ombre Colors
Stay inside one color family. Three shades of the same hue, roughly one value apart each, blend into a fade that looks deliberate. Colors that fight each other, like a warm yellow next to a cool blue, will fight you all the way down the wall.
Paint your three sample squares on scrap board or cardboard in a column, light at the top, dark at the bottom. Tape the board to the wall and look at it at morning, midday, and evening. Warm bulbs push a gradient toward brown and gray, so a combination that sings in daylight can look muddy at night.
Two colors give you the cleanest result and the most room for error. Three gives you a longer, softer fade. Four or more bands on a single wall is a lot of wet paint to manage at once, and I would only attempt it on a narrow half-wall where the whole surface is reachable in one section.
2. Prepare the Wall
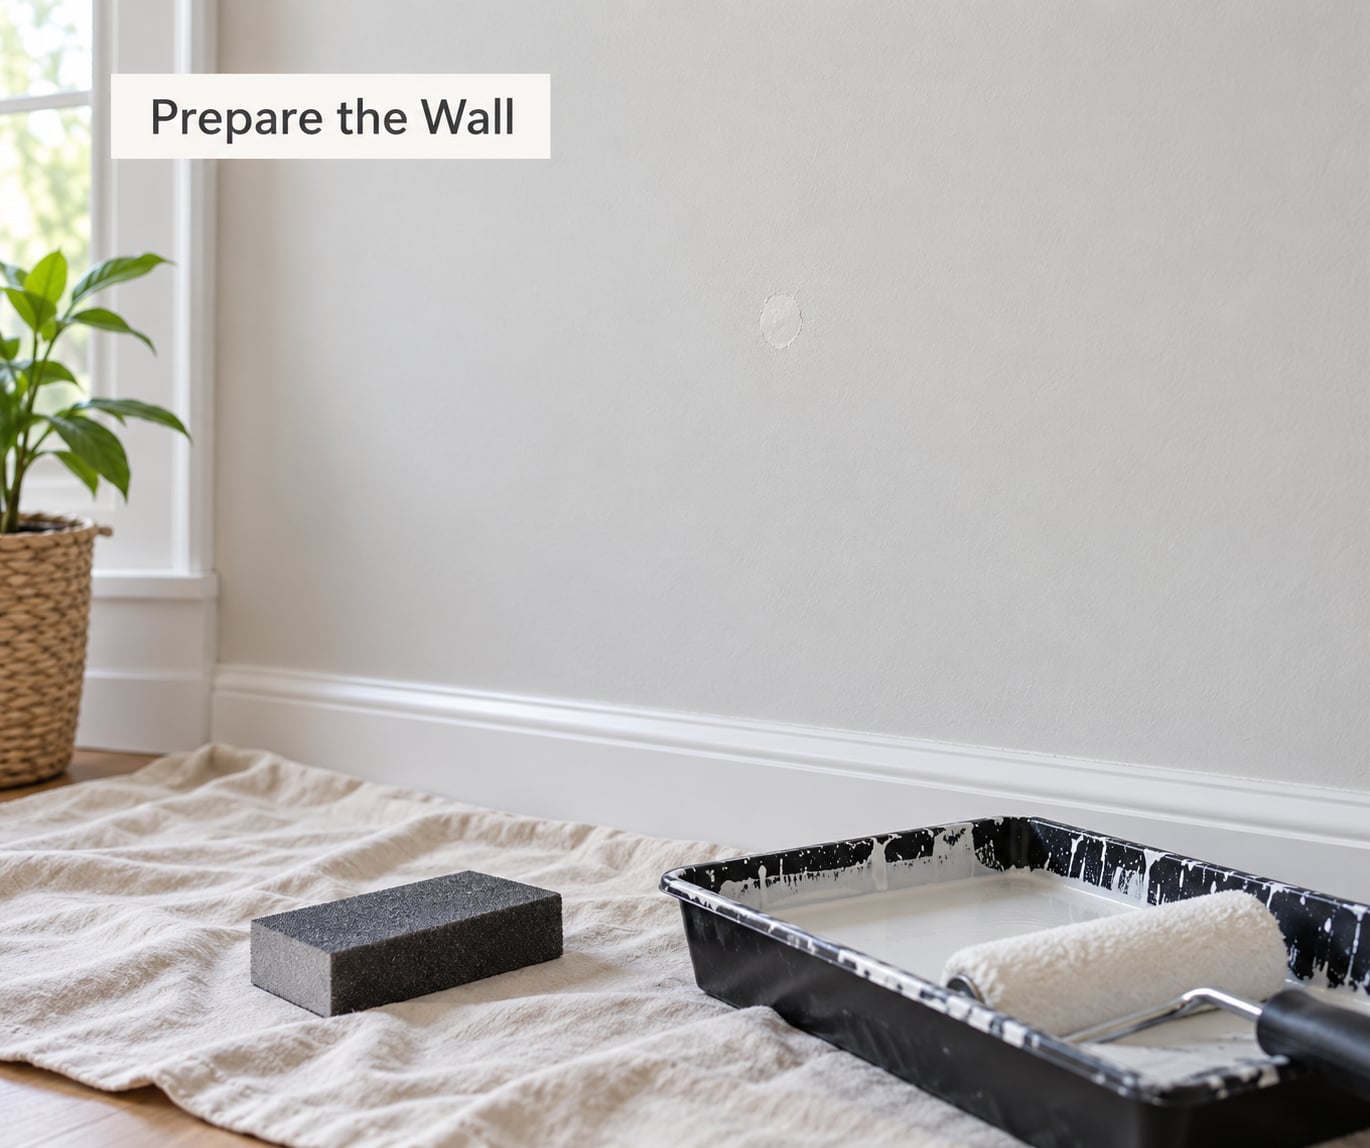
Move the furniture out of the room if you can. An ombre wall has enough visual movement on its own, and you do not want to be shifting a dresser around trying to reach behind it.
Wash the wall with warm water and a mild cleaner, then fill every nail hole and crack with spackle. Let it dry, sand it flush with 150-grit paper, and wipe the dust off with a damp rag. Old patch jobs that were never sanded are the reason people see little bumps and shadows through a fresh coat, and an ombre shows every one of them.
Prime any bare drywall, patched area, or stain, and let it dry fully. Painting over primer that is still tacky gives you exactly the peeling lap marks the project is supposed to avoid.
3. Mark the Color Sections
Decide the direction first. A vertical fade, light at the top and dark at the bottom, makes a low-ceilinged room feel taller and is the easiest direction to blend, because gravity keeps your working edge moving down. A horizontal fade spreads color side to side and suits a wide wall above a sofa or a bed.
Measure the wall height and divide it into three or four equal bands with a pencil. For a softer look, make the lightest band the shortest and the middle band the tallest. A laser level is worth borrowing if your ceiling is not straight, and cheap tape with pencil marks on it beats freehand lines every time.
Run tape along the ceiling, baseboards, and any adjoining wall that meets your ombre wall at an angle. Cut those lines in by hand instead, but tape is a lifesaver on a wall you are not fully confident about.
4. Paint the Lightest Color
Cut in along the ceiling, baseboard, and corners with your 3-inch brush, then roll the field with a thin, even coat. If you are working from the top down, start at the ceiling and roll downward in a W pattern. Work from the bottom up and your leading edge is dry before you get to it.
Two thin coats always beat one thick one here. Thick paint on a vertical wall sags, and when a sag dries it becomes a hard-edged ridge you can see across the room. Keep moving, reload lightly, and leave the roller on the wall long enough to even out, but not long enough to drag.
Extend the band a few inches past your pencil line into the next section. You want the two colors to overlap while both are wet, because a gap between them is a line you will never fully blend out.
5. Blend Each Transition
This is the whole project. Start your next band before the first one has started to set, then work the border with a clean damp brush held at a 45-degree angle, using short crisscross strokes that pull color from one side into the other.
Mixing your own transition shade gives you more control than trying to blend two colors by feel. Here is the simple version for a two-color fade, using equal parts of each paint:
| Band | Mix | Where it goes |
|---|---|---|
| 1 | 100% light | Top of the wall |
| 2 | 3 parts light, 1 part dark | Upper transition band |
| 3 | 1 part light, 1 part dark | Middle of the fade |
| 4 | 1 part light, 3 parts dark | Lower transition band |
| 5 | 100% dark | Bottom of the wall |
Roll each mixed shade on in order and blend each border into the band above it before you move down. Mist the transition area lightly with water when the edges start to stiffen; it softens the line and gives the brush a few more minutes to work.
A nearly empty roller is your best blending tool. Roll it out on cardboard first so it is damp but not dripping, then drag it lightly across the border in one direction. The partial coverage feathers the edge without beating the paint into a streak. If the roller leaves a spiral pattern, pick it up, spin it a quarter turn, and put it back down.
Never go back over a blended edge with a loaded brush. That is how lap marks form. Once you have feathered a transition, leave it alone.
6. Add the Darkest Color and Finish
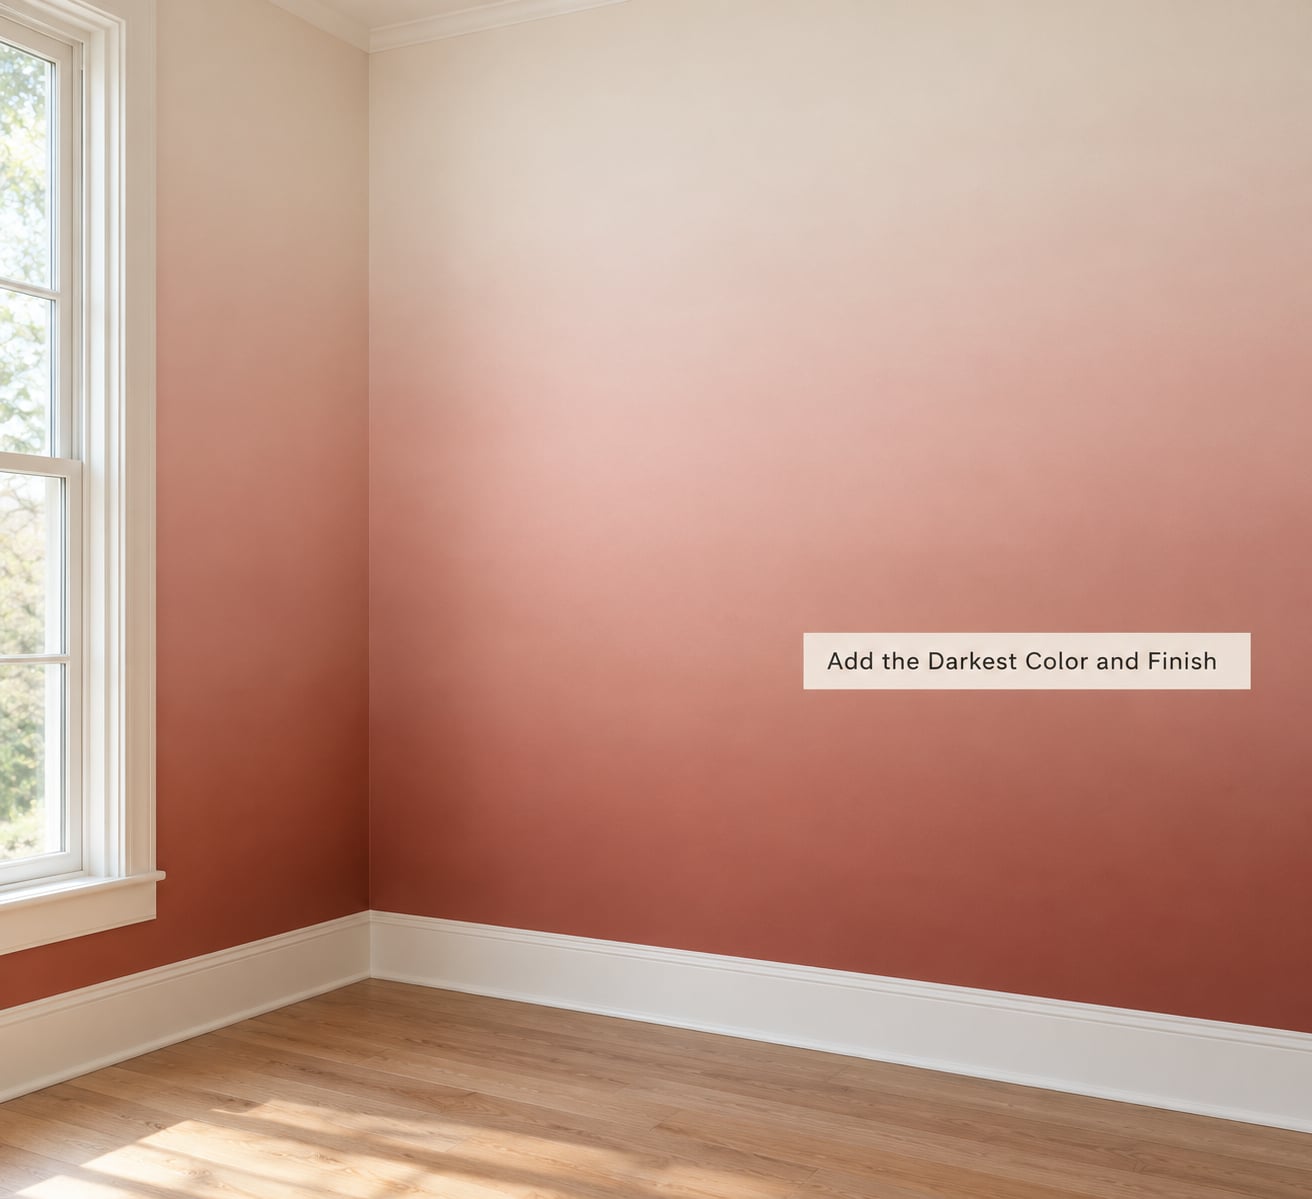
Roll the darkest shade across the final band, overlapping the last transition by a few inches, and blend that border the same way. Then stop touching it. Walk out of the room, close the door, and give the paint four to six hours, longer in cool or humid weather.
When you come back, look at the wall under side lighting and then in flat daylight. If a band still looks patchy, roll a second thin coat only over that area while the surrounding paint is still slightly damp. Full second coats over a cured wall create a visible seam of their own.
Pull any tape while the paint is still slightly soft, slowly and at a 45-degree angle toward you. Let the wall cure a full day before hanging anything on it.
Common Mistakes
Hard lines between colors. Usually a gap you left instead of overlapping. Scrape nothing, just roll a fresh thin coat over the line and blend it while the old paint is still slightly damp, or feather it with a clean brush loaded with the middle shade.
Roller marks and streaks. Too much pressure, too little paint, or a full roller dragged repeatedly over the same patch. Wipe the wall down, let it dry, and roll again with a nearly dry roller in long single passes.
Paint sagging or dripping. You applied too much at once. Vertical walls need thinner coats and more frequent reloading than people expect, especially in the darker shades that carry more pigment.
Blending after the paint set. Once a band has gone tacky, the transition cannot be feathered. Let that whole section dry, then blend the seam with the middle shade rather than fighting it wet.
Colors that fight each other. Different hues bleed into muddy browns or grays where they meet. There is no technique fix. Repaint over the muddy band with a blended version of your two middle colors.
Bumps and patches showing through. Underlying wall preparation, not the gradient. Sand the visible spots, prime, and roll two thin coats over the whole wall so the repair disappears.
Tape pulling paint off the wall. It sat too long and bonded to the edge. On a textured wall, press the tape down firmly before painting so less of the surface grabs, and pull it while the paint is still slightly soft.
For styling, matte or eggshell paint shows less of the roller texture and lets the gradient do the talking, while satin picks up more light and makes each transition more visible. Either works; satin just needs steadier blending.
Frequently Asked Questions
Should an ombre wall go from dark to light or light to dark?
Either direction works, and the choice is mostly about the room rather than the paint. A light-to-dark vertical fade, with the darkest shade at the baseboard, tends to make a room feel taller because the eye reads it as vertical movement. Dark-to-light in the same orientation has the opposite effect and can feel heavier near the ceiling. Horizontal fades ignore the question entirely, since the fade runs side to side. Test your swatches under both daylight and lamp light before committing, because warm bulbs shift the whole gradient.
What type of paint is best for an ombre wall?
Interior latex paint is the easiest choice because it blends wet-on-wet, dries within a few hours, and cleans up with soap and water. Matte and eggshell finishes are the most forgiving, since they hide small roller texture and minor lap marks better than satin or semi-gloss. Satin and gloss dry glossier and show every streak and overlap, so they demand more careful blending and a fresher roller. Whatever you pick, buy the same sheen for all three shades so the transition does not shift in finish as well as color.
How many colors should I use for an ombre wall?
Two colors give you the cleanest, most forgiving result and are the easiest to blend by hand. Three colors, all from the same family and spaced roughly one value apart, create a longer and softer fade and are the most common choice for an accent wall. Four or more bands is a weekend project on a small wall and a genuinely difficult one on anything wide, because you have to keep a lot of wet paint under control at once. Beginners get much cleaner results by mixing their own transition shades rather than adding more colors.
How long does it take for an ombre wall to dry?
Touch-dry in about an hour, but judge nothing by touch. The gradient needs four to six hours before the transitions are stable, and longer in cool or humid conditions. Full curing takes about a day, so wait before hanging shelves or leaning furniture against the wall. The wet stage genuinely looks blotchy and streaky, and that is normal. Leave the room, close the door, and let it dry undisturbed rather than going back to fix what you think you can see.
Can I paint an ombre wall in a rental?
Usually, but check your lease first, since many rental agreements restrict painting or require written approval for any color other than the landlord’s. Where painting is allowed, an ombre accent wall is usually safer than a full-room color because it changes one wall. Ask whether the paint must be a specific brand or sheen, since a landlord repainting with a different latex can show your color through in daylight. Plan to restore the original color before you move out, and budget a sample pot so you only commit once to a combination you like.
Conclusion
Start by painting your three candidate shades on a scrap board and living with them for a day, because color choice is the only step you cannot blend your way out of later. Mark your bands, cut in, and keep each coat thin enough that wet-on-wet blending actually has time to happen. If you get the order of operations right, how to paint an ombre wall stops being tricky and turns into a patient afternoon of rolling and feathering. Blend while the paint is damp, pick a fade direction that suits the room, and then leave the room alone until it dries.